In this guide, we’ll walk you through the entire process of connecting your Craftsman garage door opener. We’ll cover everything from preparing the remote to troubleshooting common issues. Grab your tools and let’s get started, making sure you can open and close your garage door with just a click whenever you need to!
Understanding Your Craftsman Garage Door Opener
Before you dive into connecting your garage door opener, it’s essential to understand what you’re working with. Craftsman offers a range of garage door openers, including models that feature chain drive, belt drive, and smart technology. Each model has specific instructions and features, and knowing yours will help streamline the setup.
Most Craftsman openers come with a remote control unit that allows you to open and close your garage door from a distance. This is where the magic happens! The remote communicates with the opener installed in your garage, sending signals to perform its tasks. You might also find wall-mounted controls or smart garage kits that need to be synced similarly.
Recognizing the type of remote you have—whether it’s a single-button model or one that can control various features—can directly determine how you connect it to your opener. So before proceeding, take a moment to familiarize yourself with your specific Craftsman setup.
Gathering Tools and Equipment
Before connecting your Craftsman garage door opener, you’ll want to gather a few essential tools. This process is straightforward, but having everything on hand makes it less stressful. Here’s what you’ll need:
- A ladder (if necessary, depending on your garage setup).
- A flathead and Phillips screwdriver.
- A step stool (if needed for reaching high spots).
- The Craftsman garage door opener remote.
- The garage door opener itself (usually mounted on the ceiling).
Having these ready means you won’t be scrambling around looking for a screwdriver or climbing contortions to reach tricky spots. Each step of the connection process relies on having the right tools for a smooth experience. So, let’s check off this list before diving in!
Preparing for Connection
Now that you have all your tools gathered, let’s get prepared for the actual connection. Start by ensuring your garage door opener is plugged in and that the power source works. Sometimes, a simple power issue can halt the connection process before it even begins.
Next, check the batteries in your remote. It’s usually a good idea to replace them with a fresh set. Often, the remote will use a simple 3V battery, which you can find at most stores. It might feel like overkill, but a strong battery ensures a strong signal when connecting.
Lastly, take a look at your manual. This might be the best tool of all! Each Craftsman model has unique features, and the user manual contains useful information about the specific codes and programming steps tailored for your opener.
Connecting the Remote to Your Garage Door Opener
This is where the fun starts! Connecting your Craftsman garage door opener remote is like simplifying a dance routine into manageable steps. Here’s how to do it:
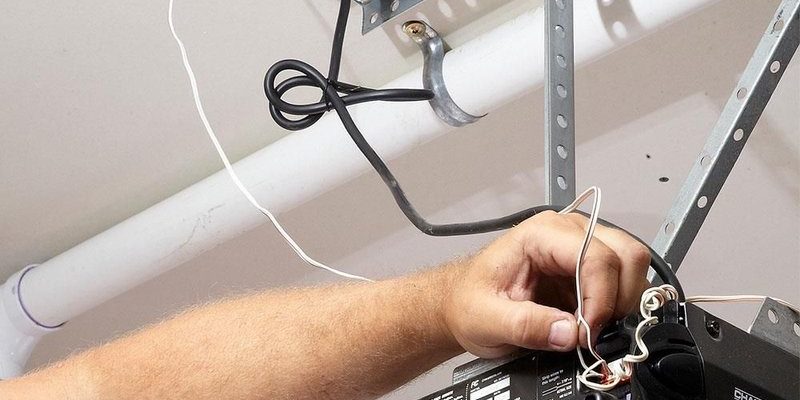
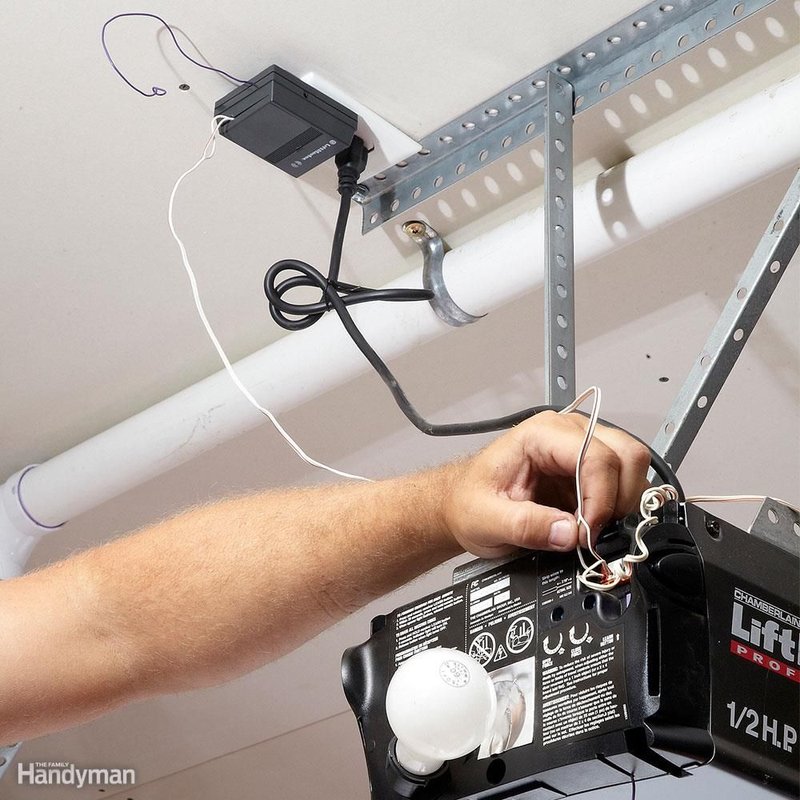
1. Locate the Learn Button: On the motor unit of your Craftsman opener, find the “Learn” button typically found on the back or side. This button controls the programming of your opener.
2. Press the Learn Button: Press and release this button. You’ll often see a light on the opener blink, which indicates it’s ready to learn a new remote.
3. Program the Remote: Within 30 seconds of pressing the Learn button, press and hold the button on your remote that you want to use. Keep it pressed until you see the light on the opener blink or hear two clicks, signaling that the remote is now paired.
4. Test the Connection: Step away from the opener and press the remote’s button. Celebrate if it works! If not, repeat the steps above, ensuring you follow the timing closely.
This process might feel a bit technical, but trust me, once you’ve done it once, you’ll find it surprisingly easy to replicate in the future.
Troubleshooting Common Connection Issues
Sometimes, even the best-laid plans can hit snags. If your Craftsman garage door opener isn’t working as intended, there are a few common hiccups to check. Here are some troubleshooting tips:
– Remote Not Responding: If the remote doesn’t seem to work, double-check the batteries. A simple adjustment here can often fix the issue.
– No Blink from the Opener: If pressing the Learn button doesn’t trigger a light, ensure your motor unit is plugged in correctly and close to working condition.
– Interference from Other Devices: Sometimes, other electronics in your garage can cause interference. If you have nearby wireless devices, try temporarily shutting them off and see if that solves the issue.
– Distance Matters: Ensure that you’re within the recommended distance when pressing buttons—about 5 to 20 feet is ideal.
By keeping these troubleshooting steps in mind, you’ll be better prepared to tackle any surprises along the way.
Using Extra Remotes or Keypads
If you find that you want more than one remote or you’re interested in adding a keypad for easy access, connecting them follows a similar process. Craftsman garage door opener systems often support multiple devices.
To connect an extra remote, simply follow the previous instructions again. Each remote will need to be programmed individually. If you’re adding a keypad, the process is quite alike. After locating the Learn button, you’ll enter a code on the keypad as guided in your manual.
Having multiple remotes or keypads can be particularly handy for families. Think about it! You won’t need to fight over one remote, and those shoes left near the door won’t be a bother when everyone can open the garage easily.
Maintaining Your Garage Door Opener
Keeping your Craftsman garage door opener in great shape can prolong its life and maintain smooth operation. Here are some maintenance tips to consider:
1. Regularly Inspect: Every few months, give your opener, tracks, and the door itself a visual inspection. Look for any unusual signs such as loose screws or misaligned parts.
2. Test Safety Features: Each garage door opener has safety reverse features designed to prevent accidents. Test these periodically to ensure they’re working correctly.
3. Clean the Remote: Over time, your remote can accumulate dirt and grime. A simple wipe with a damp cloth can keep it looking good and functioning smoothly.
4. Check the Battery: Don’t let a dead battery catch you off guard again! Consider establishing a schedule to change batteries in your remotes, maybe every six months or after heavy use.
Investing some time in maintenance not only ensures your opener works when you need it but also helps you avoid unnecessary repair costs. Plus, a well-functioning garage door can add convenience to your daily life.
In conclusion, connecting your Craftsman garage door opener doesn’t have to be daunting. With a bit of preparation, the right tools, and some straightforward steps, you’ll find it quite manageable. Remember to troubleshoot common issues and think about maintenance too. Once you’ve got this down, you’ll feel like a pro—ready to handle anything that comes your way. Happy connecting!