Getting the Chamberlain keypad set up is much less complicated than it seems. Think of it like pairing your phone with a Bluetooth speaker; it’s all about creating a connection. Once paired, you’ll have the power to control your garage door without fumbling for a remote or, heaven forbid, getting stuck outside in the rain. Let’s walk through how to connect your Chamberlain keypad together, step by step.
Understanding Your Chamberlain Keypad
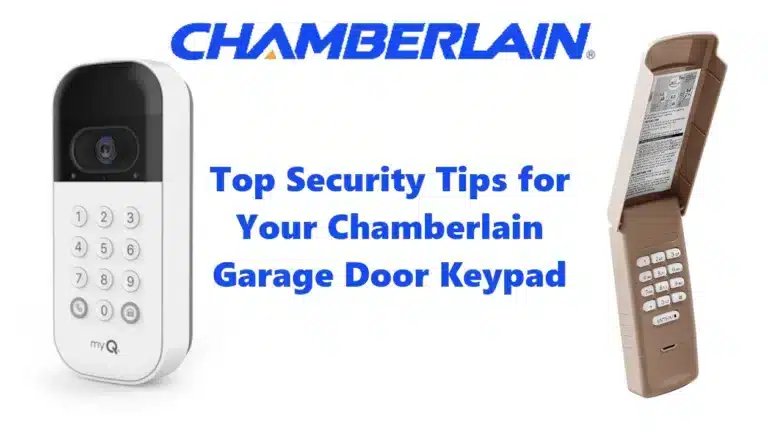
Before you dive into connecting your keypad, let’s familiarize ourselves with what you’re working with. The Chamberlain keypad is usually a small device mounted outside your garage, featuring a number pad for entering a personalized code. The keypad communicates wirelessly with your garage door opener, so there’s no need for messy wiring.
Here’s something to keep in mind: Wireless technology is what makes this so convenient. But it also means that a few things can interfere with the connection. Factors like the distance from the opener, obstacles like walls, or even low batteries in the keypad can cause hiccups. Think of it as needing a clear line of sight: if it’s blocked, you might not get through.
Plus, different models may have slightly different features. Some keypads allow for multiple codes for friends and family, while others are more basic. Before you connect, ensure you have the right model instructions at hand to make your life easier.
Gathering the Necessary Tools
Connecting your Chamberlain keypad doesn’t require any high-tech gadgets, but having a few basic tools nearby can make the process smoother. Here’s a quick checklist of what you’ll need:
- Chamberlain Keypad – Your primary tool for entry.
- 9V Battery – Most keypads will require one to power it up.
- Step Ladder – If your keypad requires mounting.
- Owner’s Manual – Refer to it for model-specific instructions.
Once you have everything ready, you’re clear to proceed with the connection process. It’s kind of like setting up a puzzle—gather all the pieces before diving in.
Installing Your Chamberlain Keypad
Now that you’ve got everything ready, let’s install the keypad. Most Chamberlain keypads can be mounted on any flat surface near your garage door. Here’s how to get it up and running:
1. Choose a Location: The keypad should be easily accessible, around waist height for easy reach. Make sure there’s no obstruction in front or around the keypad.
2. Mount the Keypad: Use the screws that come in the package to secure the keypad onto your chosen surface.
3. Install the Battery: Open the battery compartment and insert a fresh 9V battery. This part is simple; just like changing batteries in a remote.
Just like that, your keypad is now physically in place! But hold on, we still need to connect it to your garage door opener.
Programming the Keypad to Your Garage Door Opener
Once your keypad is installed, the next step is programming it to communicate with your Chamberlain garage door opener. Here’s how:
1. Locate the “Learn” Button: This button is often found on the back or side of your garage door opener. Usually, it’s a bright color—think of it as the “go” signal.
2. Press the “Learn” Button: Once you press it, you usually have about 30 seconds to enter a code on your keypad. That’s your window to connect, so don’t dawdle.
3. Enter Your Code: Choose a code that’s easy for you to remember but not obvious, like your birthday. Press the chosen code followed by the “Enter” key.
At this point, you should see the garage door opener light blink, signaling that your keypad is successfully connected. Congratulations! You’ve just paired your Chamberlain keypad with your opener.
Troubleshooting Connection Issues
Okay, let’s say things didn’t go perfectly the first time—don’t worry, it happens to the best of us. Here are a few common hiccups and how to solve them:
– Keypad Not Responding: Double-check that the battery is fresh. A low battery can cause issues, almost like trying to make a phone call with no bars.
– Code Not Working: Make sure you’re entering the correct code. Sometimes, even a simple mix-up in numbers can cause the keypad not to function. Reprogram it if necessary—just follow those above steps again.
– Check Range: If you’ve mounted the keypad too far from the opener, try moving it closer or ensuring there are no obstacles affecting the signal.
Through patience and a little troubleshooting, you’ll usually be able to get things working. It’s part of the process!
Maintaining Your Chamberlain Keypad
Once you’ve connected your Chamberlain keypad and it’s working like a charm, you’ll want to keep it in top condition. Here are some simple maintenance tips:
1. Check the Battery Regularly: Make it a habit to replace the battery every couple of years, or sooner if you notice issues.
2. Clean the Keypad: Wipe it down occasionally to ensure there’s no dirt or grime affecting function. Consider it a mini spring cleaning.
3. Store the Code Safely: Keep a record of your code somewhere safe, in case you forget. This will save you time if you ever need to reprogram it.
Taking these small steps will extend the life of your keypad and keep everything running smoothly.
Benefits of Using a Chamberlain Keypad
You might be wondering why you should bother with a keypad at all. Here are a few reasons that might convince you it’s worth it:
– Convenience: No more fumbling for remote! You can pull up to your garage door and enter the code.
– Accessibility: Family members or trusted friends can easily access your garage without needing a physical key.
– Enhanced Security: Change your code when needed to keep unauthorized users out. This offers peace of mind akin to changing the locks on your front door.
In short, a Chamberlain keypad is not just a gadget; it’s a valuable addition that simplifies your life while improving your home’s security.
As you can see, connecting your Chamberlain keypad is a straightforward process. From installation to programming and troubleshooting, it can all be done in a few simple steps. So the next time you’re loaded down with groceries or racing against the weather, you’ll appreciate the convenience your new keypad offers. Now, go ahead and enjoy that smooth entry into your garage!
