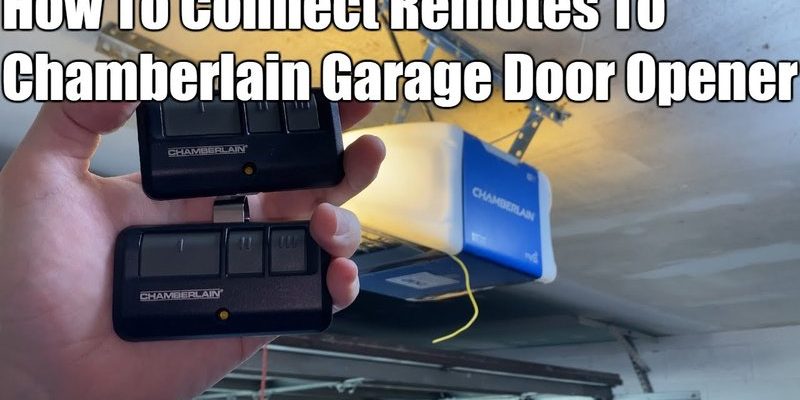
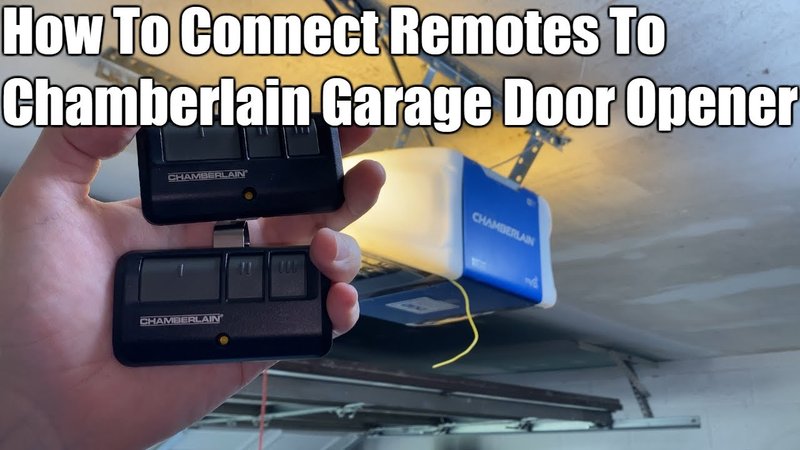
Most Chamberlain garage door openers come with a remote and sometimes a keypad. It’s important to know that there are different models, so while I’ll give you the general steps for most, you might have a few unique features to consider. Just picture yourself as a garage door tech whiz when you’re finished—impressing neighbors with your new skills.
Understanding Your Chamberlain Garage Door Opener
Before we jump into the connecting process, let’s get acquainted with your Chamberlain garage door opener. These openers typically operate using a radio frequency that allows the remote to communicate with the unit in your garage. This means you’ll need to ensure that both your remote and the opener are on the same wavelength, so to speak.
Most Chamberlain units also feature built-in security measures. You know, just like how you wouldn’t want just anyone barging into your home. This security often comes as a rolling code technology, meaning every time you press the button, the code changes. This makes it harder for unauthorized folks to access your garage—smart, right?
Lastly, your opener likely has a control panel with various buttons like “learn,” “light,” and “up/down.” The “learn” button is your best friend in this process. It’s like that key piece in a puzzle that gives you the magic to connect your remote to the opener.
Gather Your Tools Before You Start
Connecting your Chamberlain garage door opener requires just a few simple things:
- Your Chamberlain garage door opener unit.
- The remote you want to connect.
- A sturdy ladder (if your opener is installed high).
- Instruction manual (if you have it) for reference.
Having these items ready will make your task smoother. If you can’t find the manual, don’t worry; you can usually download it from the Chamberlain website. It’s always handy to check it for specific instructions related to your model.
Honestly, if you’ve got those tools lined up, you’re halfway there. Now, let’s get into the nitty-gritty of connecting your remote.
Finding the ‘Learn’ Button
The first step in connecting your remote to the Chamberlain garage door opener is finding the elusive “learn” button. This button is typically located on the back or side of the motor unit, and it might be a different color, usually orange or purple, depending on the model.
Here’s the trick: you’ll want to make sure your garage door is closed when you do this. Why? Because if you accidentally hit the remote button before you’re ready, you could find your door moving when you least expect it!
Once you locate that button, it’s time to prepare for programming. You might even want to grab a flashlight if the area is dim. Having good visibility will help you avoid any goofs along the way.
Programming the Remote
Now comes the fun part. Press the “learn” button on your garage door opener and watch for an indicator light. This light should turn on or blink to signal that it’s ready to connect. Typically, you’ll have about 30 seconds to complete the next step.
Grab your remote and press the button you want to use to open the garage door. Usually, this is the big button, but some remotes have multiple buttons for different doors. If all goes well, the light should blink off, and maybe even the door will respond by moving. That’s your cue—you’re successfully connecting!
If you see that light blink, congratulations! You’ve made the successful connection. If not, don’t panic; you might just need to repeat the process. Remember, it’s all about the timing here.
Testing the Connection
Once you think you’ve connected your remote, it’s time for a test run. Step away from the door and press your remote’s button. This should prompt the door to open or close. If it works, you’re golden! If not, let’s troubleshoot.
You might be wondering, what if the remote doesn’t work? Well, check these simple things first:
- Ensure the remote has a working battery. Sometimes it’s as easy as a quick swap!
- Make sure you’re within range of the opener. Too far away and the signal won’t reach.
- If you have multiple remotes, try connecting one at a time to avoid confusion.
Occasionally, you might find that the remote still doesn’t connect. This is where you can try resetting the opener. Don’t worry, I’ll cover this next.
How to Reset Your Chamberlain Garage Door Opener
If things still aren’t going your way after trying the above steps, you might need a reset. Resetting your Chamberlain opener can streamline the reconnection process. To do this, find the “learn” button again and hold it down until the light goes out—usually around 6 seconds.
After resetting, you’ll need to repeat the connection steps we’ve discussed. This will clear out any previous programming and give you a fresh start—like hitting a reset button on your favorite video game.
Remember, once you reset, all previously connected remotes and keypads will need to be reconnected. So be prepared to set them all back up again.
Common Troubleshooting Tips
Even with the best intentions, sometimes things just don’t work out on the first try. Here are a few more tips if you’re facing issues:
- Check the batteries in your remote. It sounds silly, but dead batteries happen to the best of us!
- Inspect the wiring of the garage door opener. Look for loose connections or frayed wires.
- Verify that nothing is obstructing the garage door path. Sometimes, a simple blockage can cause hiccups.
If you’ve checked all this and still can’t connect your remote, don’t hesitate to consult the manual or search online for your specific model. The Chamberlain website also has a helpful support section that you can explore for more advanced issues.
Connecting your Chamberlain garage door opener doesn’t have to feel like rocket science. With a few simple steps, some patience, and maybe a little humor along the way, you’ll be able to connect your remote successfully.
Just remember to stay calm, follow the process, and keep an eye on that “learn” button. Whether you’re a longtime home improvement enthusiast or just someone looking to simplify daily life, knowing how to connect your garage door opener brings a sense of accomplishment.
So go ahead, hit that remote, and enjoy the smooth gliding of your garage door—you’re now in control!