You may have a LiftMaster control panel that comes with various functionalities, like the ability to program remotes or set up security codes. Whether your panel is new or you’re trying to connect it for the first time, I’m here to guide you through the process step-by-step. Let’s get that garage door working seamlessly!
Gather Your Tools and Materials
Before diving into the connection process, let’s gather everything you need. The last thing you want is to be halfway through and realize you’re missing a crucial tool. Here’s a quick checklist:
- LiftMaster control panel
- Remote control (if you’re programming remotes)
- Small screwdriver (usually Philips)
- Step ladder (if your opener is out of reach)
Having these items at hand makes the whole process smoother. If you’re missing a part, it might seem like a minor hiccup now, but trust me, it could turn into a significant delay later.
Locate Your Garage Door Opener
Now that you’ve gathered your tools, it’s time to locate your LiftMaster garage door opener. Generally, you’ll find it mounted on the ceiling of your garage, above the garage door itself.
Here’s what to look for:
1. Power Source: Make sure it’s plugged in and receiving power. If you’ve tried everything but it doesn’t light up, check if it’s getting power from the wall socket.
2. Model Number: This info is crucial when setting up your control panel. The model number is typically located on the back of the opener.
Once you’ve identified your system, you’ll be better prepared for the next steps.
Wiring Your Control Panel
Connecting the control panel requires some basic wiring. It’s a straightforward task but do exercise caution. Here’s how to do it step-by-step:
1. Safety First: Make sure the garage door opener is unplugged before you start working on the wiring.
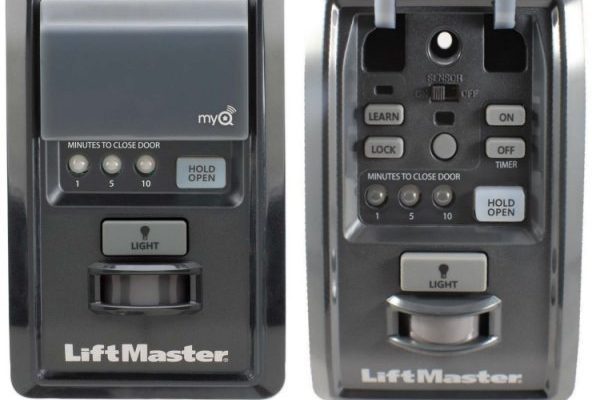
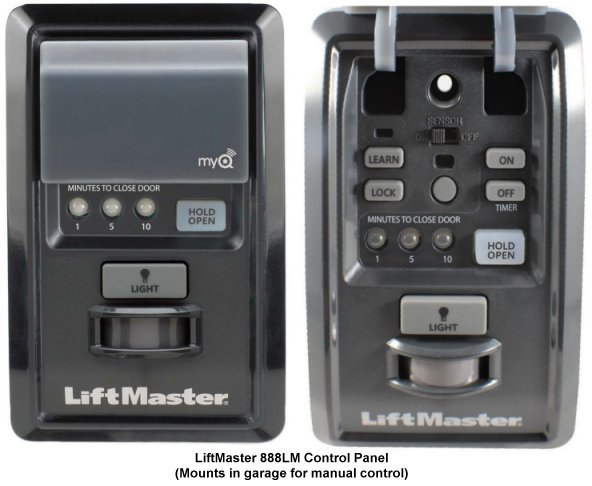
2. Access the Wiring Terminal: Open the cover of your LiftMaster opener. You should see a terminal block with several pinholes labeled for different functions.
3. Connecting Wires: Take the wires from your control panel and insert them into the appropriate terminals. They are usually color-coded—typically red for power and white for the ground. Refer to your LiftMaster manual for specific details on the correct wiring configuration.
4. Secure Everything: Once the wires are in place, ensure everything is snug and secure. A loose wire can create problems down the line.
Make sure you follow these instructions closely; having solid connections means less troubleshooting later.
Powering Up and Testing the Control Panel
Once your control panel is wired up, it’s time to give it some juice. Plug the opener back into the power source and watch for any signs that everything is functioning properly.
1. Normal Light Indicator: Most LiftMaster openers will show a light indicator on the control panel. If that light turns on, you’re in good shape.
2. Manual Override: Try using the manual button on the control panel to see if the garage door opens or closes. It should respond without any hitches.
If the control panel is not responding, there may be some troubleshooting needed—don’t panic, though! You can check the connections or consult the user manual for specific error indicators.
Programming the Remote
Programming your remote to sync with the control panel is a key part of this process. After you’ve confirmed that your control panel is active, follow these steps:
1. Locate the Learn Button: This button is usually on your garage door opener. Press it, and you should see a light blinking for a few seconds.
2. Activate the Remote: Within 30 seconds, press the button on your remote. The opener will respond, indicating it has recognized the remote.
3. Testing the Remote: After programming, press the remote button again to ensure it opens the garage door. If it doesn’t work, you may need to repeat the learning process.
With just a few simple steps, you’ll be able to program your remote without hassle.
Common Troubleshooting Tips
It can be frustrating when things don’t work as they should. Here are some common issues you might face while connecting your LiftMaster control panel and how to fix them:
1. The Control Panel Doesn’t Light Up: Double-check your wiring. If all looks good but it’s still dark, inspect the power supply.
2. Remote Not Pairing: If your remote won’t sync, try resetting it or reissuing the learning command on the opener.
3. Door Stops Midway: If your garage door doesn’t open or close all the way, check the limit settings, which may need adjustment.
Identifying issues early on can save you time and headaches.
Congrats! You’ve successfully connected your LiftMaster control panel and programmed your remote. It’s a little tricky at first, but with the right steps, it can be accomplished quickly. Remember to take your time, and don’t hesitate to consult the manual if something seems off.
Your garage door isn’t just a convenience; it enhances your home’s functionality and security. Keep these connections secure, and you’ll enjoy automatic access to your garage for years to come! Here’s to stress-free entrances and exits!