Understanding circuit board issues is essential whether you’re using a Sears Craftsman model or another remote type. Many of these problems stem from simple electrical failures, loose connections, or miscommunication between the remote and the opener itself. Let’s dive in and explore how to fix a Sears circuit board step by step, so you won’t be left in the dark.
Identifying the Problem
Before you jump into fixes, you’ll want to identify what’s actually wrong with the circuit board. There are several signs that indicate a problem. For instance, if your garage door isn’t responding to the remote, or if it opens and closes erratically, those could be red flags.
Here are some common indicators to look for:
- Inconsistent Operation: The door only opens sometimes, or you have to press the remote multiple times.
- Lights Flashing Abnormally: The indicator lights on your opener may blink in patterns, signaling errors.
- Unresponsive Remote: No matter what you do, the door won’t budge when you press the remote button.
To effectively troubleshoot, it’s good to refer back to the manual that came with your garage door opener. It typically has a troubleshooting section that lists error codes or descriptions based on the flashing lights or patterns.
Gathering Necessary Tools
Now that you know there’s a problem, it’s time to gear up. Before you start working on the circuit board, you’ll need a few basic tools. Think of this as your toolkit for garage door surgery.
Here’s a handy list of what you might need:
- Screwdriver Set: A Phillips and flat-head screwdriver will work for most cases.
- Multimeter: This tool is crucial for checking voltage and continuity on the circuit board.
- Replacement Parts: Depending on the issue, you may need a new circuit board or specific components like capacitors or fuses.
- Wire Cutters/Strippers: For any damaged wires that you might need to replace.
Having the right tools on hand not only makes the job easier but ensures that you can complete the repair without unnecessary interruptions.
Accessing the Circuit Board
Once you’re ready with the right tools, the next step is to access the circuit board. Here’s a simplified process to get you there safely:
1. Unplug the Opener: Safety should always come first. Make sure your garage door opener is unplugged before starting any work.
2. Remove the Cover: Most Sears models will have a plastic cover that needs to come off. You’ll typically find screws holding it in place, so use your screwdriver to carefully take them out.
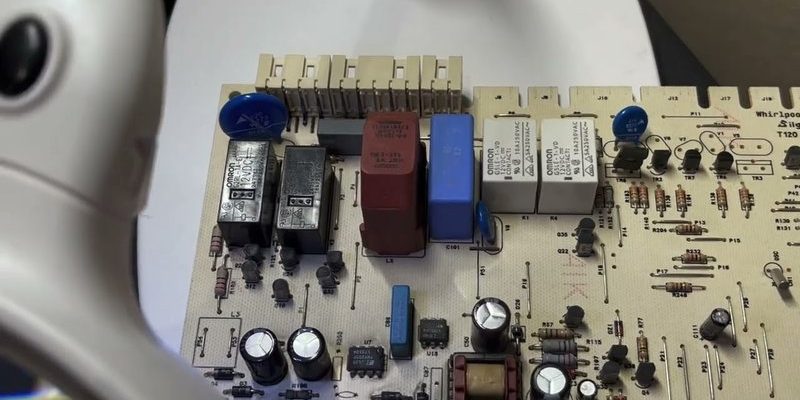
3. Locate the Circuit Board: With the cover off, you should see the circuit board. It usually sits prominently, often connected to the power supply and various sensors.
Be gentle while working, as circuit boards can easily bend or break under pressure.
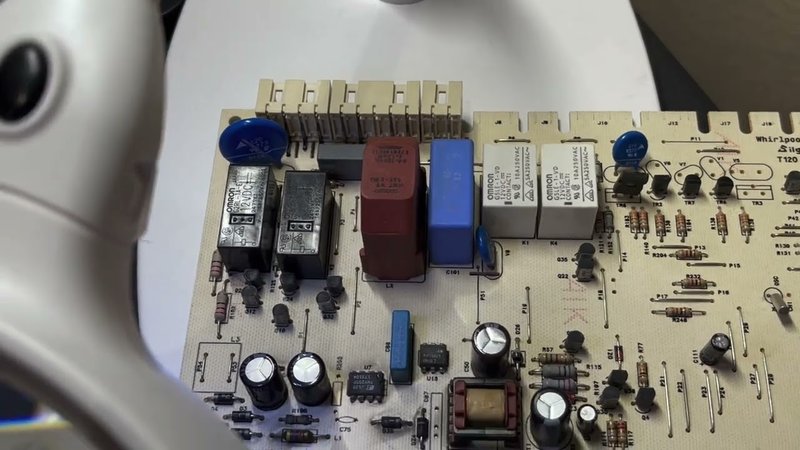
Inspecting for Damage
With the circuit board now accessible, it’s time for a close inspection. You’re looking for any obvious signs of damage. This can be a visual inspection, but using a multimeter can also provide deeper insight.
Here’s what you should examine closely:
- Burn Marks: Look for blackened spots that indicate overheating or electrical shorts.
- Loose Connections: Ensure that all the wires are securely attached. Sometimes, all it takes is a tight connection for everything to start working again!
- Frayed Wires: If you spot any wires that look damaged, they’ll need to be replaced to prevent further issues.
If you find any parts that seem faulty, you can usually replace them individually rather than the whole board.
Testing Voltage and Continuity
Now that you’ve inspected the circuit board, it’s time to test it. Using a multimeter, check for continuity and voltage at various points on the board.
To do this:
1. Set Your Multimeter: Adjust the multimeter to the “voltage” setting to check AC voltage where applicable. For continuity, use the “ohm” setting.
2. Probe the Points: Touch the probes to the appropriate test points listed in your manual or based on your observations. You’re checking to see if electricity flows correctly. If not, that’s a clear sign of trouble.
3. Note Your Findings: Keep a note of any irregular readings. This information can guide your next steps.
If your tests indicate that the circuit board is faulty, it may be time to consider replacing it rather than repairing it.
Replacing the Circuit Board
In some cases, the circuit board damage is too severe for repairs. If that’s the case, replacing it might be your best option. Here are some simple steps you can follow to replace your Sears circuit board:
1. Purchase a Compatible Replacement: Make sure you have the correct model number and specifications to get the right circuit board.
2. Disconnect the Old Board: Carefully remove any connections to the old board, documenting where each wire goes for easy reassembly.
3. Install the New Board: Position the new circuit board in place and connect all the wires exactly as they were before.
4. Seal It Up: Once everything looks good, replace the cover and secure it with screws.
After replacing the circuit board, be sure to plug the opener back in and test it out!
Final Checks and Troubleshooting
After your circuit board repair or replacement, it’s important to do a few final checks. Start by making sure that everything is securely connected and the area is reassembled like it was originally. Then, try syncing your remote again.
To sync it:
1. Locate the Learn Button: This is usually found on the motor unit of your garage door opener.
2. Press the Button: Push the learn button until the indicator light flashes.
3. Press Your Remote: Within 30 seconds, press and hold the button on your remote that you want to use.
If all goes well, you should see your garage door respond. If it doesn’t, double-check the connections and ensure that no wires were missed during reassembly.
When to Call in the Professionals
Sometimes, despite our best efforts, things just don’t work out as planned. If after troubleshooting and attempting repairs you still can’t get your garage door to cooperate, it may be time to consult a professional.
Here’s when you might consider reaching out:
1. Severe Damage: If your circuit board has extensive damage or the opener has other underlying mechanical issues.
2. Safety Concerns: If you’re uncomfortable working with electrical components, it’s best to leave it to the experts.
3. Time Constraints: Sometimes, we simply don’t have the time to delve into DIY repairs, and calling a pro can save headaches down the line.
In conclusion, while fixing a Sears circuit board may seem daunting at first glance, it’s pretty manageable with a little patience and the right tools. Remember to take your time, consult your manual, and don’t hesitate to ask for help if needed. With a bit of effort, you may find yourself enjoying a smoothly operating garage door sooner than you thought!
Originally posted 2025-01-31 09:34:06.