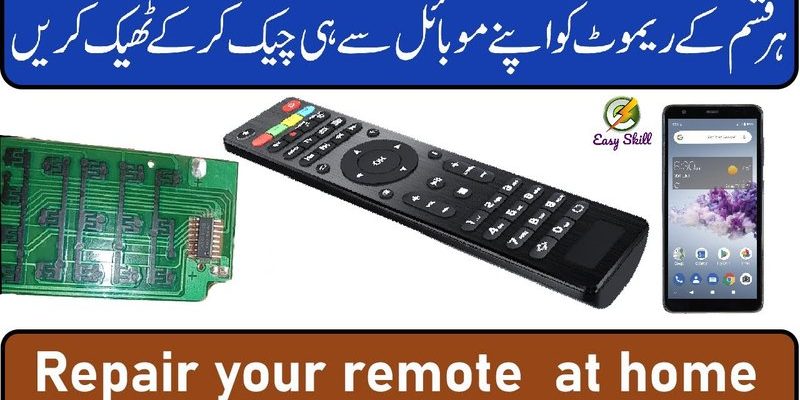
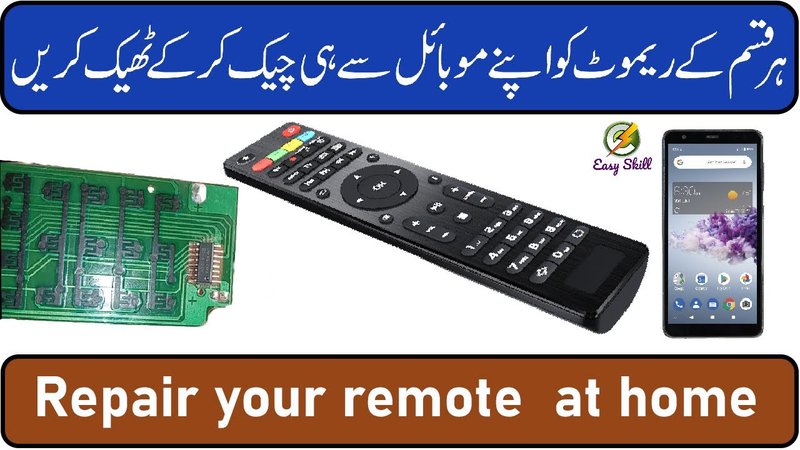
Skylink remotes are handy devices, making life simpler by allowing easy access to your garage door or other remote-controlled devices. They can be as small and unassuming as a TV remote but are packed with important functionality. You might be wondering why a remote needs maintenance or troubleshooting in the first place. Well, like any gadget, wear and tear can take a toll, or sometimes it’s just a matter of needing a bit of a reset. Let’s dive into how you can get your Skylink remote back in tip-top shape!
Common Issues with Skylink Remotes
Skylink remotes can run into a few common problems that most users have likely experienced at some point. You might find that your remote isn’t responding, or perhaps it’s only working intermittently. These issues can usually be traced back to a handful of sources, making it easier for you to pinpoint what’s wrong.
Dead or Weak Batteries
Honestly, one of the most common culprits is weak or dead batteries. Think about it—without a reliable power source, no remote will work, right? Battery issues might crop up if your remote is older, or maybe you accidentally left the remote on a table where it was “on” for an extended period. If the buttons feel unresponsive, start by replacing the batteries with fresh ones. It’s a super simple fix that can save you a lot of headaches!
Signal Interference
Have you ever noticed that your remote works perfectly in some spots and not at all in others? This could be a sign of signal interference. Things like thick walls, metal objects, and other electronic devices can block the signal your remote sends. Try moving closer to the device you’re controlling, or removing possible obstructions, and see if that makes a difference.
How to Replace the Batteries in Your Skylink Remote
Now that you know battery issues often occur, let’s talk about *how to replace them*. A fresh set of batteries is a quick way to rule out one of the most common problems. Here’s a step-by-step guide to help you navigate the replacement process seamlessly.
- Start by finding a small screwdriver. Most Skylink remotes have a compartment for batteries that can be opened with one.
- Carefully open the battery compartment on the back or bottom of the remote. Take your time—no need to rush here!
- Remove the old batteries, paying attention to their orientation. There’s usually a little diagram showing which way the positive and negative ends should face.
- Insert the new batteries, making sure they’re oriented correctly. Snap the compartment closed, and give your remote a test!
Replacing the batteries can be surprisingly rewarding. If your remote starts responding again, you’ve just saved yourself time and frustration.
Syncing Your Skylink Remote
Sometimes, even with fresh batteries, your remote might need to be synced again. This can happen after replacing batteries or when the remote gets out of sync with the garage door opener or other devices. No worries—this process is straightforward and can be done at home.
Steps to Sync
Here’s how to sync your Skylink remote:
1. Find the “Learn” button on your garage door opener or the device you’re trying to control. It’s typically located near the antenna or on the main control board.
2. Press and hold this button until you see a light blink—this indicates it’s ready to sync.
3. Within 30 seconds, press the button on your Skylink remote that you want to sync to that device. If done correctly, you should see the light on the garage door opener flash or turn solid.
4. Test the remote to see if it now operates the device. If it works, congratulations! If not, try the steps again.
Syncing your remote is essential for ensuring compatibility and ensuring everything runs smoothly.
Resetting Your Skylink Remote
If syncing doesn’t resolve the issue, a reset might be the next step. Resetting can clear any minor glitches or confusion that might have occurred within the remote’s programming.
How to Reset Your Remote
Here’s a simple method to reset:
1. Remove the batteries from the remote.
2. Press and hold any buttons for about 15-20 seconds. This helps discharge any remaining energy in the remote.
3. Release the button, wait a few seconds, and then insert the batteries again, making sure they are aligned properly.
4. Try syncing your remote again. After a good reset, it should be able to pair with your device again without any hiccups.
Resetting is often like giving your remote a fresh start, which can be just what it needs to get back to work.
Checking for Other Technical Issues
If your remote still isn’t cooperating, it might not just be the remote after all. Software issues within the remote or the device it controls could also be causing problems. Checking each side helps narrow down the issue.
Garage Door Opener Issues
Consider looking at your garage door opener itself. You want to ensure it’s functioning correctly. Make sure there’s no power interruption or blockage on the track. You could also try using the wall switch rather than the remote. If the wall switch doesn’t work either, the issue likely resides with the opener.
If the opener works with the wall switch but not the remote, then you can almost certainly pinpoint that it’s your remote causing the issue. Sometimes, software updates may also be necessary, but this is more common for smart systems.
When to Seek Professional Help
After trying all these troubleshooting steps, if you’re still facing issues, it may be time to consider professional assistance. Devices like garage door openers can harbor hidden problems that are beyond a DIY fix.
Seeking Repair Services
Finding a local technician experienced with Skylink products can make all the difference. It may seem a bit daunting to hand your device over to a stranger, but sometimes, a trained eye can catch problems you simply can’t see. You can expect thorough testing and diagnostics to determine the root cause of the problem.
Taking your remote to a local hardware store for a check-up is also an option. Many stores have knowledgeable staff who can help troubleshoot issues.
In conclusion, fixing a Skylink remote is often a matter of following a few simple steps, taking your time to assess each element, and not overlooking the obvious—like replacing the batteries first! Remember to be gentle with your devices, and approach troubleshooting logically and patiently. With these tips, you’ll have your remote running smoothly in no time!