You might be wondering why your keypad is acting up in the first place. The truth is, there are many reasons why it might stop working, from battery issues to synchronization problems. Don’t fret if you’re not a tech expert; with a bit of guidance, you can easily tackle these common issues. Let’s dive into how you can get your keypad back in working order.
Identify the Problem with Your Chamberlain Keypad
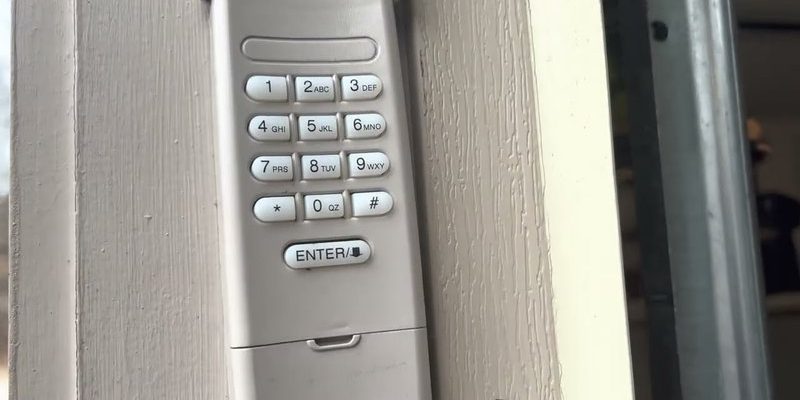
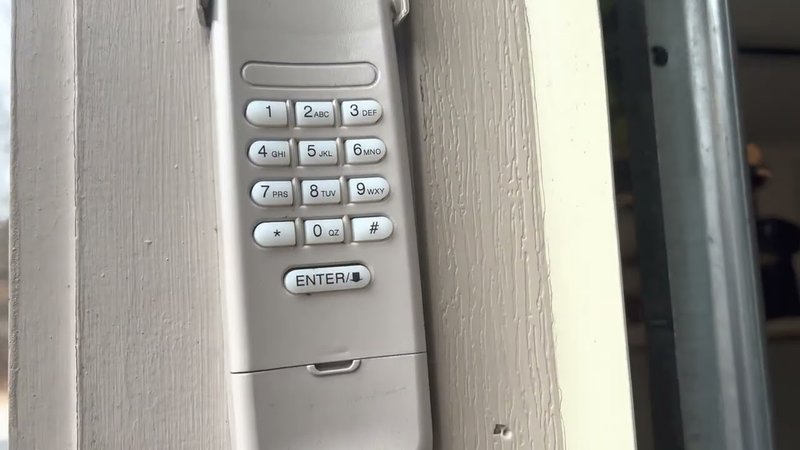
Before you can fix your Chamberlain keypad, you need to figure out what’s gone wrong. Sometimes, the problem could be as simple as dead batteries. Other times, it might be related to how the keypad is synced with your garage door opener.
Start by checking for basic signs of malfunction. Is the keypad lighting up? If not, it might need a new battery. You can easily replace the batteries by carefully opening the compartment, usually found on the back or bottom of the device. Just make sure to use the type specified in the manual—using the wrong battery can create further issues.
Once you’ve swapped the batteries, press a few buttons to see if the keypad lights up. If it does, great! If not, you might have to dig a little deeper into potential synchronization or wiring issues.
Changing the Batteries in Your Keypad
It may sound basic, but knowing how to change the batteries in your Chamberlain keypad can save you a lot of trouble. Start by locating the battery compartment, which is typically secured with a small screw or a sliding cover.
- First, use a screwdriver to remove the screw if needed.
- Then take out the old batteries, ensuring you note how they are positioned.
- Insert the new batteries in the same orientation as the old ones.
- Finally, close the battery compartment and secure it if necessary.
After replacing the batteries, give your keypad some test runs. Tap in your code and see if the garage door opens. This simple task can often resolve issues and doesn’t require you to be a handyman!
Resetting Your Chamberlain Keypad
Sometimes, a simple reset might be all your Chamberlain keypad needs to get back on track. Resetting your device can help resolve syncing issues, which may occur if you’ve recently changed the remote code or added a new remote.
To reset your keypad, you usually need to press and hold the “*” and ”
After resetting, you’ll need to re-enter your code. Follow the instructions in your manual to ensure you program it correctly. A well-executed reset can save you time and mitigate potential headaches.
Reprogramming Your Keypad
If resetting didn’t do the trick, the next step is reprogramming your keypad. This process aligns your keypad with your Chamberlain garage door opener’s system. Here’s how to do it:
1. Locate the ‘Learn’ button on your garage door opener. This is often near the antenna on the backside of the unit.
2. Press and release the ‘Learn’ button. An indicator light should illuminate.
3. Within 30 seconds, return to your keypad and enter a new 4-digit code, followed by the “Enter” button.
4. If done correctly, you’ll hear a click from the opener—indicating a successful connection.
Keep in mind that having a strong connection between your keypad and opener is essential for smooth operation. If at any point you feel lost, consulting the manual is a great way to get back on track.
Tackling Common Keypad Issues
Even after changing batteries, resetting, and reprogramming, issues can still arise. Several problems are common among Chamberlain keypads, and knowing how to troubleshoot them can save you from costly repairs or replacements.
– Non-responding Keys: If some keys aren’t responding, they might be stuck or have dirt lodged underneath. Lightly tapping on the affected keys or cleaning them with a soft cloth can sometimes resolve this.
– Code Not Working: If your keypad is not responding to the code you’ve set, double-check for accuracy. It’s easy to accidentally mistype or forget a digit, so take your time when entering.
– Range Issues: If the keypad works when you’re close but not from a distance, consider checking the batteries again. Low power can affect the range, and you might only get intermittent responses.
Sometimes, these small fixes can make a significant difference!
Contacting Professional Support
If you’ve tried all the fixes and your Chamberlain keypad is still giving you trouble, it might be time to reach out for professional help. Sometimes, hardware issues like damaged wiring or malfunctioning components can prevent a simple fix.
You can contact Chamberlain’s customer support for troubleshooting assistance or look for a local garage door technician. They can provide on-site advice or repairs that aren’t feasible to handle on your own.
Before calling, make sure to have your model number and any warranty information handy. This can help the support team assist you more efficiently.
Prevention Tips for Future Issues
Once you’ve resolved your keypad issues, you’ll want to keep them from cropping up again. Here are some simple prevention tips:
– Regular Maintenance: Occasionally check the batteries and clean the keypad to ensure it’s free from dirt and grime.
– Stay Updated: Keep up with firmware updates if applicable. Occasionally, manufacturers will roll out updates that improve compatibility and performance.
– Limit Exposure to Elements: If possible, install your keypad in a sheltered spot to reduce exposure to rain, snow, and extreme temperatures, which can impact its functionality.
By implementing these tips, you can extend the lifespan of your Chamberlain keypad and minimize the hassle of unexpected issues.
Finishing up, fixing your Chamberlain keypad can feel daunting, but many problems have straightforward solutions. Whether it’s changing batteries or reprogramming, most fixes can be done quickly with a little patience and careful attention. Now that you know how to troubleshoot, hopefully, your garage door issues will become a thing of the past. So take a deep breath and get started—you’ve got this!
Originally posted 2025-02-19 09:42:32.