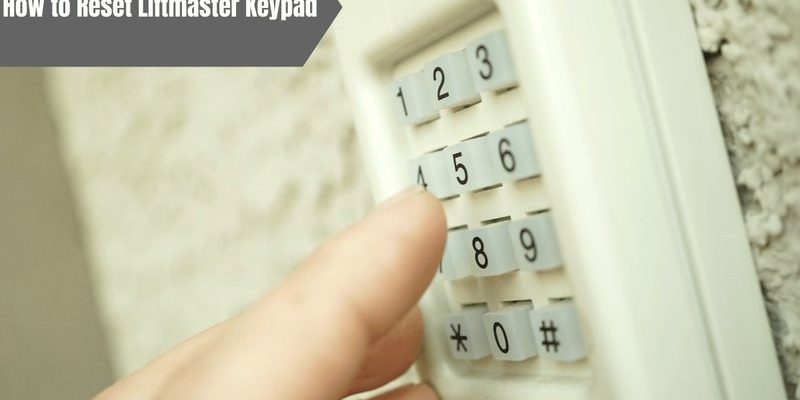
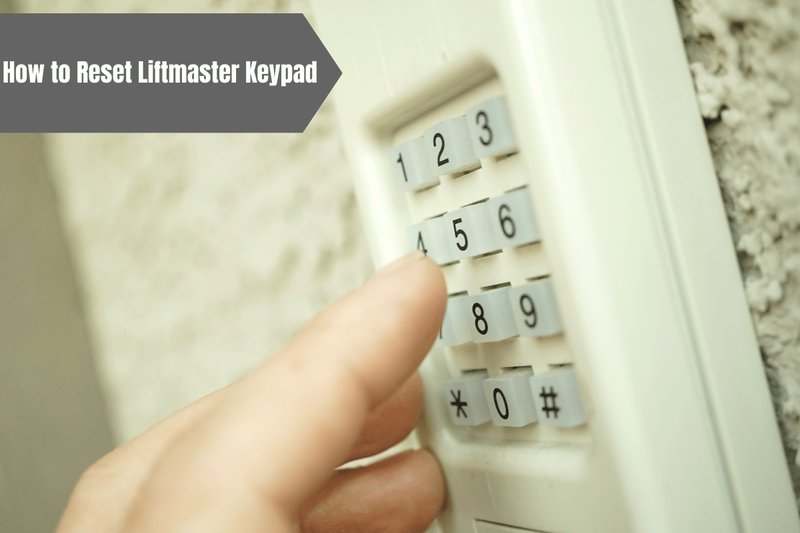
Liftmaster keypads are convenient for opening your garage door without digging for your remote. But when they stop communicating with the garage door opener, it can feel like you’re locked out of your own home. In this guide, I’ll walk you through troubleshooting and fixing your Liftmaster keypad, so you can get back to your day without the worry of being stuck outside.
Why Is My Liftmaster Keypad Not Working?
The first question you might ask when your Liftmaster keypad isn’t functioning is, “What’s wrong?” There are a few common culprits behind your keypad’s change in behavior, and understanding them can help you tackle the issue more easily.
Dead Batteries: Just like any other battery-powered device, your Liftmaster keypad operates on batteries. Over time, those batteries drain, resulting in a non-responsive keypad. If you haven’t changed the batteries in a while, that’s the first place to start.
Signal Issues: Sometimes, the problem isn’t with the keypad itself but rather with the signal. If there’s something blocking the signal from the keypad to the garage door opener—like a tree or a wall—you might encounter issues. Even heavy rainfall or snow can interfere with connections.
Programming Errors: It’s also possible that the keypad has lost its programming or is out of sync with the garage door opener. This can happen if the system undergoes a power change or if someone accidentally resets it.
Understanding these factors is key to solving the problem and getting your keypad back in working order.
How to Change the Batteries in Your Keypad
Changing the batteries is a quick and easy first step to troubleshooting. Here’s how you can do it, step by step:
- Locate the battery compartment: This is usually found on the back of the keypad. You may need to unscrew it or simply slide the cover open, depending on the model.
- Remove old batteries: Take out the dead batteries and dispose of them properly. Don’t forget to note the orientation of the batteries, as you’ll want to install the new ones the same way.
- Insert new batteries: Place fresh batteries into the compartment, ensuring they’re oriented correctly. Use high-quality batteries for optimal performance.
- Close the compartment: Slide or screw on the battery cover securely, and you’re done!
Once you replace the batteries, give your keypad a test. If it still doesn’t work, you might need to take a look at the signal or reprogram it.
Testing the Signal Strength
After you’ve swapped out those batteries, the next step is to check if your keypad is sending signals strong enough to reach the garage door opener. Think of this like checking if your Wi-Fi connection is stable. Here’s how to do it:
Stand Closer: Start by standing near the garage door to see if the keypad responds. If it works, the issue is likely signal interference rather than a broken keypad.
Look for Interference: Check for obstacles that could block the signal, like metal objects or electronics that emit their own signals.
Test Your Remote: If you have a Liftmaster remote, try using that to see if it functions. If so, it confirms that the door opener is working correctly, isolating the keypad as the likely issue.
If the keypad works up close, consider adjusting its position or relocating any potential signal blockers.
Reprogramming Your Liftmaster Keypad
Sometimes, reprogramming the keypad can resolve communication issues. It’s similar to resetting a relationship with a friend—you have to re-establish the connection. Here’s a straightforward way to do it:
- Enter Programming Mode: Look for the “Program” button on your garage door opener. Press and hold it until the LED light turns on.
- Enter Your Code: On the keypad, press the “Enter” button followed by your desired code. This code can be any 4-digit number that’s easy for you to remember but hard for others to guess.
- Confirm Your Code: Press “Enter” again to confirm your new code. Wait for the garage door opener light to flash, indicating the programming was successful.
- Test the Keypad: Exit programming mode by pressing any button on the keypad. Now, try entering your code to open the garage door.
If the keypad responds correctly, congratulations! You’ve successfully reprogrammed it. If not, keep going.
What to Do If It Still Doesn’t Work
If you’ve tried changing batteries, checking the signal, and reprogramming your keypad with no success, don’t panic. Here are a few more options you might explore:
Check the Wiring: If you’re comfortable, examine the wiring on the keypad as well as the garage door opener. Look for any loose connections or damage that might affect functionality.
Inspect for Damage: Sometimes, physical damage can lead to keypad malfunction. Look for cracked or broken parts. If your keypad is severely damaged, it may be time for a replacement.
Call Support or a Technician: If you’re not able to resolve the issue yourself, don’t hesitate to reach out for professional help. Liftmaster customer support or a local technician can guide you through specific issues related to your model.
Remember, garage door aspects can be tricky, and reaching out for help or guidance is always okay!
Purchasing a Replacement Keypad
If after exhausting all troubleshooting methods your Liftmaster keypad still refuses to cooperate, it might be time for a replacement. Choosing a new keypad isn’t just about finding something that works; you want one that fits your specific needs. Here’s what you should consider:
Compatibility: Ensure that the new keypad is compatible with your existing Liftmaster garage door opener model. Most product pages will have this information readily available.
Features: Some keypads offer additional features such as backlighting, weather protection, or even smartphone integration. Think about what matters most to you.
Price: Keypads vary widely in price. Set a budget and compare models based on features and reliability rather than going for the cheapest option.
Fixing a Liftmaster keypad can seem daunting at first, but with a little patience and some basic troubleshooting steps, you can often get it back up and running on your own. Change the batteries, check the signal, reprogram it, and consider replacement options if necessary. The important thing is that you’re not locked out forever.
So next time you’re standing with your finger on the keypad, remember these tips, and you’ll be back inside in no time! Keep your garage door opener in good condition, and you’ll be amazed at how smoothly life flows, just like a car gliding out of the garage.