So, where do we start? You might be tempted to toss the remote in a drawer and pull out a backup, but hang on! Before you do, let’s go through some tried-and-true methods for troubleshooting and fixing that pesky Liftmaster remote. We’ll explore everything from fresh batteries to reprogramming, ensuring you get back to breezing in and out of your garage like you own the place.
Check the Batteries
You might be rolling your eyes, but trust me—this is where most remote issues begin. If your Liftmaster remote suddenly stops working, the first thing to consider is the battery. It’s like checking your phone’s battery level when it’s acting weird.
Open the back cover of the remote and take a peek at those batteries. If they look corroded or old, it’s time to swap them out. Make sure to replace them with fresh ones of the same type. Typically, Liftmaster remotes operate on 3V lithium batteries, but checking the user manual can confirm this for your specific model.
After you’ve replaced the batteries, give it a good test run. Press the button and see if your garage door responds. If it does, then congratulations! You’ve solved the problem. If not, don’t despair just yet; we have other solutions to try.
Reprogramming the Remote
If changing the batteries didn’t work, the next step is reprogramming the remote. Sometimes, a hiccup in communication between your remote and the garage door opener can occur. Think of it like a broken telephone—you need to reset and clear that line of communication.
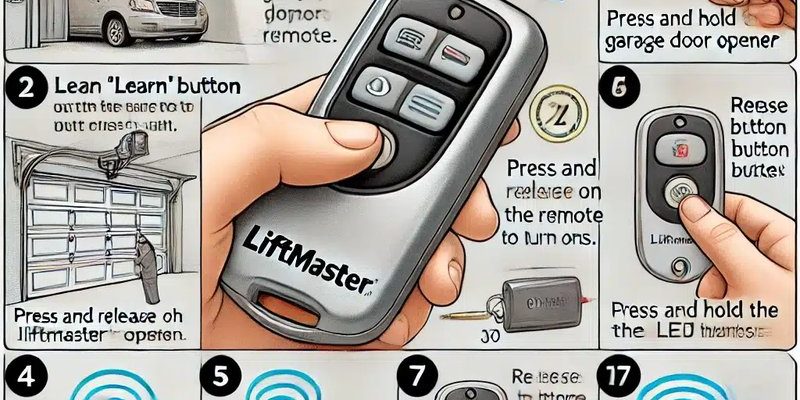
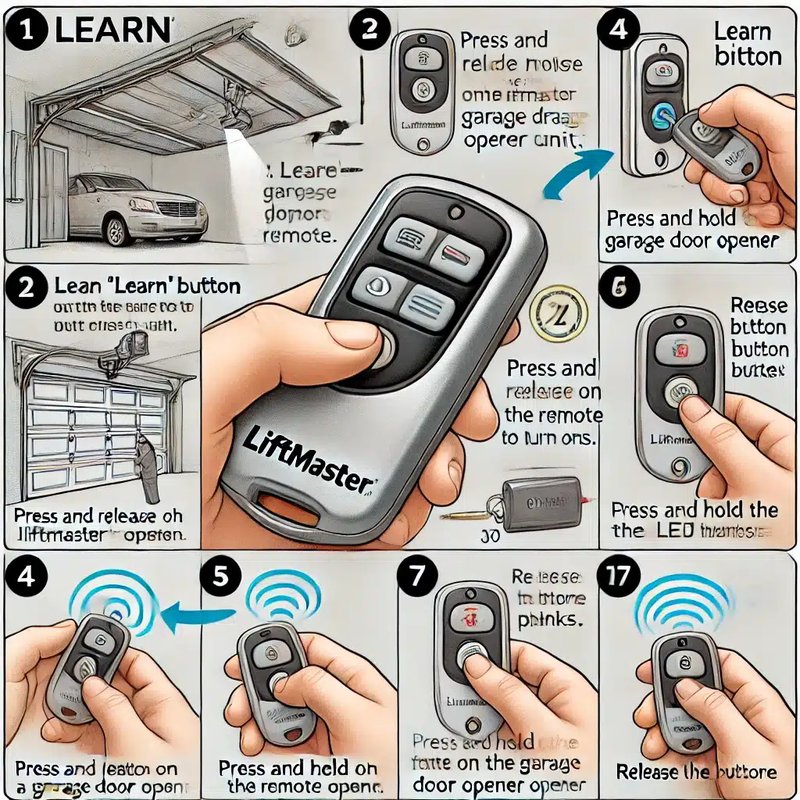
To reprogram your Liftmaster remote, locate the “Learn” button on the garage door opener unit. This button is usually found on the back or side, often beneath a protective cover. Once you find it, follow these steps:
- Press and release the “Learn” button.
- Within 30 seconds, press and hold the button on your remote that you want to program.
- Wait for the garage door lights to blink, indicating successful programming.
Once you’ve completed these steps, try the remote again. If it’s still not working, let’s explore another common culprit.
Check for Signal Interference
Sometimes your remote might be working perfectly, but something is blocking its communication with the garage door opener. This is often due to interference from other devices. Wi-Fi signals, nearby electronics, or even the walls of your garage can interfere with the remote’s signal.
Try moving closer to the garage door and pressing the remote. If this works, the signal was likely being blocked. You can also check if there are new devices introduced in your home, such as a baby monitor, that may be causing interference. If moving closer helps, consider changing the location of sensitive electronic devices to minimize interference.
Inspect the Remote for Damage
Just like a phone can crack if dropped, Liftmaster remotes are prone to physical damage. Inspect both the exterior and interior components for any obvious signs of wear and tear. Sometimes, a simple physical issue like a missing button or a loose connection inside can render the remote useless.
If your remote has taken a spill, try gently opening it up (if you feel comfortable doing so) and checking for loose wires or broken parts. If you spot something broken, you can consider buying a replacement remote. It’s often faster and more cost-efficient than trying to repair it.
Reset the Garage Door Opener
If all else fails, it might be the garage door opener itself that needs a reset. Think of this as giving it a quick nap. To do this, find the reset button—usually located on the motor unit of the opener. You might need to press and hold it for a few seconds.
Once the opener resets, it should clear any glitches that might have been affecting your remote. After resetting, reprogram the remote as outlined earlier and give it another shot. Sometimes a fresh start is all it needs!
Consider a Universal Remote
If your Liftmaster remote is still not cooperating, it might be time to explore a universal remote option. Universal remotes can help if your original remote is lost or broken beyond repair. They’re usually compatible with various brands, including Liftmaster.
When looking for a universal remote, ensure it’s marketed as compatible with your Liftmaster model. Installing a universal remote is quite similar to programming your original remote. Follow the instructions provided, and you should be good to go!
Fixing a Liftmaster remote might seem daunting at first, but with a few simple steps, you can often resolve the issue yourself. From checking batteries to troubleshooting interference, you’ve got several options to get back in action. If all else fails, don’t hesitate to consider a universal remote as a convenient backup.
Remember, every little obstacle in life is just a chance to learn something new. With this newfound knowledge of fixing your remote, you’re now equipped to handle any situation that comes knocking at your garage door! So go ahead—push that button and enjoy the smooth, effortless opening of your garage door again.