Replacing a motor unit may sound intimidating, but it’s often a straightforward task if you know what to do. We’ll walk through the steps together, breaking it down into simple, manageable parts. Think of this as your trusty guide to ensuring your garage door keeps rolling smoothly, like taking care of any handy tool you rely on.
Gathering Your Tools and Materials
Before diving into the replacement process, having the right tools at your fingertips is key. Picture this: you wouldn’t start cooking a complicated recipe without all the ingredients laid out, right? The same logic applies here. You’ll need:
- New Sears motor unit
- Philips screwdriver
- Socket wrench set
- Wire cutters
- Wire strippers
- Step ladder
All these tools can usually be found in a typical garage or at your local hardware store. Being prepared means you’re not running around hunting for tools halfway through the project.
Disconnecting Power and Safety First
Before you jump into replacing the motor unit, safety should be your top priority. Turn off the power to the garage door opener at the circuit breaker to avoid any accidents. Think of it like unplugging a toaster before you start working on it—an essential step for your safety.
Next, make sure to clear the area around the garage door opener. This means removing any boxes, clutter, or other items that might get in your way. Accidents happen easier than you think when you’re working in tight spaces.
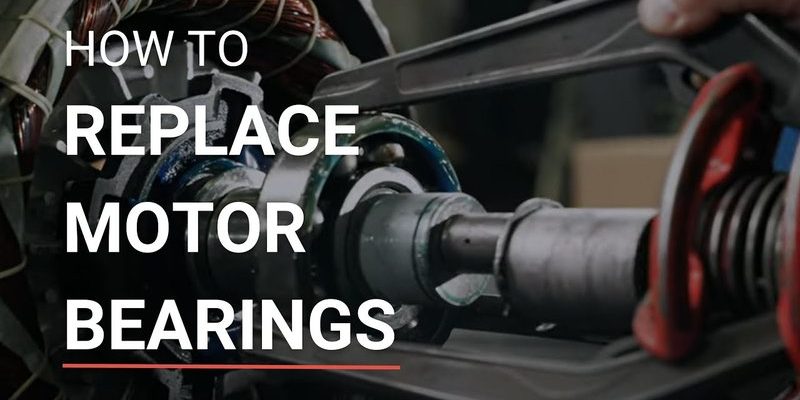
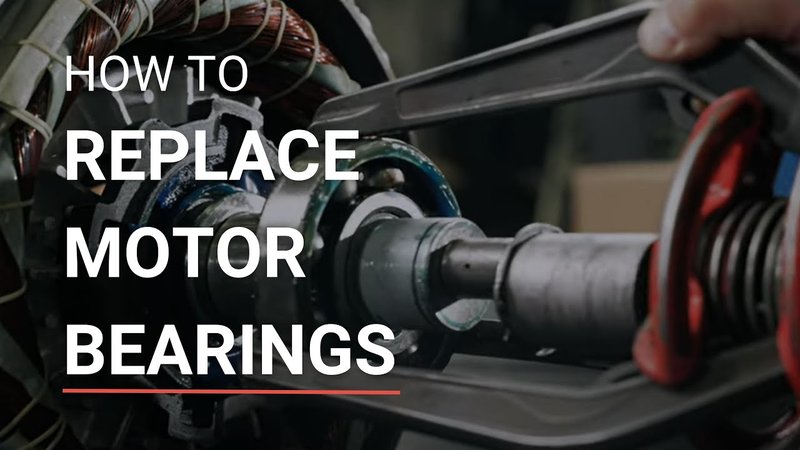
Removing the Old Motor Unit
With power turned off and workspace cleared, it’s time to tackle the old motor unit. Start by locating the mounting screws that hold the motor unit to the ceiling. Usually, it’s pretty straightforward, but if you can’t find them, refer to your owner’s manual. If you’ve lost it, many manuals are available online.
Once the screws are out, carefully lift the motor unit off the mounting bracket. This might require a bit of muscle, so don’t hesitate to ask for help if it feels too heavy. The last thing you want is to struggle solo and risk dropping it! Next, disconnect the wiring harness. It’s often as simple as unplugging it, but if it’s hardwired, you might need to use your wire cutters or strippers afterward.
Installing the New Motor Unit
Now comes the fun part—installing the new Sears motor unit! With the old one removed, take your shiny new motor and place it gently onto the mounting bracket. Make sure it’s oriented correctly. You don’t want to install it upside-down, right?
Secure the motor by tightening the screws into the mounting bracket. Ensure they are snug but not overtightened. Think of it this way: you want a snug fit but don’t want to break anything. Once that’s done, it’s time to reconnect the wiring. If you’re dealing with a harness, just plug it back in. If it’s hardwired, ensure the wires are connected correctly. Check the colors—matching colors is usually reliable!
Reconnecting Power and Testing
Once everything is secured and connected, it’s time to restore power. Flip the breaker back on. When you do this, there might be a moment of anticipation. Will it work? To test the door’s operation, use your remote or the wall switch—just as you usually would. Here’s the thing: listen closely. If it hums but doesn’t move, you might need to check for any programming or syncing issues.
In case things don’t go smoothly, it’s worth troubleshooting a few common issues. For instance, check if the remote’s battery is fresh (yes, those tiny batteries can cause quite a fuss) and make sure the motor is properly resetting. Sometimes, syncing the remote may be necessary. Consult the manual if needed—this step can often clear up any kinks.
Maintaining Your New Motor Unit
Now that you’ve successfully replaced your Sears motor unit, how do you keep it running smoothly? Regular maintenance can lengthen its lifespan significantly. Here are some tips to consider:
- Check the balance of the garage door regularly.
- Lubricate moving parts, like rollers and tracks, every few months.
- Keep the sensor lenses clean to ensure they work properly.
- Listen for any unusual sounds when operating the door—trust your instincts!
Treat your garage door opener like any other appliance that benefits from proper care and attention. Just a little effort can go a long way in avoiding further issues down the road.
Replacing your Sears motor unit may seem daunting at first, but with the right tools and a clear plan, you can do it! Remember to take your time as you work through each step, and don’t be afraid to ask for help if needed.
Now, when you press that remote button, you’ll feel a sense of pride knowing you’ve managed to give your garage door a new lease on life. So, roll up those sleeves and get to work—the smooth opening and closing of your garage door await!