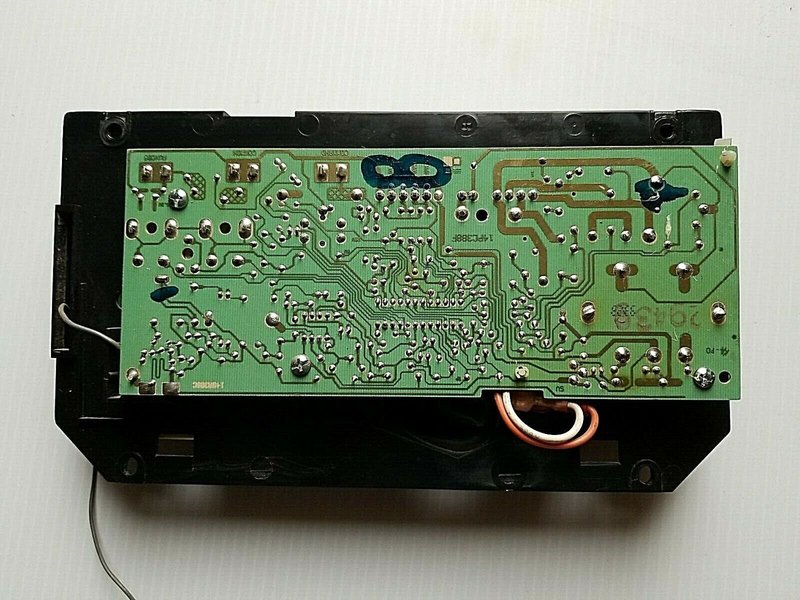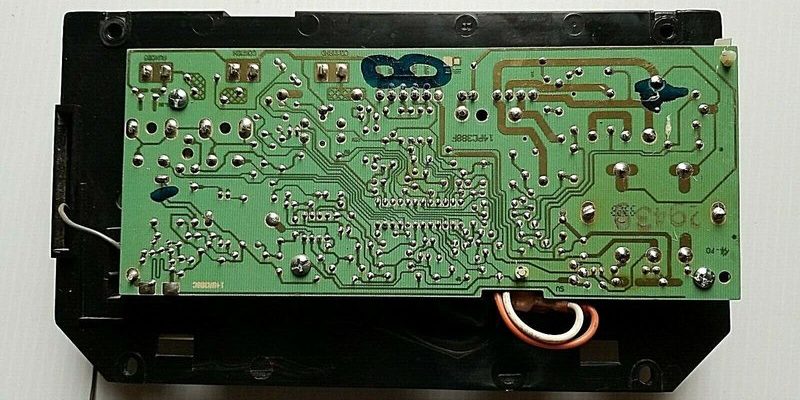
If you’ve noticed that your garage door opener isn’t responding like it used to—a sluggish response, blinking lights, or perhaps it won’t open at all—it could be time for a circuit board replacement. Circuit boards in your opener work like the brain in your head. When they start to misfire, the whole operation can go haywire. Luckily, replacing these boards is something you can manage with a bit of guidance and the right tools.
Understanding Your Sears Garage Door Opener
Before diving into the replacement process, let’s get cozy with what makes your Sears garage door opener tick. These units can vary significantly from one model to another, so it’s essential to know which type you have. Your opener’s model number is usually located on the back of the unit.
Most Sears openers use either a chain drive or belt drive system, which affects how the opener operates. The circuit board’s purpose is to control the motor, infrared sensors, and remotes, ensuring everything works in harmony. If something isn’t right, the circuit board might be the culprit, especially if you’ve already explored other issues like bad sensors or battery problems with your remote.
Here’s a quick way to get started:
- Check the model number on your opener.
- Identify whether it’s chain or belt-driven.
- Gather tools: screwdriver, replacement board, and possibly pliers.
Gathering Your Tools and Replacement Parts
With the model number in hand, it’s time to gather your materials. You’ll be looking for a replacement circuit board that fits your specific Sears opener model. It’s a bit like shopping for a new phone case—you need the right size and fit. You can often find replacement boards online or at home improvement stores.
Here’s a list of tools and items you’ll need:
- Replacement circuit board
- Screwdriver (usually a Phillips head)
- Protective gloves (optional but recommended)
- Clean cloth for dusting
- New batteries for your remote (just in case)
By having everything ready beforehand, you’ll streamline the process and avoid unnecessary trips back to the store.
Powering Down Your Opener
Before you start replacing anything, you must ensure power safety. This is crucial—nobody wants a surprise zap while fixing their opener. Unplug the unit from the power source and give it a moment. If you’re feeling extra cautious, it’s also a good idea to disconnect the battery if your model has one. It’s like making sure your phone isn’t listening before you dive into a sensitive conversation.
Take a minute to wipe down your opener. Dust and grime can interfere with the functionality of both the circuit board and the sensors, so a quick cleaning can go a long way in prolonging the life of your opener. Plus, it’s a nice way to ensure you’re working with a clean slate.
Removing the Old Circuit Board
Now we’re getting into the meat of the process: removing that old circuit board. Start by locating the cover panel of the opener. This will typically be a few screws you’ll have to unscrew—set those screws aside, and remember where they came from. It often helps to keep everything organized; use a small container if necessary.
Once the cover is off, take a good look at the existing circuit board. It usually gets connected to various wires. Carefully disconnect these wires—think of them like puzzle pieces. Take a photo of the connections if you’re worried about remembering where each one goes. This way, you have a handy reference when it’s time to install the new board.
Installing the New Circuit Board
With the old circuit board out of the way, it’s time to install your shiny new one. Start by aligning the new board with the openings where the old board was connected. Firmly, but gently, connect the wires back to their respective terminals, just like a game of connect-the-dots.
Make sure everything’s snug, but there’s no need to over-tighten. Once you’ve connected everything, replace the cover panel and secure it with screws. If you’ve taken a photo of the previous setup, now’s the time to use it as a guide.
Powering Up and Troubleshooting
After putting everything back together, it’s time to power it up again. Plug the garage door opener back into the outlet, and if applicable, reinsert the battery. If you haven’t done it yet, this is the moment you can test your remote. Press the button and see if the door responds. Fingers crossed, you should be in business!
If the door doesn’t operate, don’t sweat it. Here are a few quick troubleshooting tips:
- Ensure the connections are secure on the circuit board.
- Check that your remote’s batteries are fresh.
- Look for any error codes that may appear on the opener’s panel.
If all else fails, a good idea would be to consult your owner’s manual. They can offer specific troubleshooting steps tailored for your model.
Maintaining Your Sears Garage Door Opener
Once you’ve swapped out the circuit board and the opener is working again, you might wonder how to keep it running smoothly. Regular maintenance can save you time and trouble in the long run. Always keep the sensor lenses clean, and test your remotes often. Replace batteries every year or whenever they start to lose power.
Additionally, you might want to inspect moving parts like the chain or belt periodically. A little grease can go a long way in ensuring everything runs without a hitch. Think of it as a friendly reminder that just like any machine, your opener needs a little pampering now and then.
Replacing the circuit board in your Sears garage door opener isn’t just an essential skill; it’s a rewarding one. With a bit of understanding and the right approach, you can keep your garage door functioning seamlessly. Remember, feel free to take it slow—this process isn’t a race.
By following the steps outlined, you’ve not only tackled a potentially tricky issue, but you’ve also empowered yourself to handle future DIY repairs. So, the next time your garage door needs a little TLC, you’ll know exactly what to do!
