When your Sears garage door opener starts acting up, it can be frustrating. You might find yourself wrestling with a remote that doesn’t work or hearing strange noises when you hit the button. Before you dive into the replacement process, it’s helpful to consider a few key points, like what type of opener you currently have and what features you want in your new one. Most Sears openers are known for their reliability, but as technology improves, you might want something that offers smart features or better security.
Let’s dive deeper into how to replace that Sears garage door opener, step by step.
Understanding Your Garage Door Opener
Before embarking on your replacement journey, it’s crucial to understand how your current opener works. Most garage door openers consist of a few essential components: the motor, the drive system (belt, chain, or screw), and the remote control. Each part plays a vital role in ensuring smooth operation.
The motor is the powerhouse behind your opener, while the drive system helps transfer that power to the door itself. The remote control is what you use to signal the opener to do its job. When you press the button, a signal is sent to the opener, prompting it to either lift or lower the door. If this system is misaligned or damaged, it can lead to operational issues, prompting you to consider replacement.
When selecting a new opener, consider factors like power (measured in horsepower), drive type, and compatibility. A 1/2 HP motor is generally sufficient for standard residential garage doors, but heavier doors may require more power.
Gathering Tools and Materials
Before you start the replacement, it’s wise to gather all the tools and materials you need. Being prepared can save you time and stress down the line. Here’s a simple checklist you’ll want to follow:
- Tools: Screwdriver (both Phillips and flat), adjustable wrench, ladder, and a power drill.
- Materials: New Sears garage door opener, mounting brackets, safety cables, and a new remote key fob if needed.
- Safety: Don’t forget safety goggles and gloves—protect your eyes and hands!
Having these tools at your fingertips means you won’t have to stop mid-project to hunt for something. It’s all about efficiency here!
Removing the Old Garage Door Opener
Now that you’ve got your tools in hand, it’s time to remove the old opener. Follow these steps carefully:
1. Disconnect Power: First, locate the power cord connected to your old opener. Unplug it before doing anything else to avoid any accidents.
2. Remove the Remote: If your remote needs to be paired with the new opener, take this opportunity to remove the batteries, especially if you’re using a universal remote.
3. Take off the Mounting Brackets: Use your screwdriver to unscrew the mounting brackets that secure the opener to the ceiling or wall.
4. Detach the Opener: Carefully remove the garage door opener from its position. Having an extra set of hands can help here, especially if it’s a larger model.
Once everything is removed, inspect the area for any debris or repairs you might want to take care of before installing the new opener.
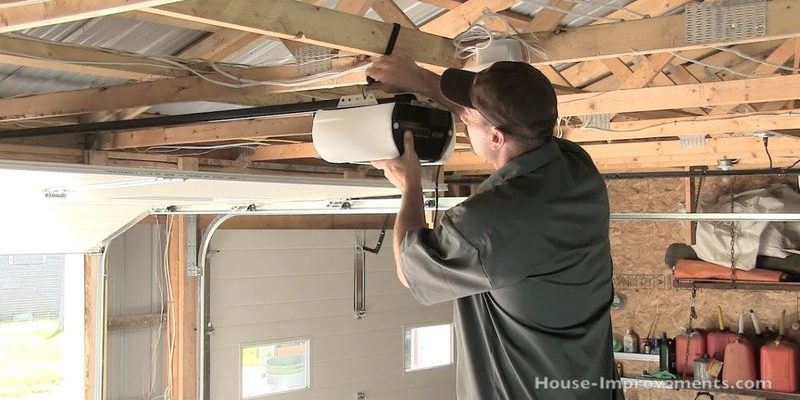
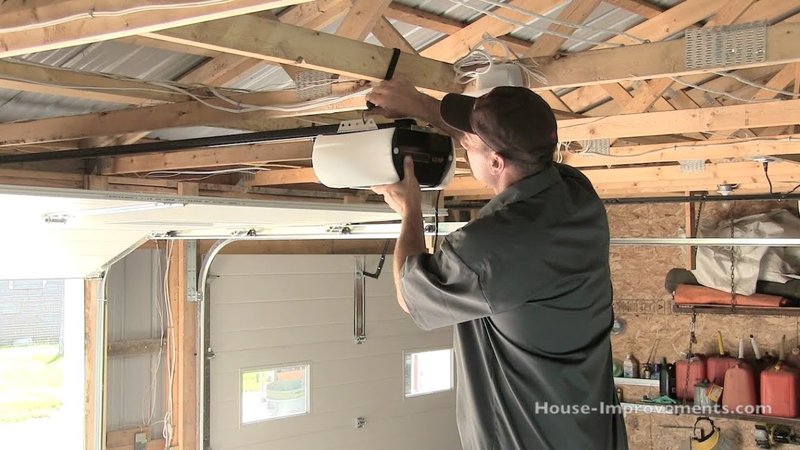
Installing the New Sears Garage Door Opener
With your old opener out of the way, it’s time to install the new one. Here’s how to get it right:
1. Read the Manual: The first step is always to read through the installation instructions that come with your new opener. Each model may have specific requirements.
2. Attach the Mounting Brackets: Secure the new opener’s mounting brackets to the ceiling or wall where the old one was. Make sure they’re level and aligned.
3. Connect the Drive System: Depending on your new opener’s drive type, you’ll need to attach the belt, chain, or screw to the motor. Make sure it’s tight, as this ensures smooth operation.
4. Connect the Safety Cables: If not already done, connect any safety cables that came with your new opener. This is a crucial safety feature.
5. Attach the Power Supply: Finally, plug the opener back into the power source.
Remember, the devil’s in the details, so take your time and make sure everything is secure before moving to the next step.
Programming Your New Remote Control
After your opener is installed, you’ll probably want to get your remote control working. Here’s a straightforward guide on how to do that:
1. Locate the Learn Button: On your opener, find the “Learn” button, usually on the back or side of the motor unit.
2. Press the Learn Button: Press and release the Learn button. This puts the opener in programming mode.
3. Press the Remote Button: Within 30 seconds, press and hold the button on your remote control that you want to use to operate the door. You should see the opener’s light blink, confirming that it has learned the remote.
4. Test it Out: Once programmed, test the remote by pressing the button. If the door opens and closes smoothly, you’ve successfully paired your remote!
If you run into problems, it could be helpful to consult the manual for troubleshooting tips or reset options.
Final Touches and Safety Checks
Once you’ve successfully installed your new Sears garage door opener and programmed the remote, it’s important to do a few final checks to ensure everything’s functioning properly.
1. Test the Door Operation: Open and close the door several times using both the remote and the wall switch. Ensure it runs smoothly without any strange noises.
2. Check Safety Features: All modern openers come with safety features, like automatic reversing when something is blocking the door. Test this by placing an object in the door’s path—if it doesn’t reverse, consult the manual.
3. Secure All Connections: Go through your installation and double-check that all screws, cables, and mounts are tightly secured. Any loose connections can lead to malfunction over time.
4. Consider Smart Features: If you opted for a smart opener, download any necessary apps and familiarize yourself with the mobile features.
Setting up your new garage door opener doesn’t need to be a source of stress. By following these steps and taking your time, you’ll have everything installed correctly.
Wrapping It Up
Replacing your Sears garage door opener can feel like a big job, but it’s truly manageable with the right guidance. From understanding the components to programming your new remote, each step helps you gain a greater sense of accomplishment. Plus, you’ll save on potential service costs and gain a sense of pride in mastering a home maintenance task.
Next time you hear that familiar hum of your garage door opening smoothly, you’ll know that you made it happen. So go ahead, pat yourself on the back—you’ve earned it! Your garage door is now ready for years of reliable service.
Originally posted 2025-02-07 03:40:20.