Raynor garage door openers are popular for their reliability and efficiency, but just like anything with gears and motors, they can wear out over time. Before diving in, it’s crucial to ensure that a replacement is indeed necessary. Signs like unusual noises, failure to open or close, or blinking lights may all indicate that it’s time for a new motor unit. Let’s roll up our sleeves and get started!
Understanding the Raynor Motor Unit
When it comes to your Raynor garage door opener, the motor unit is the powerhouse. It’s responsible for transforming electrical energy into mechanical energy to lift and lower your garage door. This unit typically includes parts like the motor itself, circuit board, and sensors that make garage door operation seamless.
You might be wondering how long these motor units typically last. On average, a well-maintained Raynor motor can last anywhere from 10 to 15 years. However, if yours is showing signs of wear or isn’t functioning correctly, it’s important to consider a replacement. This can save you future headaches and ensure your garage door operates smoothly.
Knowing the specific model of your Raynor motor unit is essential before purchasing a replacement. Each model may have its own unique features and installation requirements. You can usually find this information on the motor unit’s label or in the manual that came with your opener.
Gathering the Necessary Tools
Before we get started, let’s talk about the tools you’ll need. Having everything ready will make the replacing process smoother. Here’s a handy list:
- Adjustable wrench
- Phillips screwdriver
- Flathead screwdriver
- Drill (if needed for mounting)
- New Raynor motor unit
- Wire connectors (if not included with the unit)
While these tools will help you tackle the job, you may also want to have a ladder handy for reaching higher components. And don’t forget safety glasses! It’s always better to be safe than sorry.
If you notice any additional safety equipment like gloves, they could be beneficial too. You’ll want to protect your hands from any sharp edges while you’re working. Let’s make sure you’re set up for success.
Removing the Old Motor Unit
Now it’s time to get your hands dirty by removing the old motor unit. First, make sure your garage door opener is unplugged. This is crucial for your safety. Picture this step like unplugging your hairdryer before cleaning it—a must-do!
Once it’s unplugged, start by locating the mounting bracket that holds the motor unit in place. Typically, this is where the motor attaches to the ceiling or wall of your garage. Use your screwdriver to remove the screws holding the motor. Keep the screws in a safe place; you’ll need them later.
After that, gently lift the motor unit off its bracket. You might need to detach wires connected to the motor—make a note of where they go or take a picture for reference. If you have a second pair of hands, now’s the time to ask for help. Having someone steady the motor while you work can make things easier.
Installing the New Raynor Motor Unit
You’re making great progress! Now let’s focus on installing your new Raynor motor unit. Begin by positioning the new unit in the same place where the old one was located. Align it with the existing mounting bracket.
Once it’s positioned correctly, use the screws you saved from the old unit to secure the new motor in place. Tighten them just enough to hold it steady, but don’t overdo it. You’ll want to make sure it’s firmly fixed but adaptable for any fine-tuning you might need to do later.
Next, it’s time to reconnect the wires. Refer to the notes or pictures you took earlier to ensure everything connects in the right spots. If wire connectors came with your new motor, use them for a secure fit. Strong connections prevent future issues, so take extra care here.
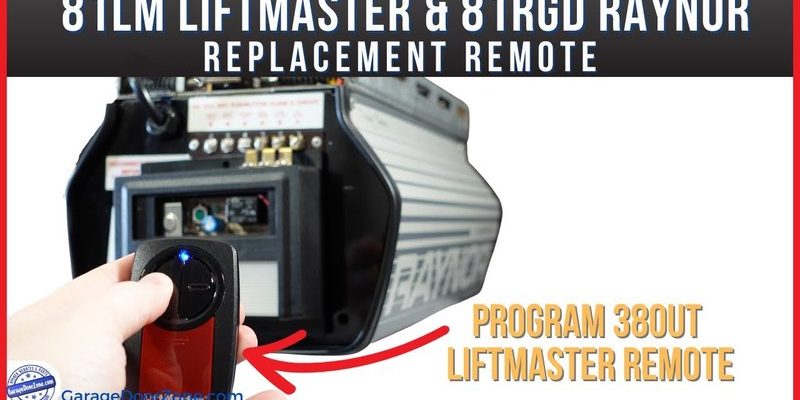
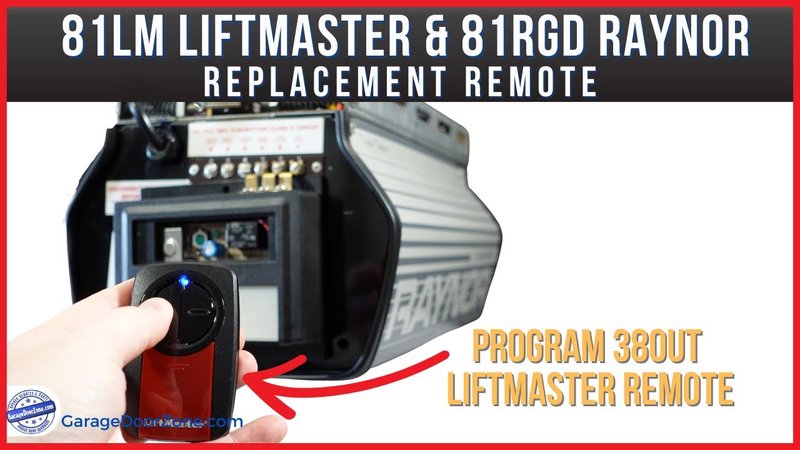
Syncing the Remote Control
With the new motor unit in place, it’s time to sync your garage door remote. This might feel a bit like teaching a dog a new trick—it takes a bit of patience, but it’s satisfying once it clicks!
Start by locating the “learn” button on your new motor unit. This is usually on the back or side of the unit. Press and release the button; you’ll typically see a small light blink. Next, within a certain timeframe—often around 30 seconds—press the button on your remote control that you intend to use.
You should see the light on the motor flash again, confirming that the remote is paired successfully. If it doesn’t work on your first try, don’t freak out; just repeat the steps. Sometimes, these things need a little extra coaxing.
Troubleshooting Common Issues
Even with the best-laid plans, issues can crop up. If your new motor unit doesn’t respond after installation, let’s look at some common troubleshooting steps.
First, double-check that all the connections are secure. Loose wires can lead to intermittent issues. If everything seems fine, try resetting the motor. You can do this by unplugging it for about a minute and then plugging it back in. This often helps clear any glitches.
Another helpful tip is to check the batteries in your remote. Fresh batteries can make a world of difference when syncing. If your motor unit and remote still aren’t communicating, refer to the owner’s manual for additional troubleshooting tips.
Maintaining Your New Motor Unit
Congratulations on successfully replacing your Raynor motor unit! Now, let’s talk about maintenance so you can keep it in tip-top shape. Regular maintenance can significantly extend the life of your opener unit.
Start by cleaning the tracks and inspecting the rollers for debris. Grime or dirt can cause resistance, which puts extra strain on the motor. Make it a habit to do a quick check every few months.
You might also want to lubricate the moving parts with a silicone-based lubricant to keep everything running smoothly. Think of it as a spa day for your garage door! Regular maintenance not only ensures proper function but can also save you from future costly repairs.
In summary, you now have a solid understanding of how to replace a Raynor motor unit. It might feel intimidating, but with the right tools and a little patience, you can easily tackle this task. You’ll be back to opening and closing your garage door with ease in no time!
Originally posted 2025-02-21 05:28:19.