To get your garage door back in action, let’s break this down together. The Raynor control panel is the brain behind the door operation. It sends signals to the garage door opener, allowing for smooth up-and-down movements. Think of it like the conductor in an orchestra, making sure everything plays in harmony. When that control panel starts malfunctioning, a replacement can often solve the issue more quickly than you think.
So, whether you’re a DIY enthusiast or a first-timer, I’ll guide you step-by-step through the process of replacing your Raynor control panel. Grab your tools, and let’s do this!
Understanding Your Raynor Control Panel
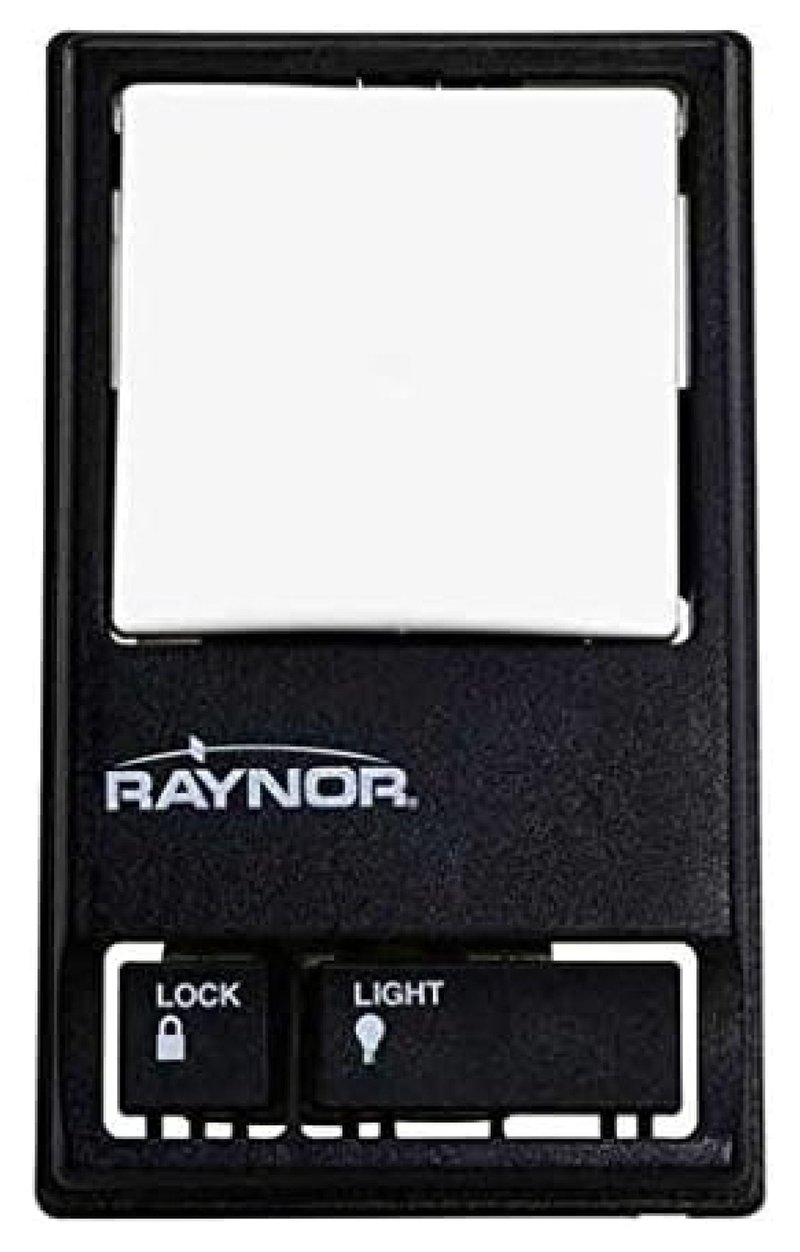
Before starting the replacement, it’s important to get familiar with what you’re dealing with. The control panel usually features buttons for opening, closing, and possibly a light switch. In some models, you might even find a setting for adjusting the sensitivity or code settings.
The Raynor control panel is designed to be user-friendly, so don’t worry if you’re not a seasoned handyman. It typically has straightforward wiring, making it simpler to swap out. If your garage door isn’t responding, it could be due to a faulty panel. Understanding its layout will aid you in diagnosing the problem and assist you during replacement.
It’s like learning the layout of a new phone. Once you understand where everything is, using it becomes second nature.
Gathering Your Tools and Materials
Now that you’re familiar with the control panel, let’s gather what you need. A few essential tools will make the process smooth and quick. Here’s a short list of what you might require:
- Screwdriver (flathead and Phillips)
- Wire stripper/cutter
- Electrical tape
- Replacement Raynor control panel
- Safety goggles (just in case!)
Having these items on hand ensures you’re not running back and forth searching for tools mid-replacement. It’s like prepping all your ingredients before cooking. Everything comes together smoothly without interruptions.
Oh, and remember to turn off the power to your garage door opener before you begin! Safety first—nobody wants to get zapped when working with electrical components.
Removing the Old Control Panel
With your tools ready, let’s dive into replacing your Raynor control panel. First, you’ll need to remove the old panel. Here’s how to do it:
1. Unscrew the Control Panel: Use a screwdriver to remove the screws holding the panel in place. Keep these screws since you’ll need them for the new panel.
2. Disconnect Electrical Wires: Carefully pull the control panel away from the wall. You’ll see some wires attached. Gently disconnect them, making sure to note how they are connected. Taking a quick photo can help you remember the wiring setup.
3. Dispose of the Old Panel: Once disconnected, you can either recycle the old panel or keep it as a backup. It’s always good to have options!
Taking your time during this step ensures that you don’t accidentally damage any wires, which can lead to more problems later.
Installing the New Control Panel
You’ve made it to the exciting part—putting in the new Raynor control panel! Here’s how to install it properly:
1. Connect the Wires: Using your photo as reference, attach the wires of the new panel to the corresponding locations. Make sure the connections are tight for a secure fit. If you need to trim the wires to fit, use the wire cutter.
2. Secure the Panel: Align the new control panel with the screws used previously. Screw it back into place, ensuring it’s snug but not overly tight, as this can crack the plastic.
3. Use Electrical Tape: It’s a good idea to use electrical tape to wrap any exposed wire connections. This prevents short circuits and keeps everything safe.
It’s like putting together a puzzle—each piece needs to fit just right. Once you’ve got everything secured, you’re well on your way to getting that garage door back to work.
Testing Your New Control Panel
You’ve installed the new control panel, but before you celebrate, it’s time to test it out! Here’s a simple plan to make sure everything is working smoothly.
1. Restore Power: Turn the power back on to your garage door opener. You’ll typically find a switch either in the garage or in the service panel in your home.
2. Test the Functionality: Press the open and close buttons on the control panel. Your garage door should respond immediately. If it opens and closes as it should, congratulations!
3. Check Additional Features: If your panel has features like a light switch or a safety lock, test those, too. It’s like checking if all the buttons on a remote work.
If the door doesn’t respond, double-check your wiring connections or consult the user manual for troubleshooting tips. Sometimes, all it takes is a small tweak to get it back on track.
Troubleshooting Common Issues
Sometimes, even with all your careful steps, things might not go as planned. Here are a few common issues you might encounter after replacing a Raynor control panel and how to troubleshoot them:
– Door Doesn’t Respond: If the door refuses to budge, check the power. Make sure the outlet is functioning and the unit is plugged in. If all else fails, a good ol’ reset might help.
– Remote Doesn’t Pair: If you’re using a remote and it won’t sync, check the battery in your remote. Old batteries often cause frustrating issues. Replace it, and try pairing again.
– Unusual Noises: If you hear grinding or clicking noises when trying to operate the door, there might be issues with the motor or tracks. Inspect for any debris or damage that could be causing the problem.
Remember, troubleshooting isn’t just about fixing problems; it’s about learning more about how everything functions. You’re not only replacing a part, but you’re also becoming a little bit of an expert on your garage door system.
Once you’ve successfully replaced your Raynor control panel and everything is working properly, take a moment to appreciate your handiwork. Not only did you save some cash by doing it yourself, but you’ve also empowered yourself with the knowledge of how your garage door operates.
In essence, replacing a control panel is like tuning up your car. It keeps everything running smoothly and ensures that you won’t have more hiccups down the road. Keep an eye on the functionality over the next few weeks, and don’t hesitate to refer back to this guide whenever needed.
Here’s to many easy garage door operations ahead! Feel free to dive into more DIY projects. You’ve got this!