Think of replacing a safety sensor like swapping out batteries in your favorite remote. It seems daunting at first, but once you understand the steps, you’ll be relieved to get that door working correctly again. Whether you’ve got a simple remote from Raynor or a more advanced garage system, I’m here to help guide you through each step. You don’t need to be a DIY wizard; just a bit of patience and the right tools.
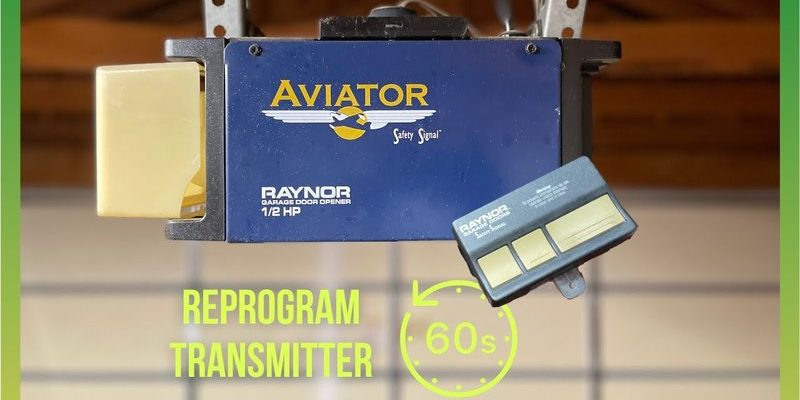
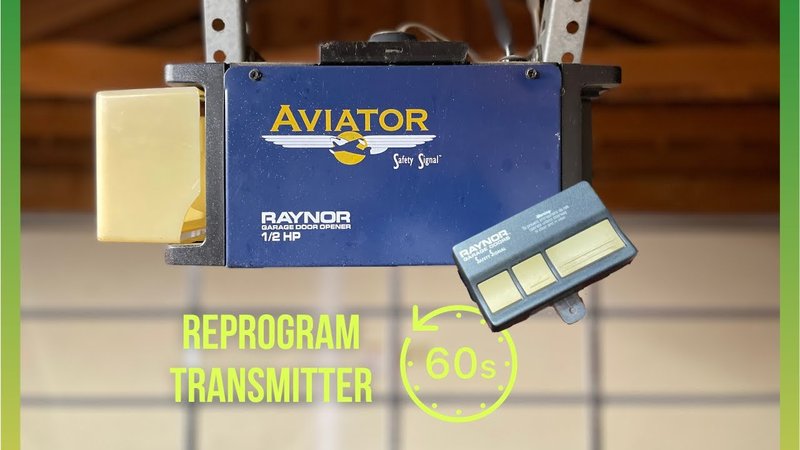
What You’ll Need for the Replacement
Before diving into the replacement process, gather a few essential tools. This way, you won’t find yourself midway through and saying, “Where’s my screwdriver?” Here’s a quick list to get you started:
- Flathead and Phillips screwdrivers: These will help in loosening and securing screws.
- Replacement Raynor safety sensor: Make sure you have the correct model that fits your garage door system.
- Wire strippers (if needed): You might need these if any wires are damaged and need replacement.
- Step Ladder: Depending on your installation height, a step ladder is a handy tool to have.
- Electrical tape: Great for securing any spliced wires.
With everything on hand, you’re ready to conquer the challenge ahead!
Identifying the Faulty Sensor
Maybe your garage door budges only an inch or refuses to budge at all. You might wonder if it’s the motor or the sensor. One of the easiest ways to pinpoint a problem is to check the safety sensors themselves.
These sensors are usually located on either side of the garage door, close to the ground. If they’re blinking or there’s an obstruction, it could indicate a problem. A quick visual check should reveal if there are any dirt or debris blocking them. Even a small spider web can disrupt their functionality!
Another handy tip? You can test the sensors. Place an object in the door’s path when closing it. If the door reverses, the sensors are likely working, and you may need to troubleshoot other components.
Removing the Old Sensor
Once you’ve determined that the sensor is faulty, it’s time for its retirement. Here’s how to do that:
1. Unplug the Power: Safety first! Make sure to disconnect the garage door opener from the power outlet before you start working on it.
2. Locate the Screws: Carefully find the screws holding the old sensor in place. Depending on your model, it could require a Phillips or flathead screwdriver to loosen them.
3. Detach the Sensor: Once unscrewed, remove the sensor gently. Pull any connecting wires away, taking care not to tug too hard to avoid damage elsewhere.
4. Inspect Wiring: Before proceeding, check the wiring connected to the sensor. If they look frayed or damaged, consider replacing them or using wire strippers to fix them.
Removing the sensor can feel like a mini victory, so don’t rush through it. Every detail matters.
Installing the New Raynor Safety Sensor
Now that you’ve removed the old sensor, it’s time to welcome the new one into your garage family. Here’s how to go about the installation:
1. Positioning the New Sensor: Place the new Raynor safety sensor at the same height as the old one. You’ll typically want it to be around 6 inches from the ground for optimal performance.
2. Wiring It Up: Connect the wires to the new sensor just as they were attached to the old one. If you’re facing difficulties, refer to the manufacturer’s guidelines for guidance.
3. Secure with Screws: Using your screwdriver, secure the sensor by tightly fastening the screws. Ensure there’s no wobble after you’re done—this ensures it functions correctly.
4. Double-check Alignment: Here’s the thing—if the sensors aren’t aligned properly, they won’t work. Stand back to visually check that they are facing each other directly.
Installing the new sensor is often easier than it sounds. Just take your time, and don’t hesitate to refer back to the old model for reference.
Powering Up and Testing the New Sensor
You’re almost there! The new sensor is in place, but it’s time to see if it works. Here’s a quick guide to get everything firing on all cylinders again:
1. Plug the Opener Back In: Reconnect the garage door opener to the power source.
2. Test the Sensors: Push the garage door button to lower it. If it begins to close, take an object (like a broom or a small box) and place it directly in the door’s path.
3. Watch for Response: If the door reverses, congrats! Your new sensor is working just as it should. If it doesn’t, you may need to revisit the alignment or wiring.
4. Final Adjustments: If you notice anything strange, like blinking lights or unusual sounds, this is your cue to troubleshoot.
Testing the sensors can be one of the more nerve-wracking parts, but it’s also incredibly satisfying when everything works perfectly.
Troubleshooting Common Issues
Even the best setups can hit snags. If your Raynor safety sensor isn’t working correctly, don’t throw in the towel just yet. Here are some common issues and fixes:
– Misalignment: Ensure that both sensors are facing each other without obstruction. If the light indicators are blinking, realignment may be needed.
– Damaged Wires: Check for any tears or frays in the wiring. If any are found, reconnect them or replace the wire.
– Power Supply: If your garage door opener is on, but the sensors are unresponsive, the issue could lie in the power supply.
By taking a step back and assessing the situation, you’ll often find a simple solution to your issue.
Replacing your Raynor safety sensor doesn’t have to be an overwhelming task. With just a few tools and some patience, you can ensure your garage door operates smoothly and keeps your family safe. You might be feeling pretty accomplished right now, and you should!
Don’t overlook the importance of regular maintenance on your sensors and door system. A little TLC can keep things running smoothly for years to come. So remember, the next time that garage door acts up, you’ve got the skills to tackle it head-on. Happy DIYing!