If you’ve decided it’s time to replace your Raynor garage door opener, you’re in the right place. This guide will lay out a straightforward, step-by-step process that takes you from uncertainty to victory, giving you tips and tricks along the way. We’ll cover various aspects, from choosing the right replacement model to installing it, so you can reclaim control over your garage door situation.
Choosing the Right Raynor Garage Door Opener Replacement
Before diving into the installation, it’s crucial to pick the correct Raynor garage door opener to replace your old one. The first step is identifying what type of opener you currently have. Raynor offers several options including chain drive, belt drive, and screw drive openers.
1. Chain Drive: These are typically the most affordable and reliable, using a metal chain to lift the door. However, they can be a bit noisy.
2. Belt Drive: If quiet operation is important to you, belt drives use a rubber belt and are almost silent when opening and closing.
3. Screw Drive: Ideal for fewer moving parts, screw drive openers use a lifting mechanism that travels along a threaded rod, making them low-maintenance.
You might be wondering how to figure out the right horsepower. Most residential doors need an opener with at least 1⁄2 horsepower, but if you have a heavier wooden door, consider a 3⁄4 horsepower model.
Gather the Necessary Tools
Before you jump into the replacement process, let’s make sure you have everything you need close by. Here’s a handy checklist of tools that will make your life a lot easier:
- Voltage tester
- Power drill and drill bits
- Socket set or wrenches
- Level
- Measuring tape
- Safety glasses
- Ladder
- Step stool (if needed)
Having all these tools on hand will streamline the process. Honestly, there’s nothing worse than getting halfway through a project and realizing you’re missing a crucial tool. So take a moment to gather these before you start your replacement journey.
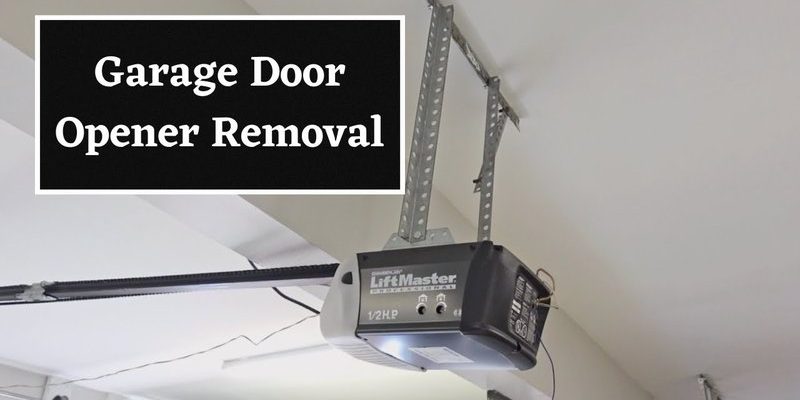
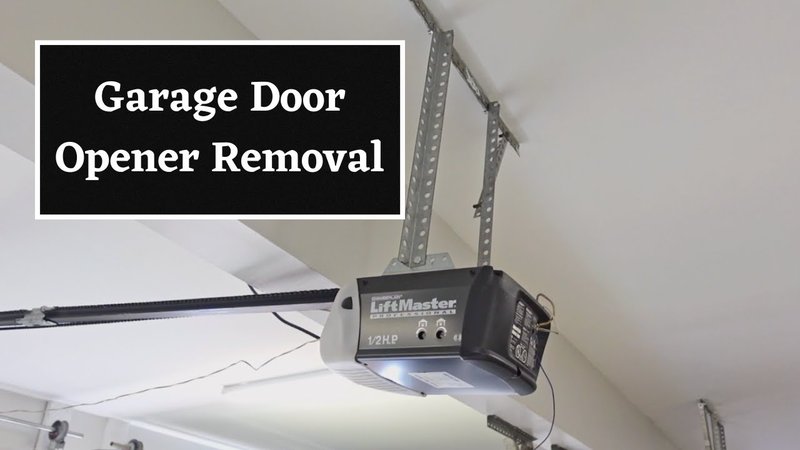
Removing the Old Garage Door Opener
Now that you have all your tools ready, it’s time to say goodbye to the old garage door opener. Begin by disconnecting the power supply—this is a crucial safety step.
1. Unplug the Opener: Locate the power cord and unplug it from the outlet. If your opener is hardwired, you may need to turn off the circuit breaker.
2. Detach the Opener: Remove any screws holding the opener to the ceiling or wall brackets. Depending on how your opener is installed, this might involve a bit of reaching. If it’s too high, a ladder might come in handy.
3. Disconnect the Door: Most models will have a release mechanism on the door trolley. Pull this to disconnect it from the opener.
4. Remove the Opener Unit: Carefully take down the opener and keep it balanced as you maneuver it to avoid dropping it.
Remember to take a moment to assess how everything was connected; you might want to reference this when you set up the new unit.
Installing the New Raynor Garage Door Opener
With the old opener out of the way, you’re ready for the exciting part—installing the new Raynor garage door opener. Here’s a breakdown of how to get it done:
1. Read the Manual: Every model comes with specific instructions, so take a moment to familiarize yourself with it.
2. Assemble the Opener: If the opener comes in parts, follow the assembly instructions in the manual. Typically, this involves attaching the rail to the motor unit.
3. Mount the Motor Unit: Use your level to ensure the motor is straight as you mount it. Secure it in place using screws or brackets provided in the kit.
4. Connect the Door: Find that door trolley release mechanism you used before and reconnect the garage door to the opener’s lift arm or trolly.
If your new opener comes with a smart technology feature—like syncing with your phone—this is a good time to get that set up too. You might want to check if the model you chose allows you to control the door remotely.
Connecting the Remote and Wall Controls
Your installation would be incomplete without connecting the remote and wall controls. This step is often simple but crucial for full functionality.
1. Install the Wall Control: Choose a location that’s accessible, like near the garage door. Use your power drill to secure it, making sure it’s close to an electrical outlet.
2. Program the Remote: Most remotes will require you to press a specific button sequence to pair with the opener. Refer to the manual for the exact steps. It often involves pressing a “learn” button on the opener and then pressing a button on your remote.
3. Test the Functions: Here’s the fun part! Test to ensure everything works. Check if your remote opens and closes the door smoothly. If you have a smartphone app, now’s your chance to give that a go as well.
Don’t forget to adjust the settings if necessary, like the travel limits for how far the door should open and close. This is important for both safety and functionality.
Troubleshooting Common Issues
Even with the best laid plans, sometimes things don’t go as smoothly as we’d like. If you encounter issues after installing your new Raynor garage door opener, here are common problems and solutions:
1. Door Won’t Open or Close Fully: This could mean the travel limits are set incorrectly. Check your manual for adjusting the up and down limits.
2. Remote Not Working: First, check the battery! If that’s not the issue, try reprogramming the remote again following the previous steps.
3. Unusual Noises: If your new opener is making a racket, it might be due to loose mountings or the chain/belt needing adjustment.
In the rare case your issues persist, don’t hesitate to reach out to Raynor’s customer service. They can be a great asset in troubleshooting those stubborn problems.
Final Checks and Maintenance Tips
Congratulations! You’ve installed your new Raynor garage door opener, and the finish line is in sight. Before sealing this project with a bow, let’s do a quick rundown of final checks and some maintenance tips.
– Test Everything Again: After a day or so, test the opener several times to ensure everything is working correctly.
– Regular Maintenance: Keep an eye on the moving parts and perform regular maintenance. Lubricate the chain or belt every six months and check for any wear and tear.
– Check Safety Features: Test the safety reversing features. Drop a small object like a roll of paper towels in the door’s path and see if it reverses properly.
Proper maintenance can extend the life of your opener and keep everything running smoothly for years.
Replacing your Raynor garage door opener doesn’t have to be a headache. With a bit of patience and these straightforward steps, you’ll have your garage door operating like new in no time. And remember, when your door moves with ease, it’s not just functional; it’s a little victory every time you drive in or out. Happy replacing!