If you’re using a Linear garage door opener, it’s essential to keep your battery backup in good shape. When it’s working optimally, it saves you the hassle of being locked out during a storm. So let’s dive into the process of replacing your Linear battery backup step by step.
Why You Need a Battery Backup
You might be wondering, “Why should I even bother with a battery backup in the first place?” That’s a valid question! Think about it: just like keeping emergency snacks in your pantry helps you avoid hunger pangs during a blackout, a battery backup prevents garage door mishaps when the power goes out. It provides peace of mind.
Here’s the thing: garage door openers without a battery backup become useless when the lights go out. Your door might get stuck, leaving your cars or belongings trapped inside. A functioning battery allows you to open and close the door effortlessly even when your home is dark. Ultimately, it makes your life easier, especially during unpredictable weather or unexpected power outages.
Identifying Your Linear Battery Backup Model
Before you replace your battery backup, you need to identify your specific Linear model. It’s just like finding the right size of shoes—getting the exact fit is crucial! Most Linear models will have a label on the unit itself, usually on the bottom or side.
Look for numbers or letters that might resemble something like “LBM-1” or “LBBK.” If you can’t find the model number, don’t panic! You can usually look it up on the manufacturer’s website by searching for your garage door opener model and finding the compatible battery types. Knowing your model is key to getting the correct replacement battery.
Gather Your Tools and Supplies
Now that you’ve identified your model, it’s time to gather what you need. Having everything in one place makes the job smoother and quicker. Here’s a quick checklist of what you’ll typically need:
- Replacement Battery: Make sure it’s compatible with your Linear model.
- Screwdriver: A Phillips screwdriver will usually do the trick.
- Towel: For any potential spills, it’s always a good idea to have a towel handy.
Gathering these items beforehand can save you from running back and forth, which is never a fun part of any home project.
Steps to Replace Your Linear Battery Backup
Alright, let’s get into the nitty-gritty of replacing the battery backup. Follow these steps, and you’ll have your new battery in place in no time.
Step 1: Turn Off the Power
Before you begin tinkering, it’s crucial to ensure safety first. Turn off the power to your garage door opener. This step is like putting on safety goggles before using power tools—it might feel like a hassle, but it’s worth it to avoid any accidents.
Step 2: Remove the Old Battery
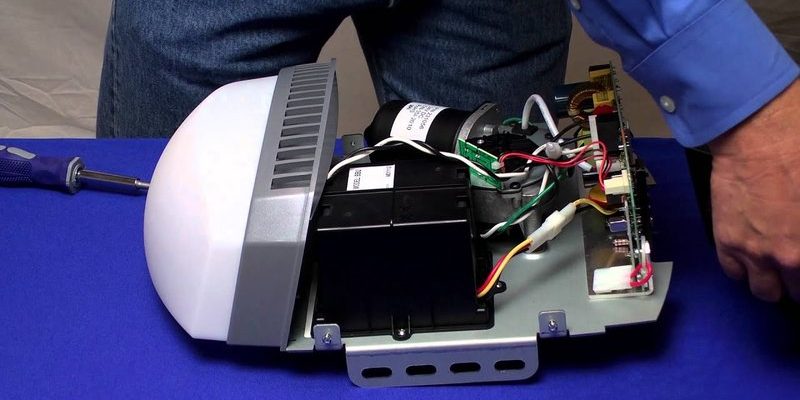
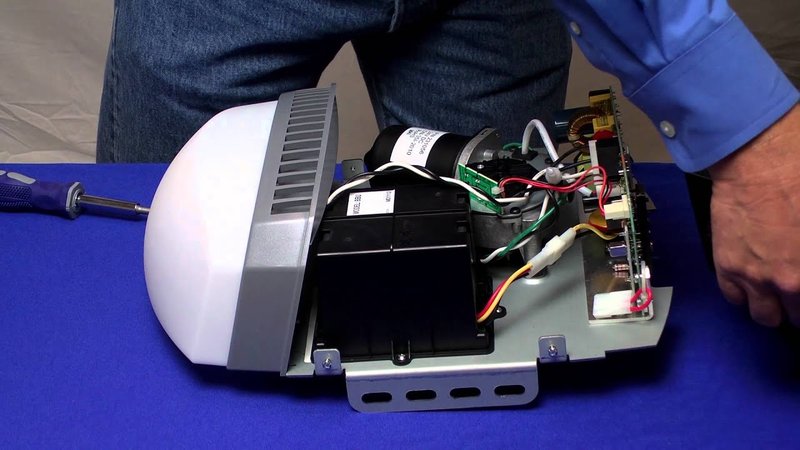
Next, locate the battery compartment on your Linear unit. Usually, you’ll find it near the top. Depending on your model, you might need to remove some screws to access it. Carefully take out the old battery. If it’s stuck, give it a little wiggle but don’t force it—you don’t want to damage anything inside.
Step 3: Install the New Battery
Now comes the exciting part! Take your new battery and look for the connectors. It’s like connecting the dots; match them up with the existing clips or wires inside the compartment. Gently push the new battery into place, ensuring that it’s secure. If your battery has a protective cover, put it back on as well.
Step 4: Turn the Power Back On
After you’ve installed the new battery, it’s time to turn the power back on. Flip the switch and wait a moment. When you press the remote, does the garage door open? If it does, congratulations! You’ve successfully replaced your Linear battery backup.
Troubleshooting Common Issues
While replacing the battery is usually straightforward, sometimes things don’t go as planned. If your garage door doesn’t respond, here are some troubleshooting tips:
- Check Connections: Ensure that the battery connectors are secure. Sometimes, a loose connection could be the problem.
- Reset the Opener: If it’s still not working, consult your user manual for reset instructions—it can often fix minor glitches.
- Pair the Remote Again: In some cases, the remote may need to be paired again after a battery replacement.
If all else fails, don’t hesitate to reach out to customer support for assistance.
Maintenance Tips for Your Battery Backup
Now that you have a new battery in place, you’ll want to keep it in good shape. Maintaining your battery backup can extend its lifespan, just like regular oil changes keep your car running smoothly.
Consider checking the battery every six months. Look for any signs of swelling or leakage, which can indicate that it’s time for another change. Furthermore, it’s a good idea to keep the battery compartment clean. Dust can accumulate and interfere with connections.
Replacing your Linear battery backup is a manageable task when you break it down step by step. Think of it as a mini DIY project that keeps your garage door functioning reliably, no matter what the weather throws at you. Keeping your battery fresh ensures seamless operation during outages, simplifying your life.
Next time you notice the battery is losing juice, don’t hesitate; grab that replacement and get started. With just a little effort, you’ll restore functionality and peace of mind in just a few minutes. Happy tinkering!