Replacing a linear circuit board isn’t as scary as it may sound. It’s more like piecing together a puzzle than performing brain surgery. Suppose you have a Linear brand garage door opener; the circuit board replacement process will be quite straightforward. Grab your tools, and let’s get started on this DIY project that can save you a service call and a bit of cash!
Understanding the Linear Circuit Board
Before diving into the replacement process, it’s vital to understand what a linear circuit board does. This component is responsible for controlling all the functions of your garage door opener, such as the movement of the motor, receiving signals from the remote, and ensuring safety features like the auto-reverse function are active. Think of it as a tiny computer that processes commands and helps the opener respond accordingly.
Now, if your circuit board goes haywire, you might start seeing issues. The door could refuse to open, close partially, or even operate erratically. If you’ve tried troubleshooting tips, like changing batteries in your remote or resetting the opener, and it still doesn’t work, chances are the circuit board needs replacing. Let’s go through the steps you’ll need to take to get this sorted out.
Gather Your Tools and Parts
Before starting any project, it’s crucial to gather everything you’ll need. For replacing the linear circuit board in your garage door opener, you will need:
- A replacement linear circuit board
- A screwdriver (typically a Phillips head)
- A multimeter (optional for testing)
- Safety glasses
- Comfy shoes (just in case you have to squat down)
Having everything at hand makes the process smoother and less frustrating. Think of these tools as your squad—the better prepared you are, the less likely you’ll encounter pesky surprises mid-project.
Power Down and Open the Garage Door Opener Housing
Safety first! The last thing you want is to work on electrical components with the power still running, so unplug your opener from the power outlet. If your model has a battery backup, make sure to disengage that too.
Once you ensure everything is powered down, use your screwdriver to remove the screws from the housing of the garage door opener. Carefully lift it to expose the internal components. Imagine peeling an orange; you’re looking to get to the good stuff inside.
Remove the Old Circuit Board
With the housing open, you should now see the linear circuit board prominently displayed. Depending on the model, you may need to disconnect the wiring harness that connects the board to the motor and other components. Take a photo or note where each wire connects, just in case there’s a challenge when hooking up the new board later—like a little road map to guide you!
To remove the board, simply unscrew or unclip it based on your model’s design. It should slide out fairly easily. If it feels stuck, double-check, but don’t yank it out. Think of this as removing a delicate puzzle piece; gentle but firm is key here!
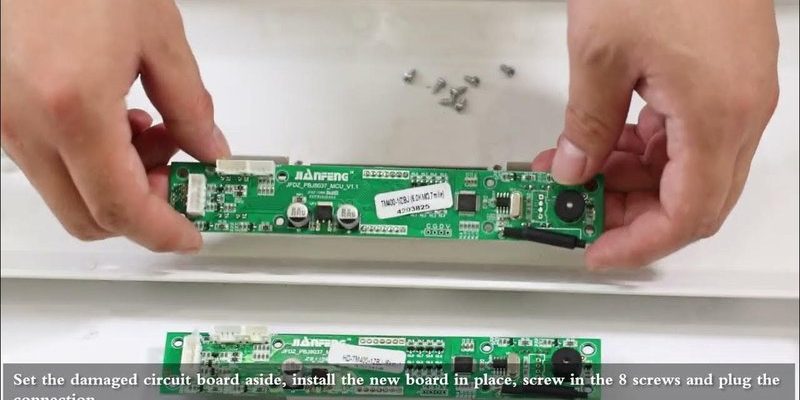
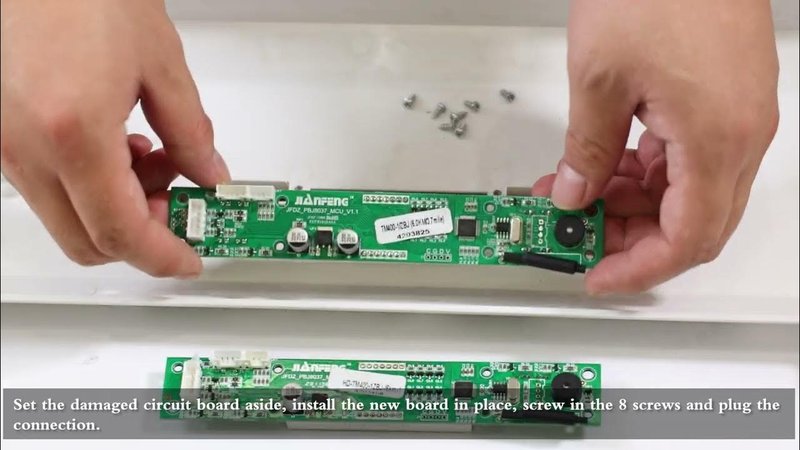
Install the New Circuit Board
Now comes the fun part—installing your brand new linear circuit board. First, line it up with the mounting holes and secure it just like the old one. Once it’s firmly in place, reconnect all the wiring harnesses to their respective slots. This can be the tricky part—what comes next isn’t just about connecting wires; it’s about making sure everything is exactly how it was before.
If you took that photo earlier, now’s the time to refer back to it. This isn’t merely about plugging everything in; ensure you double-check each connection because a small mistake can lead to more headaches down the line.
Reassemble and Power On
With the new linear circuit board installed, it’s time to put everything back together. Carefully place the housing back on and secure it with screws. Reconnect the power and batteries, just as you would restart a computer after updating its software. Sometimes, a little reset is all it needs to come back to life!
Before you celebrate, go ahead and run a quick test. Make sure your remote works properly and that the garage door opens and closes smoothly. This is like the final note in a beautiful song—you’ll know all the hard work was worth it if it sounds just right!
Troubleshooting Common Issues
Sometimes things don’t go as planned, and that’s perfectly okay. If your door isn’t functioning after replacing the linear circuit board, here are a few troubleshooting steps to consider:
1. Check Connections: Make sure all wires are securely connected. It’s easy to think a connection is tight when it’s not.
2. Test the Remote: Sometimes, the problem might be with the remote. Try changing its batteries or re-syncing it with the opener.
3. Examine Components: Look for any other signs of wear and tear in the opener. If the motor or safety sensors are damaged, those may also need attention.
Remember, it’s okay to ask for help if things get complicated. Even DIYers run into challenges now and then!
Enjoy the Results!
Once you’ve successfully replaced your linear circuit board and ensured everything’s in working order, you can finally enjoy the satisfaction of a job well done. Your garage door should now open and close effortlessly, just like it did when it was brand new.
The sense of achievement in getting your opener back to function can be compared to fixing your favorite car—you know your way around it, and the payoff feels fantastic. Plus, you’ve saved yourself a service fee, which is always a bonus!
Getting hands-on with your garage door opener isn’t just about saving money; it’s also about understanding how things work and taking control of the little hiccups that come along. Now that you can replace the linear circuit board, you’re better prepared for future challenges, helping your garage door run smoothly for years to come. Enjoy the ride!