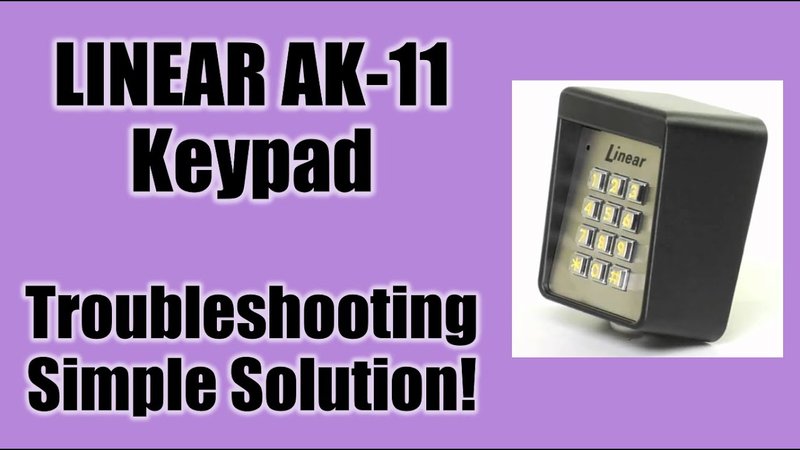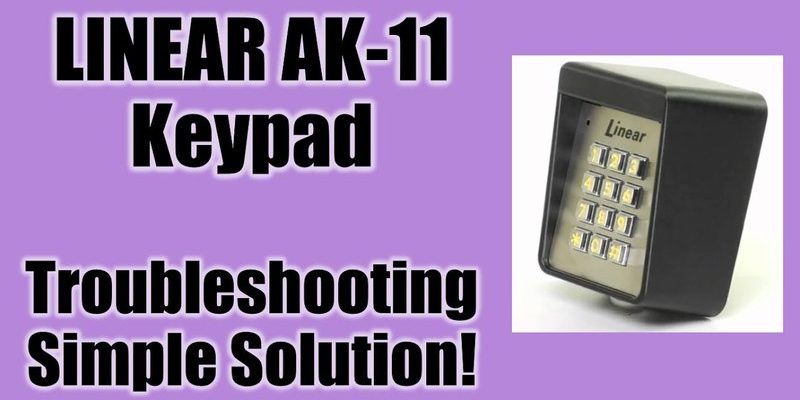
Replacing a Linear keypad can seem daunting, especially if you’ve never done it before. But don’t worry! This guide will walk you through the steps, making the process as simple as brewing your morning coffee. Just like choosing the right brew can set your day straight, knowing how to efficiently change your keypad can improve your day-to-day routine. Let’s dive into how to replace that keypad so you can get back to accessing your garage hassle-free.
Understanding Your Linear Keypad
Before you jump into replacing your keypad, it’s helpful to understand what you’re dealing with. A Linear keypad is a small device that communicates wirelessly with your garage door opener. When you enter a code, it sends a signal to open your garage door. This device typically runs on batteries, so regular maintenance is crucial.
Now, what if your keypad isn’t working? Sometimes, it may simply need fresh batteries. However, if changing the batteries doesn’t fix the problem, it’s time to consider a replacement. If you can’t remember the last time the keypad was replaced or if it’s an outdated model, getting a new one might save you time and frustration in the long run.
Gathering the Tools You’ll Need
Before you start the replacement process, gather all the necessary tools. Having everything handy will save you time and get you in and out quickly. Here’s what you’ll need:
- A new Linear keypad
- Screwdriver—typically a Phillips or flathead
- Drill (if new holes need to be made)
- Pencil or marker
- Fresh batteries
You might be thinking, “Why do I need a drill?” Well, if your new keypad is a different model and requires different mounting holes, having a drill on hand is a good idea. Also, it’s smart to have a pencil or marker for marking any new spots you might need to drill into. Trust me, it’s much easier than trying to figure it out on the fly later.
Removing the Old Keypad
Now that you have your tools ready, it’s time to remove the old keypad. Start by locating the small screws that attach it to the garage wall. Use your screwdriver to carefully unscrew these. When you remove the keypad, make sure to note how the wires are connected—especially if it’s a wired model.
If you’re having trouble with the screws, don’t force anything. Sometimes, it’s a matter of repositioning the screwdriver slightly to find the right angle. If wiring is involved, gently disconnect it, making sure not to damage any connectors. Think of this step as unwrapping a gift—you want to do it carefully to avoid ruining the surprise inside!
Installing the New Keypad
You’re on the home stretch now! With the old keypad out, it’s time to install the new one. Begin by reading the manufacturer’s instructions that come with your new Linear keypad. Each model can differ slightly, and it’s always a good idea to follow those guidelines.
First, position the new keypad where you want it on the wall. Use your pencil or marker to mark the spots for any screws or holes. If your new keypad fits the exact spot where the old one was, you can skip this marking step.
Next, if you have to drill new holes, do this carefully. Take your time, and remember: measure twice, drill once! Once your holes are ready, it’s simply a matter of securing the new keypad in place with screws. If it’s a wired model, reconnect the wires just like you noted them when removing the old unit.
Syncing the New Keypad with Your Garage Door Opener
After successfully installing the keypad, the important part is syncing it with your garage door opener. This step ensures that when you input your code, the door actually opens. To do this, you’ll generally need to follow a specific process, which can vary by model.
Most Linear keypads will have a “program” button. You typically press this button and then enter a code—a sequence that may vary based on your model. Refer to your manual for precise instructions. This is also the moment to double-check that the batteries in your keypad are fresh. New batteries can make all the difference in ensuring a strong connection.
After syncing, test the keypad by entering your code. If it works, great! If not, double-check the steps you’ve followed or consult the user manual for troubleshooting tips.
Troubleshooting Common Issues
Even with careful installation, sometimes things can go awry. If your new Linear keypad isn’t functioning as expected, don’t panic. Here are a few common issues and potential solutions:
- No response: Make sure the keypad has fresh batteries and is within range of the garage door opener.
- Random beeping: This often indicates low batteries or a connection issue. Replace the batteries first and try again.
- Code not working: Double-check the code you entered during sync. It might help to reset the keypad and try programming it again.
You might feel tempted to call a professional, but often these issues can be resolved with just a few checks on your end. Troubleshooting is just part of the learning process.
Concluding Thoughts
And there you have it! Replacing a Linear keypad can be a straightforward task, once you know what to expect. By understanding the device, gathering the right tools, and carefully following the installation and syncing process, you can save time and avoid unnecessary frustration.
So, next time your keypad acts up, remember: you’ve got the tools and the know-how to tackle the challenge. Embrace the process and think of it as an accomplishment rather than a hassle. Enjoy the ease and security that comes with a properly functioning garage door opener—your daily routines will thank you!
