This article will walk you through how to replace the overhead door circuit board. We’ll discuss different brands, like Chamberlain or LiftMaster, what tools you need, and give you step-by-step instructions to make the job smoother. By the time we’re done, you’ll feel like a pro ready to tackle this DIY task with confidence.
Understanding Your Garage Door Opener
Before jumping into replacing the circuit board, it’s essential to understand your garage door opener’s basics. In simple terms, your opener is a machine that simplifies the process of opening or closing the garage door. It operates using a motor, remote, and—yes—you guessed it—a circuit board.
The circuit board is a small electronic panel inside the garage door opener that controls the mechanism’s operations. It connects all the electrical components, allowing communication between your remote and the motor. If the circuit board fails, you may notice unusual behavior, like the door not responding at all, moving erratically, or working intermittently.
Here’s the thing: not all circuit boards are created equal. Various models might have slightly different setups, so it’s crucial to check your specific model before proceeding with a replacement. Trust me; you don’t want to end up with a circuit board that doesn’t fit your opener.
Tools and Supplies You’ll Need
Getting your tools ready is the first step to a successful circuit board replacement. Here’s what you’ll need to gather:
- Screwdriver Set: A mix of flathead and Phillips will do the trick.
- Replacement Circuit Board: Make sure it matches your opener’s model.
- Voltage Tester: This checks that you’ve cut power to the opener before working on it.
- Safety Goggles: Always better safe than sorry!
- Work Gloves: To protect your hands while you work.
Having these tools at your disposal will make the process smoother and safer. Remember, trying to replace the circuit board without the right tools is like showing up to a potluck without a dish—it’s just not going to work out well!
Powering Down the Opener
Before diving into any repairs, you need to cut the power to your garage door opener. Think of this step as turning off the stove before cleaning up a spill. Here’s how you do it:
1. Unplug the Garage Door Opener: Locate the power cord and unplug it from the wall outlet.
2. Remove the Backup Battery: If your opener has a battery backup, remove that as well. This prevents any unexpected power while you’re working.
3. Use a Voltage Tester: Double-check with a voltage tester to ensure there’s no electricity running to the device.
Cutting off the power ensures your safety while you’re changing the circuit board. After all, you wouldn’t want any shocking surprises while you work!
Accessing the Circuit Board
Now that you’ve safely powered down your opener, it’s time to access the circuit board. This step is like peeling back the layers of an onion—once you get inside, things get clearer. Let’s break this down:
– Remove the Cover: Most garage door openers have a plastic cover fixed on top. Use your screwdriver to unscrew and remove it gently.
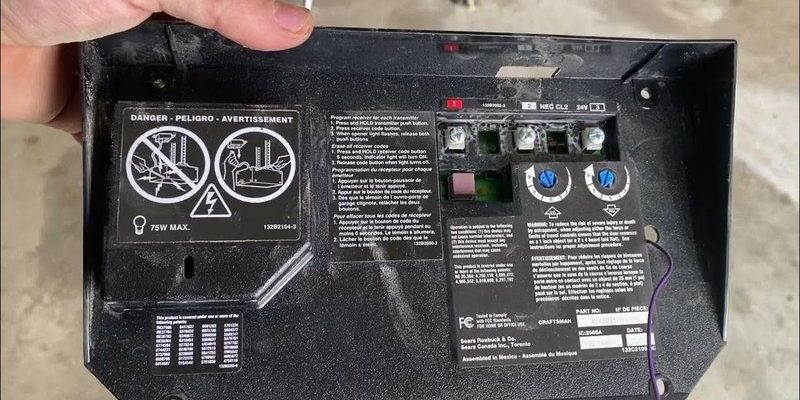
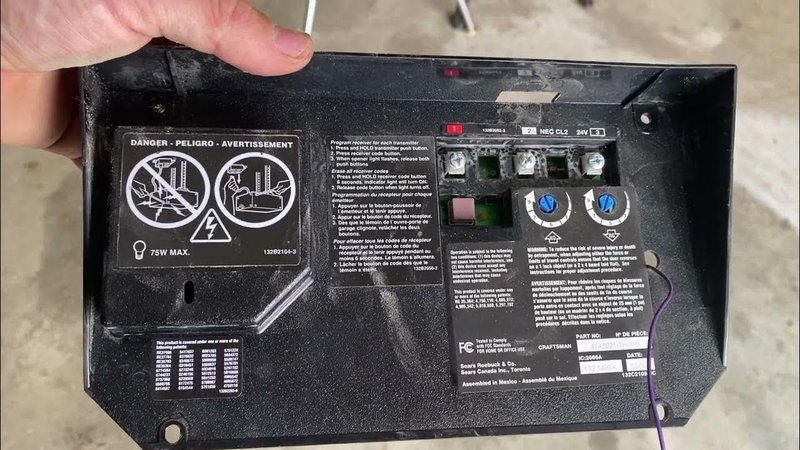
– Locate the Circuit Board: The circuit board is usually found right at the back of the opener. It’s often secured with additional screws, so take those out using your screwdriver.
– Disconnect Wires: Carefully unplug the wires attached to the circuit board. It’s a good idea to take pictures of the connections or label them to remember where everything goes.
With the circuit board now exposed, you’re all set for the replacement. It’s a bit like performing surgery—handle everything with care!
Replacing the Circuit Board
Once you have the old circuit board out, it’s time for the exciting part: installing the new one. Here’s how to proceed:
1. Place the New Board: Position your new circuit board into the same spot where the old one was snugly sitting.
2. Reconnect Wires: Following the pictures you took earlier, reconnect the wires to the new board. Make sure they’re secure to avoid any future issues.
3. Screw Everything Back: Reattach the screws to hold the circuit board in place and then put the cover back on.
Honestly, this step can be simple as long as you follow the orders exactly. Feel free to double-check your connections if something doesn’t look right.
Testing Your Garage Door Opener
Now comes the moment of truth—first things first, you need to power the opener back up. Here’s how to test your work:
1. Plug in the Opener: Reconnect the power cord and insert the backup battery if you removed it.
2. Sync Your Remote: You might need to pair your remote with the new circuit board. Check your user manual for specific syncing instructions. It’s often just a matter of pressing a button or two!
3. Test the Door: Finally, press the remote button to see if the door opens and closes smoothly.
If everything went according to plan, your opener should work just fine! If not, it’s worth troubleshooting the connections again or checking if the right circuit board was purchased.
Common Troubleshooting Tips
After replacing the overhead door circuit board, you might still run into some hiccups. Here are a few things to check if the opener isn’t working perfectly:
– Check the Remote Batteries: Sometimes the issue isn’t with the circuit board at all! Fresh batteries can make all the difference.
– Inspect Connections: Ensure all wires are correctly and firmly connected to the circuit board.
– Ensure Compatibility: The new circuit board must be compatible with your specific opener model. If it’s not, it won’t work as intended.
In case nothing seems to help, consulting a professional may be your best bet. It’s like calling in the big guns when you’re stuck in a tough spot.
Replacing your overhead door circuit board may seem like a daunting task, but with the right tools and guidance, you can do it yourself. Remember to take your time, follow each step carefully, and always prioritize safety.
By learning how to change the circuit board, you’re empowered to tackle this hassle without relying on a professional. Next time your garage door refuses to budge, you might just be the one to fix it. So grab those tools—your garage door champion status awaits!