Imagine you’re ready to take on this task, but the thought of wires, remotes, and installation instructions has you feeling overwhelmed. Don’t worry! By breaking the process down into straightforward steps, you’ll be managing your garage door like a pro in no time. Let’s dive in!
Understanding Your Garage Door Opener
Before you grab any tools, it’s good to know what you’re dealing with. An overhead garage door opener is a motorized device that operates your garage door. These openers can be chain-driven, belt-driven, or screw-driven, and they all have the same basic components: a motor, a housing unit, and a control mechanism, typically operated by a remote.
When you press the button on your remote, you’re sending a signal to the receiver in the opener. In turn, this activates the motor, which moves the trolley connected to the door. If your door won’t open or close, or if it’s making strange noises, it could be time to replace the opener.
You might be thinking, “Why can’t I just fix it?” While some issues can be resolved through troubleshooting, a complete opener failure often means it’s time for a switch. This is especially true if your opener is several years old and has never been serviced.
Gathering Tools and Materials
A successful garage door opener replacement starts with having the right tools on hand. Here’s what you’ll need:
- Screwdriver (flat and Phillips-head)
- Wrench set
- Drill with drill bits
- Pliers
- Replacement garage door opener
- Step ladder
- Safety goggles and gloves
Once you’ve gathered your materials, you’re ready to tackle the next steps. Just like baking a cake, having your ingredients out and ready to go makes all the difference. Don’t forget to put on your gloves and safety goggles. We want this to be a safe project!
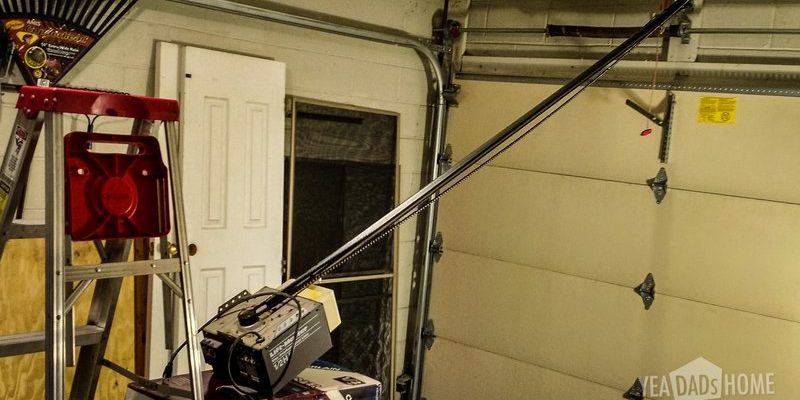
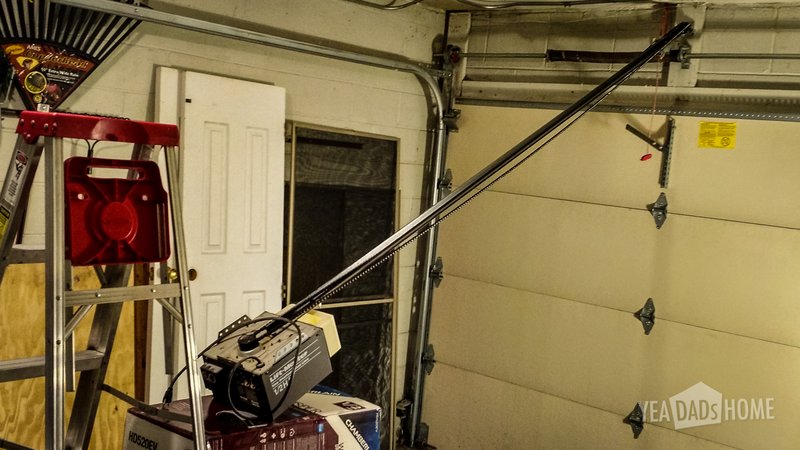
Unplugging and Removing the Old Opener
Before doing anything, make sure your old opener is unplugged. This is crucial for safety. Once it’s disconnected, you can start the removal process. Begin by taking off the housing unit. Most models have screws holding it in place. Using your screwdriver, unscrew these and gently lower the unit from the ceiling.
Next, you’ll need to detach the opener from the door. Locate the brackets near the door (these are usually connected with pins or bolts). Carefully remove them, ensuring the door is supported, so it doesn’t come crashing down unexpectedly. If you’re feeling a little uncertain, have a sturdy friend help you hold the door while you work.
Finally, remove the wiring connected to the old opener. Most openers have simple color-coded wires. Make a note of where each color goes—take a quick picture if you need to! This will help when you’re connecting your new opener.
Installing the New Garage Door Opener
Now for the exciting part: installing the new opener! Start with the instructions that came with your replacement. It’s essential to follow them closely because different models might have slightly different requirements.
Align the new opener where the old one was mounted, using the existing brackets if they are compatible. Secure it with screws, making sure it’s tightly in place. After that, connect the trolley to the door. This is usually a simple hook-up to a bracket on the door.
Next, plug the unit back in. At this point, you might feel a mix of excitement and anxiety—don’t worry, you’re almost there!
Connecting the Remote Control
This is where you’ll bring the opener to life! Most garage door openers come with a remote, and connecting it is usually a straightforward process. Check your manual for specific instructions, as sync methods can vary by brand.
Typically, you need to find the “learn” button on the motor unit. Press this button, and then press the button on your remote. That’s it! You should hear a click or see a light on the opener indicating it’s working. If you don’t hear anything, double-check the batteries in your remote and try again.
One key aspect to remember is that many newer models have a “smart” feature. If your opener supports Wi-Fi, you may need to sync it with your smartphone as well. Here’s the thing: follow the app guidelines to ensure your opener is connected for remote access.
Troubleshooting Issues
Sometimes, despite following all the steps, things may not go as planned. If your garage door doesn’t respond to the remote or the wall switch, here are a few things to check:
1. Power Supply: Ensure the opener is plugged in and that the outlet has power. Try another device in the outlet to confirm it works.
2. Safety Sensors: Most modern openers include safety sensors to prevent the door from closing on objects. Make sure these are aligned correctly and visible.
3. Wiring Issues: Double-check that all wires from your previous opener are connected to the new one correctly. Memory pins can sometimes get pulled out during the swap.
If you’re still having trouble, don’t hesitate to consult your manual or reach out to customer support for the brand. They can help pinpoint the issue.
Final Adjustments and Testing
After everything’s connected and set up, it’s time to take your new opener for a spin! Start by testing your remote to see if the door opens and closes smoothly. You want to ensure it operates without any strange noises or jerks.
You might need to adjust the force settings on the opener. Most openers have limits for how far the door should open or close, and these may need tweaking based on the weight and material of your door. Usually, these adjustments can be made using knobs or switches on the motor unit.
Don’t forget to take a step back and watch the door close and open a few times. This is your chance to enjoy the fruits of your labor—well done!
Replacing your overhead door garage door opener doesn’t have to be a daunting task. By following these steps, you’ll not only understand how it all works but also gain confidence for future DIY repairs. Just like a well-functioning door, taking it one step at a time makes the process smooth and rewarding.
When you think about the impact of a working opener—it’s not just about convenience but also safety. A correctly functioning garage door can provide peace of mind knowing your belongings are secure. Now that you’re equipped with the knowledge and skills to replace your opener, get started on that project and enjoy your newfound home improvement prowess!