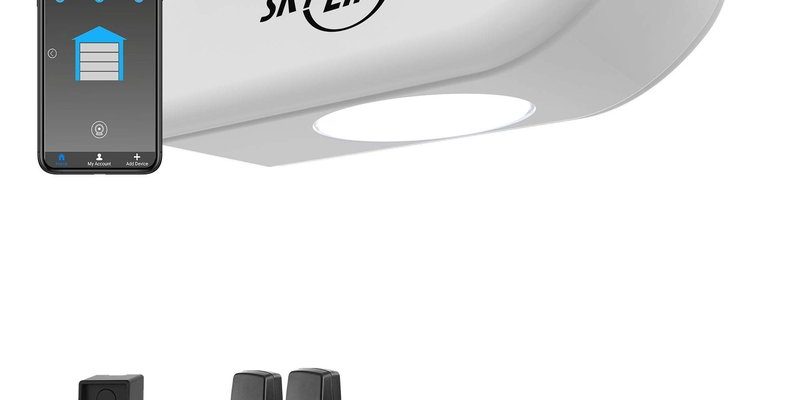
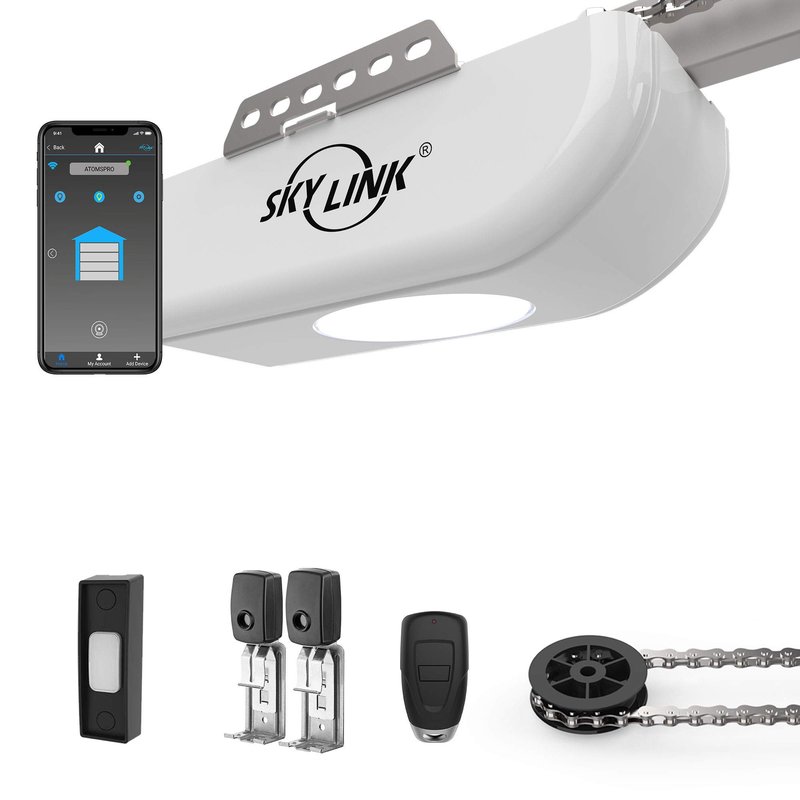
A Skylink garage door opener is equipped with various remote controls, allowing you to open and close your door with the touch of a button. If the motor unit has stopped working, it’s essential to address it swiftly. Not only does a functioning motor unit keep your garage door operational, but it also enhances your home’s security. So, let’s dive into how you can replace that motor unit without losing your cool.
Gather Necessary Tools
Before you jump into replacing the motor unit, it’s best to prepare. You wouldn’t head out on a road trip without checking your fuel tank, right? Similarly, gather everything you need for a smooth replacement process.
- Screwdriver: A regular and Phillips screwdriver will be essential for unscrewing the motor unit.
- Wrench: You’ll need a wrench to detach any bolts or nuts that hold the motor in place.
- Replacement motor unit: Ensure you have the correct Skylink motor unit model that matches your existing system.
- Safety goggles: Protect your eyes from dust and debris during the swap.
- Flashlight: If your garage is particularly dark, a flashlight will help you see what you’re doing.
These tools will help you work efficiently and minimize interruptions. Plus, having them at hand saves you from making several trips back and forth, which can lead to frustration.
Disconnect the Power
This step might seem obvious, but it’s critical. Just like you wouldn’t try to change a tire on a moving car, you don’t want to risk electrocution while working on your motor unit.
First, locate the power cord of your Skylink motor unit. If you can’t find it, trace it back to the outlet and unplug it. This will ensure you are safe as you proceed. If your model is hardwired instead of plugged in, make sure to switch off the circuit breaker that powers the motor.
Once everything is powered off, take a moment to collect your thoughts. It might help to visualize the steps you’re about to take, which can make the process feel less intimidating.
Remove the Old Motor Unit
Now that you’re unplugged and ready to go, let’s tackle that old motor unit. After all, it’s had its run, and it’s time for a new chapter.
Start by removing any screws that hold the motor unit in place. Typically, there will be two to four screws at the top or sides. Use your screwdriver, and keep those screws in a safe place; you’ll need them for the new unit.
Once the screws are removed, gently pull the motor unit down. Be cautious as there may be wiring connected to the motor. If you encounter any stubborn attachments, it’s okay to use your wrench to loosen them, but try to be gentle. If you feel resistance, take a moment to reassess before pulling too hard.
As you work with the old motor unit, you might notice signs of wear or damage. This could explain some of the issues you’ve been having. Take a mental note as you remove it—this will help you recognize potential problems in the future.
Install the New Motor Unit
With the old motor unit out of the way, let’s welcome the new one. Starting fresh is always exciting!
First, take your new Skylink motor unit and position it where the old one was. Usually, this is a direct swap, ensuring that the new unit fits snugly in the same spot. If there are any wires, carefully connect them to their respective spots. This step is crucial because incorrect wiring can lead to further issues or even damage.
Once you have it positioned correctly and everything is wired up, secure the motor unit back in place using the screws you saved from the previous unit. Here’s the thing: make sure not to overtighten them. You want a firm hold, but too much force can crack the unit or lead to long-term issues.
Reconnect the Power and Test the Unit
You’ve done the heavy lifting, and now it’s time for the moment of truth. Reconnect the power by plugging the motor back in or resetting the circuit breaker.
Next, grab your Skylink remote. Press the button to see if the garage door responds. If it opens and closes smoothly, give yourself a pat on the back—you’ve just replaced the motor unit!
But if it doesn’t work right away, don’t panic. You might need to sync the remote with the new motor. This process usually involves pressing a “Learn” button on the motor and then activating your remote. Check your owner’s manual for specific steps, as they can vary depending on the model.
Troubleshooting Common Issues
Even the best DIY projects can hit a snag now and again. If your new motor unit isn’t cooperating, there are a few troubleshooting steps worth trying.
- Check power supply: Ensure that the power source is functioning—check if other devices on the same circuit are working.
- Inspect wiring: Make sure all connections are secure and make sense. Sometimes a loose wire can cause big headaches.
- Re-sync your remote: As mentioned, you may have to pair your new motor unit with your remote. Follow those steps carefully.
If you’re still having trouble after trying these suggestions, reaching out to Skylink’s customer service or a professional might be your best option. It’s okay to ask for help when you need it!
Replacing a Skylink motor unit can seem daunting, but with the right tools and a little patience, you can do it yourself. Just like any project, taking it step by step can make it manageable and even rewarding.
Remember to gather your tools, disconnect the power, and be careful with all your connections. Celebrate the success when it works just as it should. After all, a functioning garage door not only brings peace of mind but also adds value to your property. So roll up those sleeves and dive in—you’ve got this!