Replacing the Skylink battery backup isn’t as tough as it may sound, even if you’re not particularly tech-savvy. It’s more like changing the batteries in a remote control than conducting a major surgery. This process will ensure that your garage door can still operate smoothly during a power outage. So, let’s get into how to tackle this straightforward yet sometimes overlooked task.
Why You Need a Battery Backup for Your Skylink Garage Door Opener
A battery backup can be the unsung hero of your garage door opener. Imagine a storm hits, and the power goes out. Your car is trapped inside, and the manual release mechanism feels like rocket science. A battery backup ensures that you can still open and close your garage door during such situations.
The Skylink battery backup not only provides essential power but also makes your garage door opener more reliable overall. It helps avoid emergency situations and keeps your everyday life running smoothly. If you’re asking yourself, “Is it worth it?” the answer is a resounding yes. The peace of mind alone is just priceless.
Gathering the Right Tools and Parts
Before you even think about diving into the replacement process, you’ll want to gather a few tools and parts. Here’s what you’ll need:
- Replacement Battery: Make sure to get a compatible battery for your specific Skylink model.
- Screwdriver: A Philips head screwdriver should do the trick.
- Safety Gloves: Always best to protect your hands.
Take some time to check your owner’s manual or look up your model number online to double-check the battery type. If you can’t find the exact replacement, local hardware stores or online retailers usually have what you need. This step is more straightforward than searching for Wi-Fi in a crowded café.
Step-by-Step: Replacing Your Skylink Battery Backup
Now that you have everything ready, it’s time to get your hands a little dirty. Here’s a simple, step-by-step guide for replacing that Skylink battery:
1. Disconnect Power Supply
The first step may seem obvious, but it’s crucial—unplug your garage door opener. This ensures that you won’t accidentally zap yourself when you’re in the thick of things. Think of it as putting on your seatbelt before a drive; better safe than sorry.
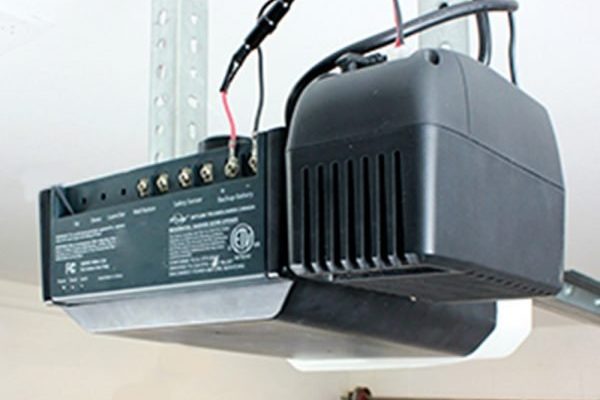
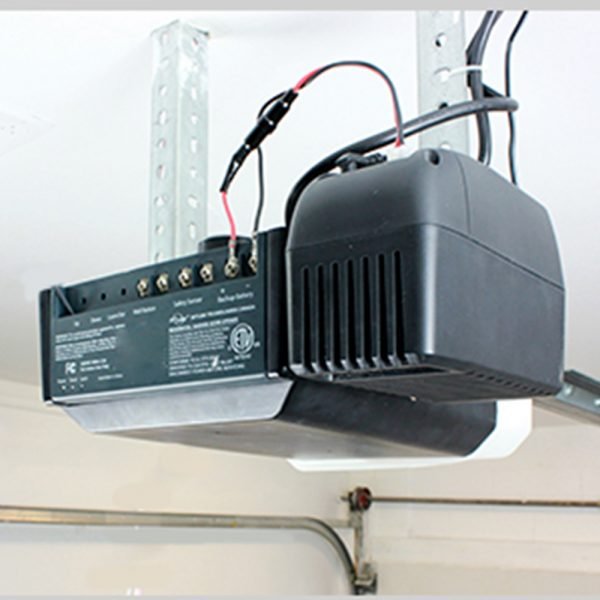
2. Locate the Battery Compartment
Next, you’ll want to find the battery compartment. This is typically located on the back or the side of the unit. If you’re not sure where it is, think of it as looking for an old hiding spot; it will pop right out once you know what you’re looking for.
3. Remove the Old Battery
Use your screwdriver to take off the battery cover. Once you have access, gently disconnect the old battery. It might feel a bit awkward, just like trying to open a jar that’s too tight, but apply some patience. You don’t want to yank it too hard and break something.
4. Insert the New Battery
Now, take your new battery and carefully place it into the compartment. Ensure the terminals are aligned properly—positive to positive and negative to negative. This step is crucial; however, if you do get it wrong, at least you won’t be launching any spacecraft!
5. Reattach the Battery Cover
After securing the new battery in place, reattach the battery cover. Make sure it’s snug and secure; this prevents any funny noises when your garage door is in action.
6. Plug it Back In and Test
Finally, plug in your garage door opener. It’s time for the moment of truth. Test your remote to ensure everything is operating as it should. If the garage door opens smoothly, give yourself a pat on the back—you’ve just completed a DIY repair!
Troubleshooting Common Issues
Sometimes, complications can arise even with something as simple as a battery replacement. If your garage door opener doesn’t seem to respond after the change, try these troubleshooting tips:
- Check Connections: Make sure all connections are tight and secure.
- Reset the System: Locate the reset button on your garage door opener and hold it down for 10 seconds.
- Re-pair Your Remote: If you’ve lost communication with your remote, you might need to sync it again with the opener.
If none of these steps work, it may be time to consult the manual or a service technician. Sometimes, it’s worth reaching out for a little extra help.
When Is It Time to Consider a New Garage Door Opener?
While changing the Skylink battery backup is a manageable task, it’s worth considering whether your entire garage door opener might be due for an upgrade. If your unit has seen better days, or if repairs are becoming a frequent necessity, investing in a new opener could save you the headache.
Modern garage door openers also come with enhanced features, like smart technology that lets you control your door from your smartphone. It’s a “future-proof” solution to keep your garage convenient and secure. If you find yourself making frequent repairs, maybe it’s a sign to shop around for a newer model that fits your needs.
Wrapping Up
Replacing the Skylink battery backup doesn’t have to be daunting. With the right tools and a little know-how, you’ll keep your garage door functioning seamlessly. Remember, when it comes to home maintenance, understanding the basics can save you time and stress down the line. The next time the power goes out, you’ll be glad you took the time to replace that battery. Just like keeping your phone charged, keeping your garage door opener’s battery backup fresh ensures you’re ready for anything—power outages included!