Skylink is known for its user-friendly garage door openers and accessories. The wall buttons are essential components that help you access your garage with ease. If your wall button has stopped working or is behaving erratically, it may be time for a replacement. In this guide, we’ll walk you through the process step-by-step, ensuring you feel confident every step of the way. Let’s dig in!
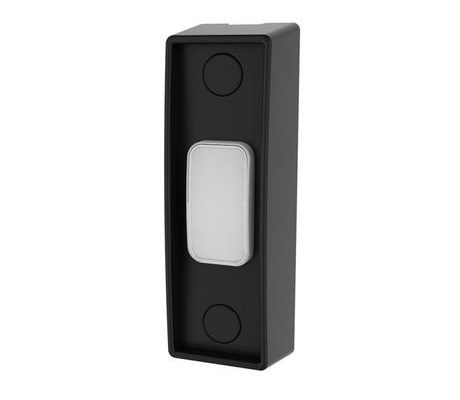
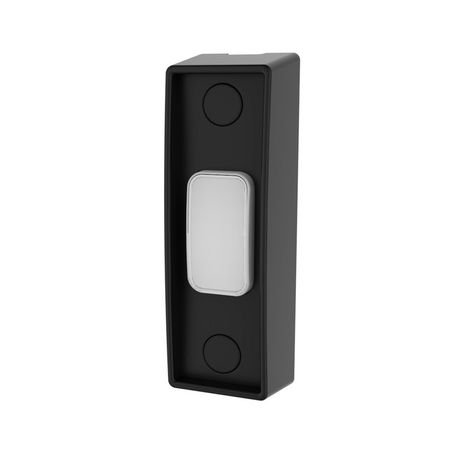
Before jumping into the replacement process, let’s familiarize ourselves with the Skylink wall button. This little device acts like your garage door’s control center, letting you open or close the door from inside your garage. It usually consists of a simple button, often labeled for easy use.
If you press the wall button and nothing happens, there’s a good chance it’s malfunctioning. It could be due to a dead battery, a loose connection, or simply wear and tear over time. Knowing the symptoms can help you figure out if a replacement is necessary. If the button appears fine, try replacing the batteries first. Yet, if that doesn’t fix the issue, it’s time for a replacement.
Now, let’s get prepared. Before you dive into replacing your Skylink wall button, you’ll want to gather some essential tools. Here’s what you’ll typically need:
- Replacement wall button: Make sure it’s compatible with your Skylink system.
- Screwdriver: Most likely a Phillips-head, to remove screws from the old button.
- Wire Strippers: If you need to manipulate any wiring.
- Drill (optional): If you need to create new holes for mounting.
Having all these tools ready will make the replacement process smoother. You wouldn’t want to start the job and realize your screwdriver is nowhere to be found! So, get everything handy before you begin.
Once you’re all set with your tools, it’s time to remove the old wall button. Here’s how you can do it step-by-step:
1. Power Off the System: Start by turning off the power to your garage door opener for safety. You don’t want to accidentally trigger the door while you’re working!
2. Unscrew the Old Button: Use your screwdriver to carefully remove the screws holding the wall button in place. Keep track of these screws — you’ll be using them again.
3. Disconnect the Wiring: Once the wall button is free from the wall, gently disconnect the wires. Note how they are connected. Taking a quick photo can be helpful for reference later.
It’s kind of like taking apart a puzzle. Just stay organized, and you’ll be able to replicate the connections on the new wall button without a hitch!
Now comes the rewarding part: installing the new wall button. Follow these steps to ensure everything is set up correctly:
1. Connect the Wires: Refer to the photo you took earlier or check the manual for how the wires are arranged. Connect them to the corresponding terminals on your new button. They should snap into place easily; just be gentle.
2. Mount the New Button: Position the new button in the same place as the old one and use the screws you saved to secure it. If you’re making new holes, be sure to drill carefully and cleanly.
3. Test Everything: Before sealing everything up, it’s a good idea to power on your system and test the new button. If it works, awesome! If not, recheck your connections.
This might feel a bit like a game of “connect the dots.” Just follow the guide, and soon you’ll discover that it’s all about making the right connections.
After installing the new wall button, the next step is to ensure it syncs properly with your Skylink garage door opener. This might sound complex, but I promise it’s quite manageable. Here’s a simple guide to get you through:
1. Locate the Learn Button on Your Opener: Usually found on the back or side of the garage door opener motor, this button allows you to sync new devices.
2. Press the Learn Button: Push the learn button and hold it for a few seconds. You’ll typically see a light blink.
3. Press Your New Wall Button: After releasing the learn button, press the new wall button once. If all goes well, the garage door will respond, indicating that syncing worked.
Now you’ve established the connection. It’s like introducing two friends for the first time; you just need to do it right!
Even with careful installation, things might not go as planned. If you find that your new wall button isn’t working, don’t panic! Here are a few common issues and how to tackle them:
– No Power: Double-check that the power is turned on to your garage door opener. It sounds basic, but it’s worth ensuring.
– Loose Connections: Revisit the wiring to confirm that everything is tightly connected. Sometimes, a simple adjust can solve the problem.
– Battery Issues: If your Skylink system includes any battery-operated elements, ensure they have sufficient charge.
These troubleshooting tips can save you a lot of time and frustration. It’s always good to troubleshoot systematically before assuming something is broken.
Once everything is up and running, it’s smart to think about maintenance. Just like oiling the squeaky hinges of your garage door, some simple steps can keep your new wall button in top condition:
– Clean Regularly: Dust and grime can affect your button’s performance. Use a soft cloth to wipe it down every month or so.
– Check Wiring Occasionally: Over time, wear can occur, especially if your garage experiences extreme temperatures. Inspect the connections periodically to ensure everything stays secure.
– Test Functionality: Every once in a while, take a moment to check if the button is still responding promptly. Consistency is key to keeping your garage door opener working efficiently.
By investing tiny moments into maintenance, you can significantly prolong the lifespan of your wall button and ensure you get consistent, reliable performance.
Now, replacing your Skylink wall button doesn’t seem so intimidating, does it? With the right tools and steps, you’ve tackled this task like a pro. Keeping your garage door functioning seamlessly can save you time and hassle, making it easier to come and go as you please. Next time you need to replace a wall button, you’ll not only know how, but you’ll also feel empowered to take on future DIY projects around the house!
Originally posted 2025-02-24 05:22:35.