Before diving into the replacement process, let’s clarify what this circuit board does. It acts as the control center, communicating with your remote and the opener itself. When it malfunctions, you might end up frustrated, wondering why your garage door isn’t cooperating. Here, I’ll guide you through the steps of replacing your Craftsman circuit board, making sure you feel confident and informed throughout the process.
Why Replace the Circuit Board?
You might be wondering why it’s necessary to replace the circuit board at all. Well, there are a few common reasons. First, if your garage door isn’t responding to the remote, the circuit board could be faulty. A good way to test this is by checking the remote’s battery first since a dead battery can cause the same issue. If that’s not the problem, the circuit board is likely the next suspect.
Another reason could be wear and tear. Garage door openers see a lot of use, and over time, components can deteriorate. If you notice intermittent operations—where the door opens and closes on its own or fails to respond intermittently—the circuit board may need replacement.
Finally, if you’ve just upgraded your remote or if something’s been damaged by a power surge, you might find yourself needing to swap out that circuit board. Investing in a new board can save you from the headache of a malfunctioning garage door in the long run.
Gathering Your Tools and Materials
Before you get started on replacing the circuit board, it’s essential to have the right tools and materials at hand. Here’s a short list to help you prepare:
- A replacement Craftsman circuit board – Make sure it’s compatible with your specific opener model.
- Screwdriver set – Typically, you’ll need both Phillips and flathead screwdrivers.
- Insulated wire cutters – To help disconnect and reconnect any wires.
- Electrical tape – For securing any wire connections after the replacement.
- A multimeter – Optional, but helpful for testing electrical connections.
Having everything organized before you begin can make the process smoother and more efficient. Plus, it saves you from running around in search of tools mid-repair!
Safety First: Disconnect Power
Safety should always be your number one priority. The last thing anyone needs is a sudden jolt while working on electrical components! Before touching your garage door opener, disconnect it from the power source. This is usually as simple as unplugging it from the outlet or turning off the circuit breaker that powers it.
Additionally, make sure to remove the battery from the remote if you’ll be handling it while replacing the circuit board. This helps prevent any accidental signals while you’re working. Give yourself peace of mind by confirming that everything is powered down.
Removing the Old Circuit Board
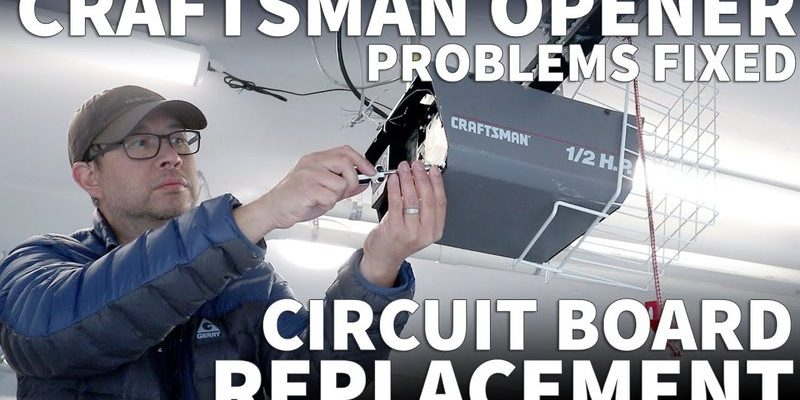
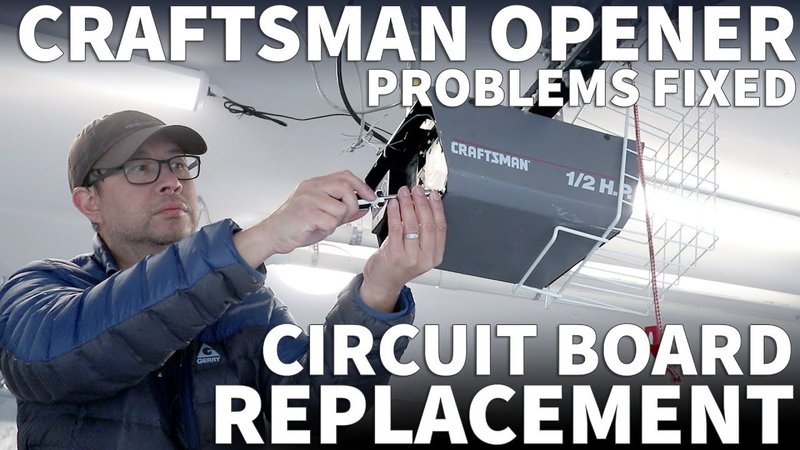
Now, it’s time to tackle the actual replacement! Start by locating the circuit board inside your Craftsman garage door opener. It’s typically housed near the back where the motor is located.
1. Open the Cover: Use your screwdriver to carefully remove the screws holding the cover in place. Keep track of these screws as they’ll be needed later.
2. Disconnect Wires: Before you remove the old board, take a picture of the wiring for reference. Then, carefully disconnect all the wires attached to the circuit board. Be gentle with this; you don’t want to damage any wires.
3. Remove the Board: Once the wires are disconnected, you can lift the circuit board out. Make sure you do this smoothly to avoid any damage to other components inside.
Installing the New Circuit Board
Now for the fun part—installing the new circuit board!
1. Position the New Board: Place your new Craftsman circuit board in the same spot as the old one. It should slide right into place if it’s compatible.
2. Reconnect Wires: Referring back to the picture you took earlier, reconnect the wires to their corresponding terminals. Ensure that each wire is securely connected to avoid any issues later on.
3. Secure the Board: Once everything is connected, you can secure the circuit board in place, replacing any screws you removed earlier.
Testing the New Setup
Before you close everything up, it’s important to test if your new circuit board is working as intended. Here’s how you can do that:
1. Reconnect Power: Plug your garage door opener back in or turn the circuit breaker back on.
2. Test the Remote: Grab your remote and press the button. The garage door should respond. If it opens and closes smoothly, congratulations—you’ve successfully replaced the circuit board!
3. Check for Smooth Operation: Observe the door as it operates. If it opens and closes without any weird noises or hesitations, you’re all set.
Reassemble and Final Thoughts
Finally, put the cover back on your garage door opener and remember to secure all the screws tightly. Clean up your work area and dispose of any old parts responsibly.
Replacing the Craftsman circuit board can feel overwhelming at first, but it’s a manageable task with a little patience and the right guidance. Remember that it’s perfectly fine to ask for help if you need it. And now that you’ve tackled this DIY project, you can take pride in knowing you’ve extended the life of your garage door opener!
Originally posted 2025-02-09 14:44:23.