So, if your Craftsman safety sensor is acting up, don’t fret! Replacing it isn’t as daunting as it sounds. You don’t need to be a seasoned handyman to tackle this. With some basic tools, a little patience, and this step-by-step guide, you’ll have your garage door functioning safely in no time.
Understanding Safety Sensors
Before we dive in, let’s talk a little about what these safety sensors do. Safety sensors are usually located at the bottom of your garage door, facing each other. Their job is simple: they send a signal to the garage door opener to stop the door from closing if something is in the way. Imagine if you had a dog or a small child playing right where the door closes—these sensors are what keep them safe.
Here’s the thing: if your garage door only opens partway or just doesn’t move at all, you might have a sensor issue. A blinking light on the sensors or a solid light with no response from the door can be signs it’s time to replace them. Let’s get into the nuts and bolts of how you can replace your Craftsman safety sensor.
Gather Your Tools
Before you start this project, you’ll want to gather a few basic tools. Here’s a handy list:
- Flathead screwdriver
- Phillips screwdriver
- Wire cutters
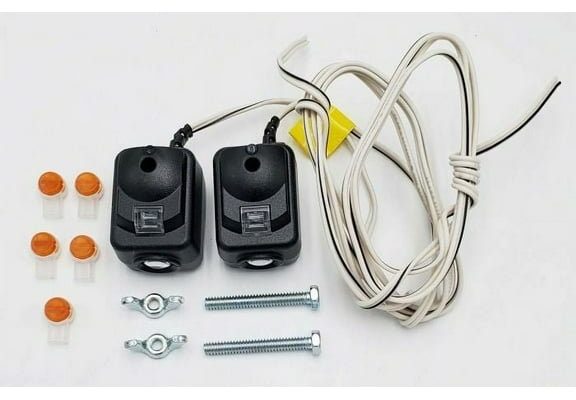
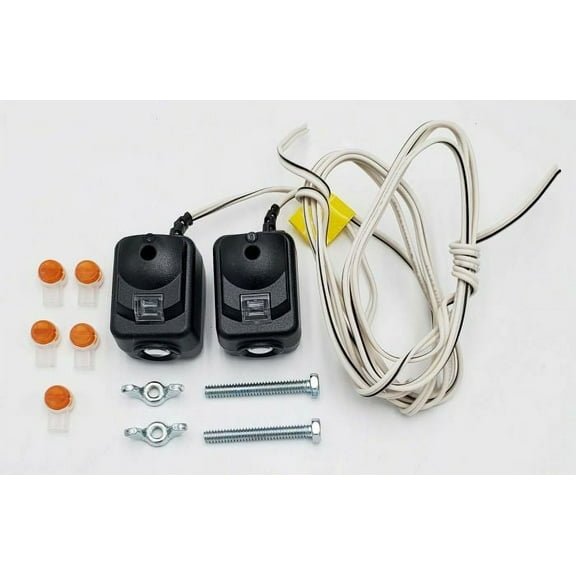
- New safety sensors (make sure they’re compatible with Craftsman)
- Electrical tape
Having everything ready and at hand will make your job much easier. Think of it like preparing for a day out—you wouldn’t leave without your wallet, right? Similarly, you want to ensure you have all your tools before you get started.
Safety First: Power Down
Let’s not skip on safety. Before you swap out the sensors, you need to disconnect the power to your garage door opener. This means unplugging it from the wall or removing the fuse that powers it. Think about it: you wouldn’t want to be fiddling around with electrical components while the opener is still live. Trust me, safety should always be the top priority!
Once it’s powered down, take a moment and ensure that the area is clear. If you’re working on a ladder, you might want someone there to spot you. It’s always good to have a friend at your side!
Removing the Old Sensors
Now it’s time to take out the old safety sensors. Start by locating them at the bottom of the garage door tracks. Usually, there are two: one on the left side and one on the right. They may be held in place with screws, so grab your screwdriver and get to work.
Carefully unscrew each sensor from its mounting bracket. Keep those screws safe; you’ll need them later. Once the sensors are loose, gently disconnect the wires from each sensor. This is where wire cutters can come into play if the wires are tightly secured. Take your time here—yanking the wires can cause damage and complicate things later on.
Installing the New Sensors
With the old sensors out, it’s like a blank slate! Now, hold your shiny new Craftsman safety sensors. Start by connecting the wires from the opener to the new sensors. Here’s where that electrical tape comes in handy—make sure those connections are secure and well insulated.
Next, mount the new sensors in the same spots as the old ones. Use the screws you set aside earlier. Make sure they’re aligned correctly; when they face each other, they need to be level—like two friends waving hello from across the street!
Double Check Your Connections
Now that your new sensors are in place, it’s essential to double-check all your connections. Make sure the wiring is secure, the sensors are straight, and nothing looks out of place. This is your last chance to catch any potential issues before you power everything back up.
If you’re unsure, it’s perfectly fine to refer back to the instructions that came with your new sensors. Manufacturers often provide detailed diagrams showing you exactly how to connect them. It might feel a bit like a treasure map—follow the clues, and you’ll strike gold!
Powering Everything Back Up
Alright, you’re almost done! Now comes the exciting part: powering everything back up. Plug your garage door opener back in or restore the fuse you removed earlier. You might even hear a little hum of the motor waking back to life, which is a satisfying sound if you ask me!
Once it’s plugged in, check the sensor lights. Usually, one will glow solidly, and the other will blink if everything’s properly connected. If the lights are operating as they should, you’re ready for the next step.
Testing the New Sensors
Time for the moment of truth: testing your newly installed safety sensors. Hit the remote button and watch the door. As it begins to close, you can introduce an object—a towel works well—under the door’s path. If the sensors are working correctly, the door should reverse as soon as it detects the obstruction.
If it does, congratulations! You’ve successfully replaced your Craftsman safety sensor. If not, check those connections again. Sometimes, it can be as simple as a loose wire or misalignment.
Final Thoughts
Replacing your Craftsman safety sensor may seem intimidating at first, but it’s a task you can accomplish with a bit of patience and determination. Just take it step by step. Remember, these sensors are crucial for the safe operation of your garage door, ensuring that accidents and injuries don’t occur.
So, next time your garage door gives you trouble, you’ll know exactly what to do! With the right tools and instructions, you can tackle this project like a pro. Happy fixing!