Think of your garage door opener as the unsung hero of your home. It lifts, lowers, and makes your life just a little easier. When it stops functioning, it’s like a reliable friend suddenly backing out on plans. So, if you need to roll in a new opener, it’s nice to know the process doesn’t have to be daunting. With some simple tools and a little guidance, you could have that garage door flying open and shut in no time.
Ready to dive in? Let’s break down how to replace your Craftsman garage door opener step by step.
Gather Your Tools and Materials
Before diving into this project, you’ll want to collect a few essential tools and materials. Think of these as your “mission kit” for the day. Here’s what you might need:
- A new Craftsman garage door opener.
- Drill and drill bits.
- Wrenches or socket set.
- Flathead and Phillips screwdrivers.
- Measuring tape.
- Safety goggles and a ladder.
Having everything on hand not only saves time but also prevents unnecessary breaks to fetch tools. If you can, set up a clean workspace in your garage to lay out your materials. Here’s the thing—being organized will make everything smoother.
Disconnect the Power Supply
Let’s get safety first! Before you touch anything, ensure that the power supply to your garage door opener is disconnected. This avoids accidental activation and keeps your fingers intact. Here’s how to do it:
1. Locate the power source: Usually, it’s a standard outlet that your opener is plugged into.
2. Unplug it: Do this carefully to avoid any damage to the cord or outlet.
If you have a wall-mounted switch for your garage door opener, you can also turn off the circuit breaker. Just make sure to label it so others know what you’re handling.
Remember: A little caution goes a long way in preventing accidents.
Remove the Old Garage Door Opener
With the power disconnected, it’s time to bid adieu to your old opener. This can feel a bit like saying goodbye to an old friend, but it’s necessary for progress. Here’s how to safely do it:
1. Detach the rail from the motor unit: This typically involves unscrewing a few bolts or screws. Use the drill or wrenches to carefully remove them.
2. Disconnect the wires: Label any wires connected to the old opener, so you know where they go later. You don’t want to play connect-the-dots without a guide!
3. Remove the mounting brackets: If your opener has mounting brackets, unscrew those too.
Make sure to hold onto all small parts—you’ll want them for your new opener or just in case you face similar repairs later on.
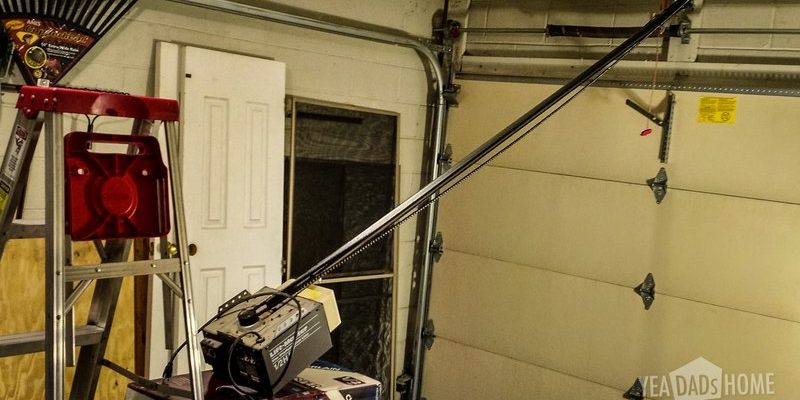
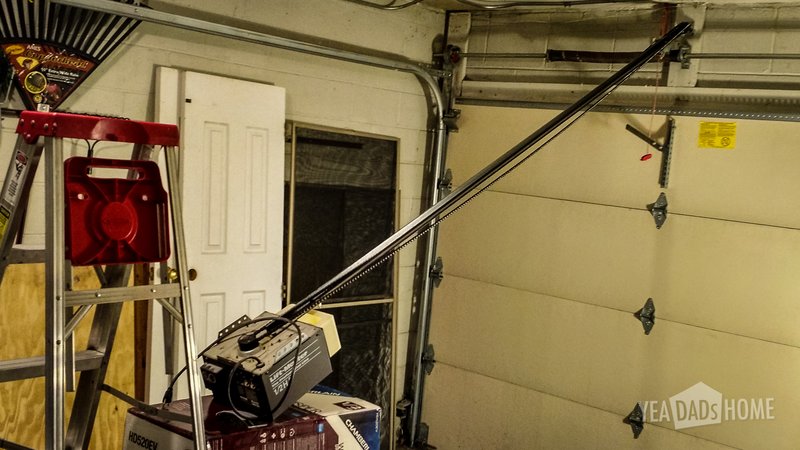
Install the New Garage Door Opener
Now comes the fun part: installing your new Craftsman garage door opener! This is where it all comes together. Here’s a step-by-step:
1. Position the motor unit: Get your new opener in place, aligning it where the old one was mounted. Make sure it’s straight and level. A measuring tape can help here!
2. Secure the mounting brackets: Use screws to attach the brackets to your ceiling or wall as specified in the installation manual. Tighten securely, but not so much that you strip the screws.
3. Connect the rail: If your opener has a rail, attach it to the motor unit. Follow the instructions provided in the manual for proper assembly.
Don’t skip this crucial step—having everything attached correctly will ensure your garage door operates smoothly.
Wire Up the New Opener
Next up, it’s time to connect the wiring. Think of this as the moment when you give your garage door opener a voice again. You’ll need to reconnect any wires you labeled earlier. Here’s how to do it properly:
1. Connect the power wiring: Follow the instructions that came with your new opener. Match wires by color: usually black, white, and green.
2. Reattach the safety sensors: If your opener has safety sensors, mesh those wires back and ensure they are mounted correctly. Usually, these go near the bottom of your garage door tracks—keeping safety in check is essential!
3. Plug it in: Once all connections are secure, plug the opener back into the outlet, or turn the circuit breaker back on.
At this stage, you’re almost there!
Sync the Remotes and Test the Opener
With everything in place, it’s time to impart some life into your new garage door system! Syncing your remote is one of the last steps. Here’s how you can do it:
1. Find the “Learn” button: This is often located on the motor unit of the opener. Press and hold this button for a few seconds until you see a light blink.
2. Activate the remote control: While the light is blinking, press any button on your remote. You should see the light go off—this is a good sign!
At this point, you might be thinking, “What about the wall control?” Similar steps apply: simply press the learn button again and then press the wall switch.
Test your garage door a few times to ensure everything is functioning correctly. If it opens and closes smoothly, congratulations! You’ve just replaced your Craftsman garage door opener.
Final Adjustments and Maintenance
After testing, you might want to make some final adjustments. Most new opener models come with settings for the door’s speed and force. Here’s how to tweak them:
1. Check the travel limits: Your opener might have adjustment knobs for setting how far the garage door opens or closes. Ensure these are set correctly to avoid damaging the door or the opener.
2. Lubricate moving parts: A little grease goes a long way! Regularly lubricating hinges and rollers can help extend the lifespan of your garage door opener.
Make it a habit to check on your opener every few months—this will keep it working smoothly for years to come.
Replacing your Craftsman garage door opener might have seemed daunting at first, but now you see it’s totally manageable! By gathering your tools, disconnecting power, installing the new unit, and syncing your remotes, you’ve taken on a handy home project with confidence.
Remember, each time you use that garage door, you’ll remember the effort you put in! And don’t worry—if you hit any bumps along the way, troubleshooting guides are often just a click away. Happy DIY-ing, and enjoy that smoothly operating garage door!