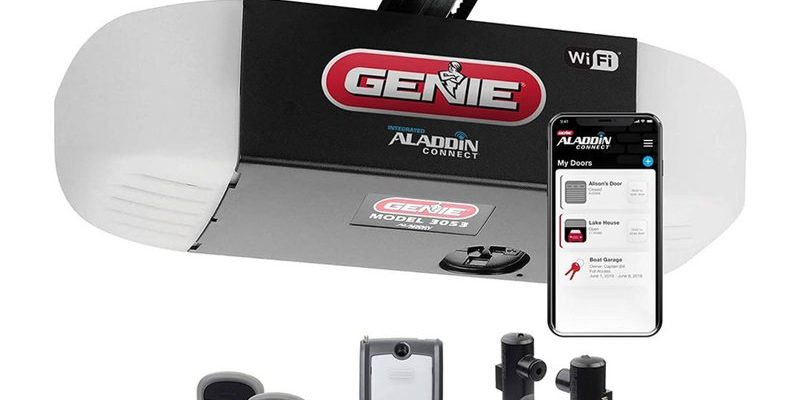
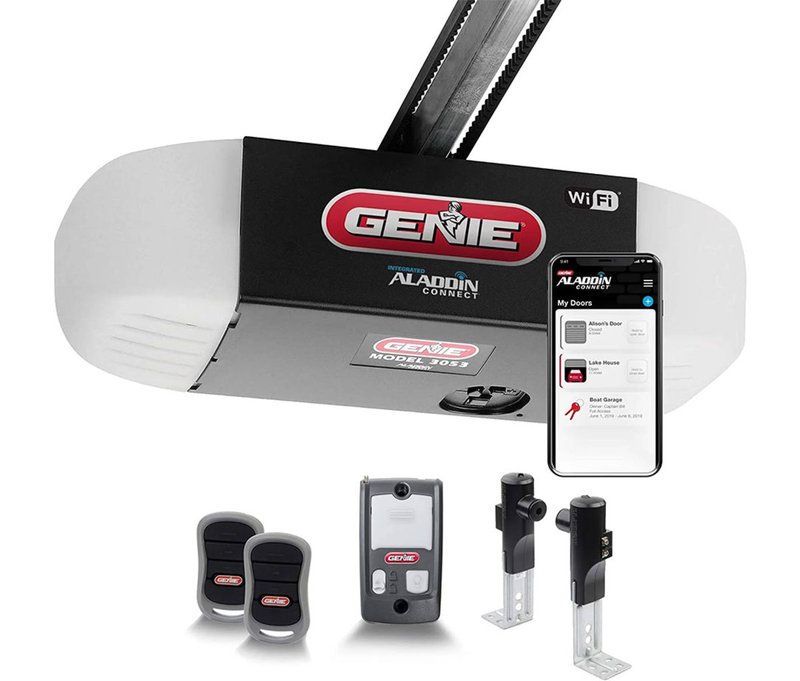
The Genie Smart Hub is integral if you’ve invested in a smart garage door opener. This nifty device synchronizes with your smartphone or smart home system, allowing you to operate your garage door with just a tap. However, technology can be fickle. If the hub has stopped responding or won’t connect to your network, replacing it is a viable solution. Let’s break this down step by step, so you can get back to enjoying that tech-savvy convenience.
Why Would You Need to Replace the Genie Smart Hub?
You might wonder, “Isn’t it easier to troubleshoot my old Genie Smart Hub?” Absolutely, but sometimes a replacement is the quickest path to success. Here are a few reasons why you might need to take that leap:
- Connectivity Issues: If your Smart Hub struggles to sync with your network or devices, it might be time for a swap.
- Software Updates: Sometimes, the hub can’t handle updates, making replacement the only option.
- Physical Damage: An accidental drop or stuck in the rain? Damage can lead to failure.
It’s worth considering that sometimes troubleshooting could resolve the issue. However, if you’ve exhausted every option and still can’t connect, getting a new hub may save you time and headaches.
Gather Your Tools and Replacement Hub
Before you start the replacement process, you’ll need a few tools to make the job easier. Don’t worry; it’s barely more complicated than pulling a t-shirt over your head. Here’s what you’ll need:
- Screwdriver: A philips-head screwdriver will usually do the trick for most Genie hubs.
- Replacement Genie Smart Hub: Ensure you get the correct model to fit your existing system.
- Smartphone or Tablet: You’ll use this for resetting and syncing with your new hub.
Take a moment to gather your supplies—you’ll thank yourself for being prepared. Having everything in place makes the process smoother, almost like having the right spices before a cooking adventure.
Disconnecting the Old Genie Smart Hub
Removing the old hub might feel a little intimidating, but it’s similar to taking off your shoes after a long day. Let’s go through it step by step.
1. Unplug the Hub: Start by disconnecting the power supply. This is crucial for safety.
2. Locate the Screws: Use your screwdriver to remove any screws or fasteners. Most Genie models have them clearly marked.
3. Gently Remove the Hub: Pull the hub away from its mounting or bracket, being careful not to damage any of the connected cables.
By following these steps, you’re setting the stage for a smooth transition to your new hub. Remember not to rush; sometimes taking it slow helps avoid mistakes.
Installing the New Genie Smart Hub
Now that the old hub is out, it’s time for the shiny new replacement to take its place. Think of it as introducing a new team member to your work environment. Here’s how to get it set up properly:
1. Connect the Wires: Attach any wires that were connected to the old hub. Check your model’s instructions for specifics.
2. Mount the Hub: Use the screws you removed earlier to secure the hub in place.
3. Plug It In: Reconnect the power supply. You should see some lights indicating the hub is getting power.
Try to handle everything gently. Just like a new gadget, you want to treat your hub with care during installation.
Syncing Your New Genie Smart Hub
Once your new hub is securely installed, it’s time for some virtual handshakes. Syncing it with your Wi-Fi and devices is crucial for functionality, so let’s walk through that:
1. Download the Genie App: If you haven’t already, download the Genie app to your smartphone or tablet.
2. Create an Account or Log In: You may need to set up a new account if you’re using a new hub.
3. Follow the Syncing Instructions: The app will guide you through syncing your new hub to your Wi-Fi network. This typically includes entering your Wi-Fi details and checking for updates.
You might be surprised at how straightforward this process is. Just like that—your new Genie Smart Hub is up and running, ready to take orders from your smartphone.
Troubleshooting Common Problems
Sometimes, even after all this effort, things don’t go as planned. Don’t worry; issues can usually be resolved easily. Here are some common problems and quick fixes:
1. Connectivity Issues: If you can’t connect to your hub, ensure that your Wi-Fi is functioning properly. Restart your router if needed.
2. Hub Not Responding: A simple reset of the device might clear any glitches. Check your user manual for the reset button location.
3. App Not Finding Hub: Close the app and restart your phone before the attempt to sync again.
Addressing these issues can often be done in minutes, leaving you stress-free and back to using your garage door opener via your phone.
Final Thoughts on Replacing Your Genie Smart Hub
Replacing the Genie Smart Hub doesn’t have to feel like an overwhelming task. By taking it one step at a time, gathering your tools, and following the installation and syncing guide, you’ll have your new hub set up in no time. The connection between modern technology and our daily lives can be rocky, but figuring out how to replace a crucial part like the hub doesn’t have to be.
Whether you’re embracing the smart home era or just looking to get your garage door functioning correctly again, you’ve tackled a significant home update. Enjoy the convenience, security, and peace of mind that comes with having a fully operational Genie Smart Hub!