
Genie has been a top name in garage door openers for years. Their remotes are user-friendly and reliable, but sometimes they need a little help in the form of replacement or reprogramming. Whether you’ve lost your remote, the buttons have stopped working, or you’re just looking for an upgrade, I promise you can do this! So, let’s dive in, step by step.
Understanding Your Genie Remote
Before we jump in, it’s important to understand what type of Genie remote you have. Most models come in two main styles: the single-button remote and the multi-button remote. Single-button remotes are typically used for one garage door. Meanwhile, a multi-button remote can control more than one door or other devices.
You might also find that there are several models like the Genie Intellicode or the Genie Safe-T-Beam. If you’re unsure about your exact model, just flip it over and look for the label on the back. This will help you get the right replacement remote.
Knowing which remote model you have sets a solid foundation. It’s also good to keep in mind that not all Genie remotes are universal. So, if you think a generic remote will work, you might want to rethink it. That brings us to the next step: choosing the right replacement remote.
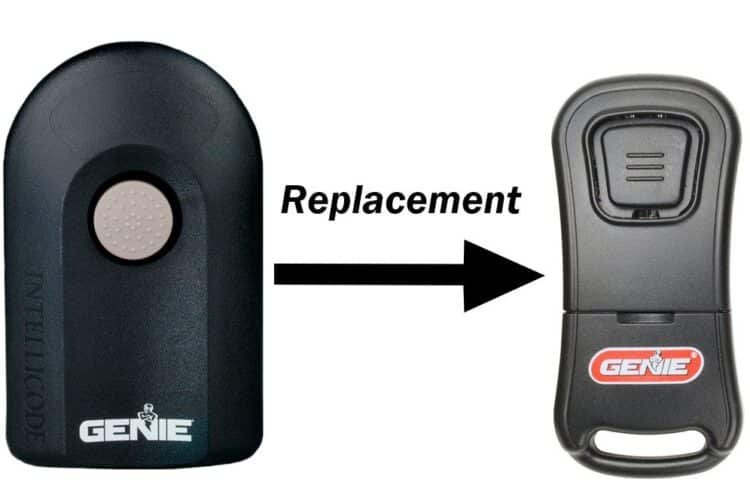
Choosing the Right Replacement Remote
Here’s the thing: not all replacement remotes are created equal. When shopping for a new Genie remote, you should ensure compatibility with your existing garage door opener. Take a moment to browse online, or visit your local hardware store, and check the product specifications.
Here are a couple of options you might encounter:
- Single-Button Remote: Ideal for one garage door operation.
- Multi-Button Remote: Perfect if you need to control multiple doors or additional devices.
- Universal Remotes: These can work with many different brands, including Genie, making them a flexible choice.
When selecting the remote, verify that it operates on the same frequency as your Genie opener. Most Genie remotes operate on a 315 MHz signal. Checking this will help ensure smooth operation without any hiccups. Imagine getting a remote that doesn’t sync—frustrating, right?
Gathering Tools and Materials
Before we start replacing your remote, let’s gather a few essential tools and materials. You won’t need much—just a few basic items to make the process easier:
- New Genie Remote: Make sure it’s compatible.
- Screwdriver: If your old remote needs batteries replaced.
- Batteries: Most Genie remotes require AA or AAA batteries.
- Step Ladder: If your opener is mounted higher.
It’s often the little things that trip us up. So check that you have everything before starting. Having your toolbox ready is like having your coffee before a big meeting—it just sets the tone.
Replacing the Batteries in Your Remote
An often-overlooked step is simply replacing the batteries. You might be hesitant to splash out on a new remote when a simple battery swap could be the fix. Here is how to do it:
1. Open the Remote: Find the seam or the latch and gently pry it open using your fingers or a small screwdriver.
2. Remove Old Batteries: Take out the old batteries carefully, keeping track of their orientation.
3. Insert New Batteries: Replace them with fresh batteries, ensuring the positive and negative ends match the symbols inside the remote.
4. Close the Remote: Snap it back together until it clicks.
After this, try using the remote. If it works, fantastic! If not, you might need to look into programming a new remote.
Programming a New Genie Remote
Now comes the part where we need to get our new remote synced up with the garage door opener. Honestly, programming might sound complicated, but it’s pretty straightforward once you get the hang of it. Follow these steps:
1. Locate the Learn Button: You’ll find this on your garage door opener motor. It’s usually near the antenna and is often bright yellow, red, or purple.
2. Press and Hold: Press and hold the learn button until the light blinks on and off. This indicates that the opener is in learning mode.
3. Press the Remote Button: Within 30 seconds, press and hold the button on your new remote that you want to program. A light on the garage door motor should blink again, indicating successful pairing.
Now give it a test run. If the door opens, you’re golden! If not, go back through the steps to ensure you didn’t miss anything.
Troubleshooting Common Issues
Sometimes, despite our best efforts, things just don’t work out as planned. If your new remote isn’t functioning, try these troubleshooting tips:
– Check Batteries: Even new batteries can sometimes be faulty. Try replacing them again.
– Confirm Compatibility: Double-check that your replacement remote is compatible with your garage door opener.
– Reprogramming Process: Go through the programming steps once more. It could be that things didn’t sync properly the first time.
If you try all this and the remote still doesn’t work, it might be time to call in a professional. There’s no shame in asking for help when you need it.
Final Thoughts on Replacing Your Genie Remote
Replacing your Genie remote doesn’t have to be a daunting task. Whether you’re switching out dead batteries, syncing a new remote, or troubleshooting issues, you can navigate this process with ease. Remember this journey is like cooking a new recipe—with a bit of patience and the right ingredients, you’ll master it!
If you found this guide helpful, you’re more prepared now to tackle remote replacements like a pro. Next time your remote acts up, you’ll know exactly what to do. Safe driving, and may your garage door open with a simple press!