Imagine you’re sitting with a friend who’s just gotten frustrated over a non-responsive gadget. You don’t want to dive into electrics or programming jargon right away. Instead, you start with what they know: “It’s like changing the batteries in your TV remote. Sometimes, all it takes is a fresh start.” That’s exactly what replacing the Chamberlain Smart Hub does—it resets the connection and gets everything back on track.
In this article, we’ll break down the steps to replace your Chamberlain Smart Hub. We’ll cover everything from gathering your tools to troubleshooting common issues afterwards, so you can get back to easy garage access in no time.
Gathering Your Tools
Before diving into the process of replacing your Chamberlain Smart Hub, it’s essential to have the right tools on hand. No one wants to scramble for a Phillips screwdriver mid-project. So, let’s set you up for success. Here’s what you’ll need:
- A screwdriver (usually Phillips works for most models)
- Your new Chamberlain Smart Hub
- A smartphone or computer to sync the new hub with your devices
- Access to your garage door opener’s manual
Make sure you check the box of your new hub to ensure everything is included. You’ll typically find installation instructions that provide specific details for your model. Having these tools and your manual ready means less stress and more focus on getting it done.
Disconnecting the Old Smart Hub
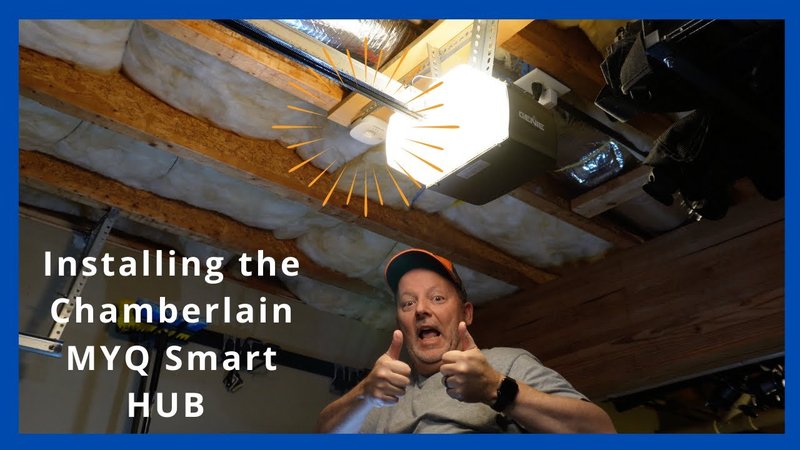
Now that you’re prepped, it’s time to disconnect the old hub. Think about this step like taking off an old pair of shoes—they’ve served you well, but they’re ready to go. First, find your garage door opener. It’s usually mounted on the ceiling; head up there with your screwdriver.
Next, carefully unscrew the old Smart Hub from its mount. You’ll likely see a few wires attached. Don’t panic! Simply note how they’re connected, possibly taking a quick photo to reference later. Disconnect the wires gently—too much pulling can damage them. Once you have everything removed, give the area a quick wipe-down. It’s a good moment to reset the space before introducing the new hub.
Installing the New Smart Hub
Bringing in the new Smart Hub is the most exciting part! It’s like welcoming a fresh addition to your tech family. Start by connecting the wires exactly as they were on the old hub. If your photo or memory serves, this part should be easy.
Once the wires are connected, secure the new hub onto the garage door opener using your screwdriver. Make sure it’s snug but not overly tight. Think of it like fastening a new shoe—firm enough to stay on but not so tight that it’s uncomfortable. The moment you’ve got it mounted securely, take a step back and admire your handiwork. You’re almost there!
Syncing the New Hub
With the new Smart Hub installed, it’s time to sync it with your devices. Picture this step as setting up a new phone after a long upgrade wait. First, grab your smartphone or computer, and open the Chamberlain MyQ app. If you haven’t downloaded it yet, do that now—it’s available on both Android and iOS.
In the app, look for a prompt to add a new device. Follow the prompts; this usually involves pressing a button on the hub and linking it to your Wi-Fi network. The app will guide you step by step. If you encounter any hiccups during this process, this might be a good time to check your Wi-Fi signal strength or ensure your Smart Hub is within range.
Testing the New Setup
Once synced, it’s time to test things out. Think of this step as taking the new car model for its first drive. Start simple: use the app on your phone to open and close the garage door. If it operates smoothly, congratulations—you did it! You’re all set!
If you run into issues, don’t worry. First, check the app for error messages—they can help pinpoint what might be wrong, such as a connectivity issue or a battery that needs checking. Sometimes, you may need to reset the Smart Hub. There’s usually a reset button—check your manual for details.
Troubleshooting Common Issues
Sometimes, even after a new installation, you might discover issues. This can feel frustrating, but it’s often fixable. Common issues include:
- Connectivity Problems: Ensure your Wi-Fi network is stable and that the Smart Hub is within range of your router. You can try restarting your router if needed.
- Smart Hub Not Syncing: Double-check the connections and ensure that the correct Wi-Fi credentials have been entered.
- Remote Not Working: Make sure the remote batteries are charged, and try reprogramming the remote to the new hub.
Each of these solutions can often resolve the problems that pop up after installation. It’s all about staying calm and troubleshooting step by step.
Getting the Most from Your New Smart Hub
Now that your Chamberlain Smart Hub is up and running, you’ll want to get the most out of it. This hub isn’t just about opening and closing your garage door; it can also give you security features.
You can set alerts on your smartphone to notify you when the door is opened or closed, even while you’re away. This way, you’re always in the loop about who’s coming and going. Plus, consider integrating it with other smart home devices, like security cameras or smart lights to create a fully connected home environment.
Also, make sure to keep your app updated. Each update often comes with new features or enhancements that can improve your overall experience.
In conclusion, replacing the Chamberlain Smart Hub is a straightforward task that can greatly enhance your convenience and peace of mind. Just like that pair of old shoes, sometimes an upgrade is all you need to step back into comfort. By following these steps, you’ve not only restored functionality to your garage but also learned how to manage your smart home a little better. Happy garage door opening!
