Imagine you’ve got everything ready to tackle this job, but maybe you’re not quite sure where to start. That’s normal! Whether your control panel’s buttons are unresponsive or you just want to upgrade to a newer model, replacing it can restore functionality and convenience. Let’s take a step-by-step journey through the process of swapping out the control panel in your Chamberlain garage door opener.
Understanding Your Chamberlain Control Panel
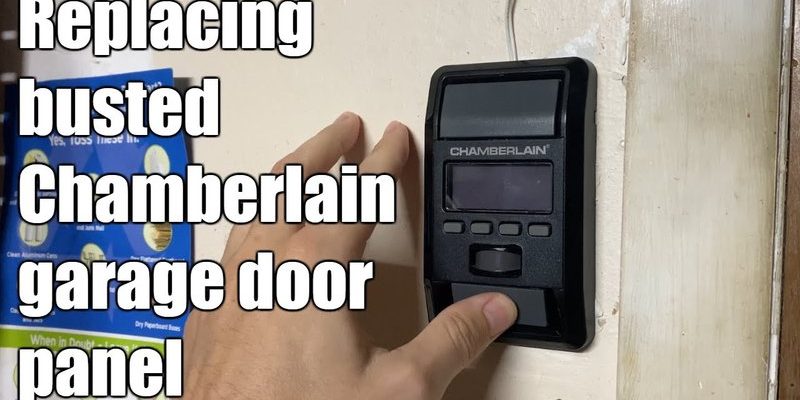
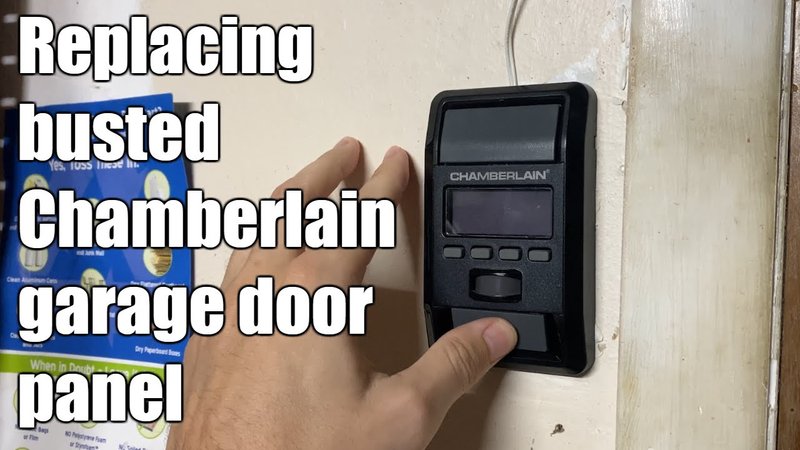
Before getting your hands dirty, it helps to know what you’re dealing with. The Chamberlain control panel usually sits mounted on your garage wall or your opener unit itself. It’s where you input commands for your garage door, like closing, opening, or even programming your remote.
Most control panels feature a few buttons—typically to open or close the door and possibly a light or vacation mode button. They’re designed to work seamlessly with your garage door opener system. If yours has started acting quirky —like refusing to respond to your commands or blinking oddly— it may be time for a replacement.
Key functions to note:
- Opening and closing the garage door
- Programming remotes
- Adjusting settings for safety and access
Recognizing the control panel’s role in your garage door system is essential before jumping into replacement. It’s like knowing the rules of a game; understanding how it works makes the next steps simpler.
Gathering Tools and Parts
Now that you know what the control panel does, let’s gather what you’ll need for the job. Some tools are essential, while others might just make your life easier. Don’t worry if you’re not a toolbox wizard; you probably have some of these items around your home.
Here’s what you’ll typically need:
- Screwdriver: A standard and Phillips screwdriver should do the trick.
- Replacement Control Panel: Ensure it’s compatible with your Chamberlain model. A quick check on the product packaging or website can save you headaches.
- Multimeter: This can help test connections if you run into issues.
- Wire Strippers: If needed, but most replacements are straightforward.
Once you have everything, you’ll feel ready to conquer the task ahead. Having the correct tools makes all the difference, similar to having the right recipe when baking a cake.
Cutting Power to Your Garage Opener
Safety first! Before you begin the replacement process, it’s critical to cut off the power to your garage door opener. Just like you wouldn’t try to fix a wiring issue while the power’s still on, you want to avoid any shocks or accidental activation.
Locate the power cord and unplug it from the outlet. If your garage door opener is hardwired, turn off the circuit breaker that controls the opener. You can find these in your home’s breaker box, usually labeled neatly. It’s a quick step that’ll give you peace of mind.
After cutting the power, you should also check to ensure the door is closed and secure. This prevents any unexpected movements while you’re working. You might be thinking, “This seems like a lot for a simple fix”—but trust me, it’s worth the caution!
Removing the Old Control Panel
With the power off, let’s dive into removing the old control panel. Start by locating the screws that hold it in place, often found at the edges. Using your screwdriver, gently loosen and remove them, making sure to keep them in a safe spot—you’ll need them later.
Once the screws are out, carefully detach the panel from the wall or mounting bracket. As you pull it away, take note of how the wires are connected. Many panels have specific wiring, typically color-coded for ease. If unsure, snap a quick photo for reference later.
Once you’ve removed the old panel, check the wires for any damage. Sometimes corrosion or fraying can occur, and if that’s the case, these may also need replacing. Taking a moment to check can save you hassle down the road.
Installing the New Control Panel
Now comes the fun part: installing the new control panel! Based on the notes or photos you took earlier, you’re ready to connect the new wires. This step can be straightforward, but it’s crucial to match the colors correctly.
– Black Wire: This is usually for the power supply.
– White Wire: Typically used for the ground connection.
– Red Wire: Often indicates an additional function.
Make sure you connect each wire properly and securely. Once you’re done with connections, you can test them briefly using a multimeter if you have one; this ensures everything is in order.
Next, line up the new panel in the same position as the old one and secure it with the screws. This final touch might seem small but gives your panel the stability it needs for regular use.
Powering On and Syncing Your Remote
With the new control panel installed, it’s time to get everything running again. First, restore power by plugging the opener back in or flipping the circuit breaker. You should hear the opener make a small chime or beep to indicate it’s booting up.
Once the panel is powered, you’ll want to sync your remote to the new control panel. Typically, this involves holding a “Learn” or “Program” button on the panel and then pressing the button on your remote. Each model has specific instructions, so checking the user manual can be helpful.
It might take a couple of tries to get it just right, but don’t get discouraged. If you find troubleshooting is needed, many remote issues stem from battery problems or not being within range. Make sure the batteries are fresh and try again!
Troubleshooting Common Issues
Even after you’ve installed your control panel, things might not go as smoothly as you’d like. No need to panic! Here are a few common issues and some basic troubleshooting tips to help:
- Panel Not Responding: Double-check your wire connections, ensuring they’re tight and correctly attached. If everything looks good, consider resetting the panel according to the user manual.
- Remote Won’t Sync: This can be due to low batteries. Replace them, then try syncing again. If that doesn’t work, revisit the panel and ensure all functions are operating normally.
- Unexpected Door Movement: If the door opens or closes independently, there could be an issue with the wiring or interference from neighboring remotes. Check for any exposed wires.
It’s all part of the learning curve! Each issue has a solution, so don’t hesitate to dive back into the manual or seek help from customer service.
Final Thoughts on Replacing Your Chamberlain Control Panel
Replacing your Chamberlain control panel is a pretty straightforward DIY fix, like changing the batteries in a remote. With the right tools, a bit of patience, and this guide, you’ll have your garage door system up and running again in no time.
Remember to prioritize safety and take things step by step. The sense of accomplishment you’ll feel when your garage door operates smoothly again is priceless. Plus, it’s a nice reminder that you’ve mastered another skill, which is always a win!
So go on, roll up your sleeves, and give it a try! Who knows what other handy projects you might take on next?