Picture yourself sitting down for some coffee, and I’m explaining how to tackle this job. You don’t have to be a tech whiz to pull this off. If you have a basic toolkit and a little patience, you can save yourself a service call and get your garage door functioning again in no time. So, let’s break it down step by step.
Understanding Your Circuit Board
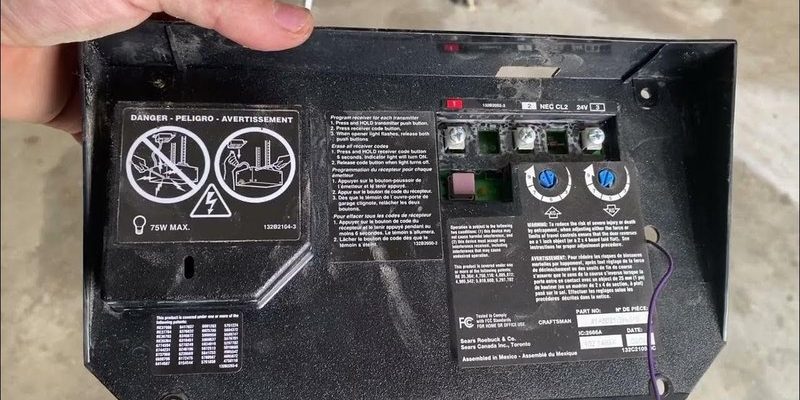
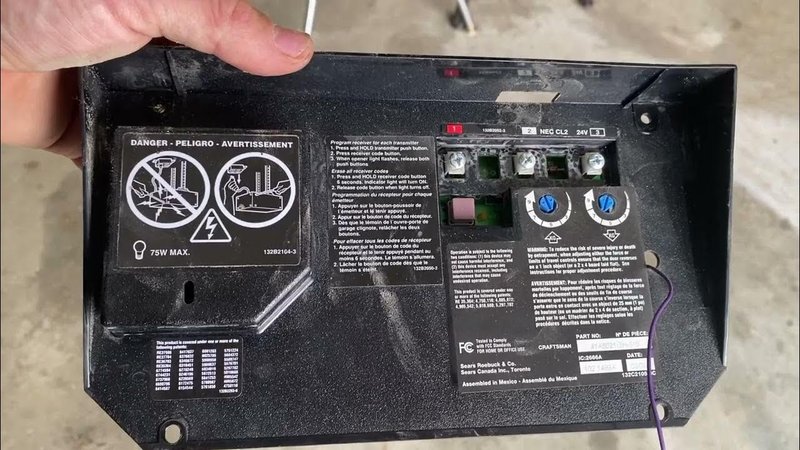
Before diving into the replacement, it’s essential to know exactly what you’re working with. The circuit board in your Chamberlain garage door opener is typically a small, rectangular piece filled with various components like capacitors, resistors, and connectors. Each part plays a role in transmitting signals from the remote to the garage door mechanism.
You might wonder why you need to replace it at all. Circuit boards can fail for several reasons: age, electrical surges, or even physical damage. If your remote isn’t syncing with the opener, or the lights are blinking erratically, it might be time for a new board. Think of it like a car engine misfiring; if one part isn’t working, the whole system can struggle.
To confirm the need for a replacement, carefully observe if the opener powers on at all. If there’s no response after ensuring the batteries in your remote are fresh, you’ll likely need to swap out that board.
Gathering the Right Tools
Having the right tools makes this process much smoother. You don’t need fancy equipment, just a few basic items you probably have lying around:
- Screwdriver Set: A Phillips and flat-head screwdriver will usually suffice.
- Replacement Circuit Board: Ensure it’s compatible with your Chamberlain model.
- Multimeter: This is useful for testing electrical connections.
- Safety Gloves: To protect your hands while working.
- Tape or Zip Ties: These can help keep wires organized.
Once you have your tools ready, you’re all set to start the replacement process. It’s like getting the right ingredients before whipping up a new recipe— essential for success!
Powering Down the Garage Door Opener
Before you start taking anything apart, you need to ensure safety first. The last thing you want is an unexpected electric shock while working on the opener. Here’s how to do it:
1. Unplug the Unit: Locate the power cord and unplug it from the outlet. This cuts off all electricity.
2. Disconnect from Power Source: If your garage door opener is hardwired, switch off the circuit breaker that supplies power.
3. Test for Power: Before proceeding, use a multimeter to check that there’s no electrical current. This step is critical—better safe than sorry!
By following these steps, you’ll avoid any accidents. It’s like turning off the stove before cleaning—it’s a simple habit that keeps you safe.
Removing the Old Circuit Board
Now comes the part where you’ll be opening up your garage door opener. Just like opening a box of chocolates, there might be a few surprises inside!
1. Locate the Cover: Most Chamberlain models have a top cover secured with screws. Use your screwdriver to remove these screws carefully.
2. Gently Lift Off the Cover: Once the screws are out, lift the cover off slowly. Watch for any attached wires that might get snagged.
3. Identify the Circuit Board: The circuit board is usually mounted on the main mechanism. Take a moment to look around and understand how it’s connected.
4. Disconnect Wires: Carefully disconnect any wires attached to the circuit board. If you’re worried about remembering where they go, label them with tape.
Remember, patience is key here. If something isn’t budging easily, don’t force it. Take a breath, double-check that you’re not missing a screw or clip.
Installing the New Circuit Board
With the old board out, it’s time to install the new circuit board. This part is like setting the foundation of a building; everything needs to be just right.
1. Position the New Board: Place the new circuit board into the compartment where the old one was. Align it with the mounting holes.
2. Reconnect the Wires: Refer to the labels you made earlier to ensure each wire goes back to the correct spot. It’s crucial for everything to connect perfectly; otherwise, the opener won’t work.
3. Secure the Board: Use screws to secure the new board in place. Make sure it’s snug, but don’t overtighten and risk damaging anything.
Take a moment to double-check your work. It’s a good idea to have a friend take a look too—sometimes a second set of eyes catches something you might miss!
Testing Your Garage Door Opener
Before putting everything back together, you want to make sure that the new circuit board is functioning correctly. This is the moment of truth!
1. Plug it Back In: Reconnect power to the opener by plugging it back in or flipping on the circuit breaker.
2. Test the Remote: Grab your remote and press the button to see if the door responds. If it opens, congratulations! You did it.
3. Observe the Function: Watch closely. Are the lights blinking like they should? Does it seem to operate smoothly?
If the garage door responds well, then you’ve successfully replaced the circuit board. If it’s still not working, it might require some further troubleshooting—sometimes it helps to restart everything by unplugging it for a minute and then trying again.
Putting Everything Back Together
Assuming all is well and the door is functioning, it’s time to button everything up. This step is like the grand finale of a good show—let’s wrap it up nicely!
1. Replace the Cover: Gently position the cover back onto the unit. Align it with the screw holes and press lightly.
2. Screw it In: Use your screwdriver again to securely fasten the screws you previously removed.
3. Clean Up: Take a minute to tidy up your workspace. You don’t want to leave behind any tools or bits of wire that could complicate things later.
Now, take a step back and admire your handiwork! You’ve just tackled an essential repair and saved yourself a trip to the repair shop.
Replacing the circuit board in your Chamberlain garage door opener might seem daunting initially, but it’s entirely manageable with the right approach. You’ve learned how to ensure safety, gather your tools, and follow a step-by-step process to successfully swap the board. Plus, you’ve gained valuable knowledge about how your system works, which can be helpful for future troubleshooting.
Honestly, there’s something satisfying about not relying on someone else for repairs around the house, right? If things don’t quite go as planned, don’t hesitate to reach out to a professional for advice. Enjoy your newly revived garage door opener, and appreciate the little things—like being able to park inside without a struggle!