
With the rise of smart home technology, replacing your motor unit can also improve functionality. It can lead to smoother operation, better security features, and maybe even a voice-activated system if you choose a compatible model. So, let’s dive into how to replace that Liftmaster motor unit without losing your cool!
Tools You’ll Need for the Replacement
Before you start, gather your tools. Think of these as your trusty sidekicks for the task ahead. Generally, you’ll need:
- Screwdriver set: Your basic Phillips and flathead screwdrivers should do the trick.
- Wrench set: Having a mix of sizes will be handy for loosening and tightening bolts.
- Step ladder: It’ll help you reach higher parts of the garage door system.
- Safety goggles: Protect your eyes from any dust and debris.
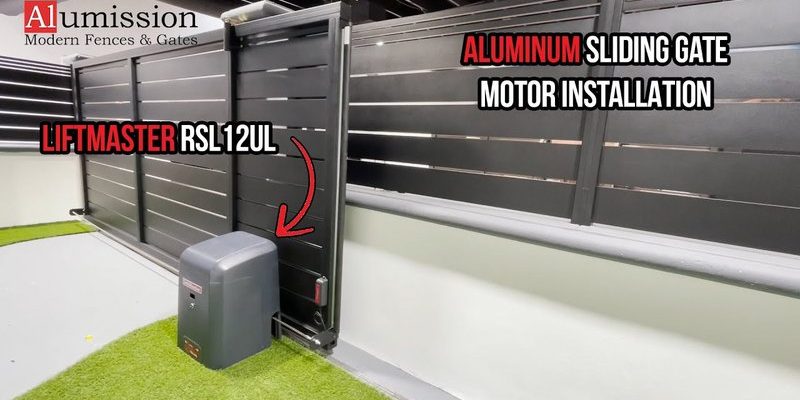
- Replacement motor unit: Make sure it’s compatible with your Liftmaster system.
Having everything ready can save you from running back and forth. Honestly, once you’re organized, you’ll feel much more confident tackling the replacement.
Safety First: Preparing for Replacement
Before you dive into the replacement, you must prioritize safety. Disconnecting the power supply to the motor is essential. You wouldn’t want it accidentally turning on while you’re working on it, right? Locate the power plug for your garage door opener and unplug it.
Once that’s done, you’ll also want to ensure the garage door is fully closed. This not only protects you from any sudden movements but also ensures you can work steadily and confidently. It’s like creating a little work zone where you’re in control. Trust me; being cautious now prevents headaches later!
Removing the Old Motor Unit
Now, let’s focus on getting that old motor unit out of the way. Start by removing any attachments, like the garage door rail and brackets. It’s usually secured with bolts—use that handy wrench set we talked about.
Next, carefully detach the motor from its mounting location. This is where a little muscle might come in, but don’t force anything. If it seems stuck, check for missed screws or bolts. Once it’s loose, gently lower it down. This might feel like a mini workout, but it’s necessary to make room for the new unit.
Installing the New Liftmaster Motor Unit
With the old motor unit out, it’s time to welcome the new one! Start by lifting your new Liftmaster motor unit into place. Secure it with the same brackets and screws you removed earlier. Make sure everything is tightly fastened—no one wants a loose motor during operation.
Here’s the thing: before you bolt everything down completely, check the alignment. You want to make sure it lines up perfectly with the garage door. Take a moment to look at the instruction manual that comes with your new unit; it often has specific instructions for installation nuances.
Connecting the Wiring and Remote Control
Now comes the fun part—connecting the wiring! Every motor unit has a specific wiring setup. Follow the color-coded wires carefully, as mixing them up can lead to issues. Most setups will have clear instructions, but if you’re uncertain, snapping a quick photo of the old setup can serve as a handy reference.
Once you’ve connected the wiring, let’s pair your remote to the new unit. You’ll usually find a “learn” button on the motor unit. Press that button, then press the appropriate button on your remote. Watch for a light indicator to confirm the sync—it’s like getting a wink from your new gadget!
Testing Your New Setup
Now that everything is in place, it’s time for the test run. Plug the motor unit back in and grab your remote. Press that button and watch the magic happen! The door should open and close smoothly, just like it did when it was brand new.
If it’s not working correctly, don’t panic—there are a few troubleshooting steps you can take. Check the connections first; loose wiring can be a culprit. You can also ensure the sensors are clean and aligned properly. Honestly, those little details can make all the difference!
Wrapping Up Your Installation
Congratulations! You’ve just replaced your Liftmaster motor unit successfully. Take a moment to appreciate your handiwork. Maintaining your garage door opener doesn’t have to be a mystery. With a bit of guidance and the right attitude, you can tackle this task easily.
Remember, regularly checking your motor unit is a good practice. Keeping an eye on it now can prevent issues down the road. You might just become the go-to garage door expert among your friends and family. Don’t forget to put those tools away—maybe find a spot for the ones you used today for next time!