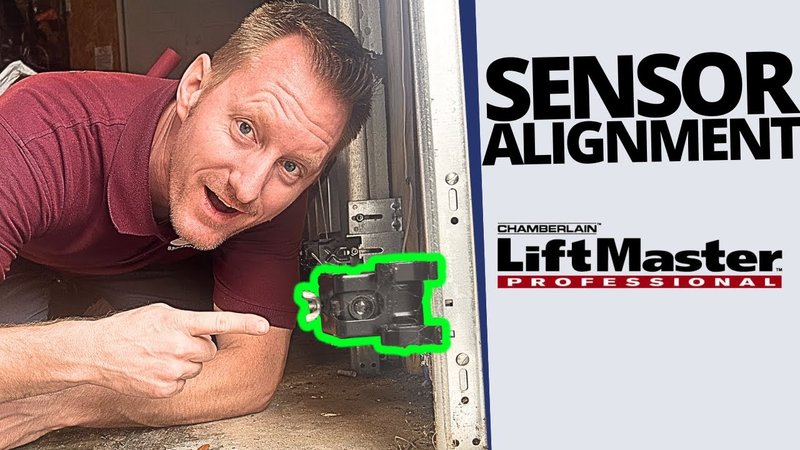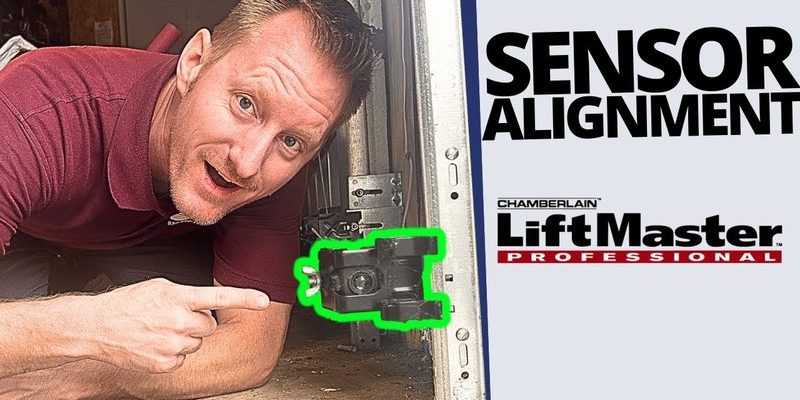
Think of your safety sensor as a pair of eyes, constantly watching out for trouble. If they start to malfunction, it’s time to replace them for your safety and convenience. In this guide, I’ll walk you through step-by-step on how to replace your Liftmaster safety sensor, transforming you into a DIY hero. Whether you’re looking to fix the issue yourself or considering a mishap-free weekend project, you’ll soon learn that a little patience and the right approach can save both time and money.
Understanding Your Safety Sensor
Before you dive in, it’s essential to understand what a safety sensor does. The safety sensor is typically mounted low on either side of your garage door. They operate like a laser beam, sending signals to each other. When the door starts to close, the sensors communicate. If something interrupts the beam, the sensors tell the door to reverse, preventing accidents. You might be wondering why this matters? Well, without functioning safety sensors, your garage door could pose serious risks.
If your garage door is not responding or reversing unexpectedly, there’s a good chance your safety sensors are to blame. Common issues include misalignment, dirt blocking the sensor, or, in some cases, a faulty unit that needs replacing. Knowing how to identify these issues can save you a lot of hassle. Let’s get into the nitty-gritty of replacing that sensor, shall we?
Gather Your Tools
Before replacing your Liftmaster safety sensor, you’ll need to gather a few tools. This isn’t an episode of *Tool Time*, but having the right equipment makes everything smoother.
- New Liftmaster safety sensor kit
- Screwdriver (usually a Phillips head)
- Level (optional, but helpful!)
- Measuring tape
- Wire cutters/strippers
- Electrical tape
Having these tools on hand means fewer interruptions. You ever try to put together a shelf without a screwdriver? Not fun, right? With your tools ready, you’ll feel more like a garage door replacement pro.
Power Down the Garage Door Opener
Before you start playing handyman, safety should be your number one priority. First things first, make sure to unplug your garage door opener to prevent any accidental activation while you’re working. It’s like turning off the main switch before changing a light bulb. You wouldn’t want the door to close on you while you’re trying to fix it!
If your garage door opener is hardwired, locate the circuit breaker that powers it and turn it off. Once it’s powered down, you can proceed without worries. The last thing you want is a surprise visit to the maintenance guy while you’re halfway through your project.
Remove the Old Safety Sensor
Now that you’ve powered down, it’s time to remove that pesky old safety sensor. Start by locating the sensors on either side of your garage door. They’re usually mounted a few inches off the ground. Here’s a handy guide to follow:
1. Unscrew the mounting bracket: Use your screwdriver to remove the screws holding the sensor in place.
2. Disconnect the wires: Take note of how the wires are connected. You’ll want to replicate this with your new sensor. If you’re unsure, a quick picture on your phone can be a lifesaver.
3. Set the old sensor aside: Once removed, keep the old sensor nearby for reference while you install the new one.
Removing the sensor should only take a few minutes. If you run into resistance, don’t force anything. A little patience can go a long way in DIY projects.
Install the New Safety Sensor
Here comes the fun part — installing the new safety sensor! You’ve got this. It’s like putting together a puzzle, and you know the picture you’re trying to create. Follow these steps closely:
1. Connect the wires: Attach the wires from your new sensor as they were connected to the old one. If you took a picture earlier, now’s the time to refer back to it! Use wire cutters or strippers to secure any necessary connections. Make sure to use electrical tape to wrap the exposed connections for safety.
2. Mount the sensor: Position the new sensor at the same height as the old one. Use your screwdriver to secure it in place. Take a moment to ensure it’s level; a crooked sensor might not work properly.
3. Double-check the connections: Make sure all connections are secure. Sometimes, it’s the small things that lead to bigger problems down the line.
Once you’ve done that, you’re ready to power everything back up!
Testing the New Safety Sensor
With everything connected and mounted, it’s time for the critical test run. This part is essential — you want to ensure that everything is working as intended. Here’s what you’ll want to do:
1. Plug in or turn on the garage door opener: Restore power to the unit by plugging it back in or flipping the circuit breaker.
2. Close the garage door: Use your remote to close the door. Stand away and watch closely. If the safety sensors are functioning, they should detect any obstruction when the door is closing.
3. Check for proper operation: If the door reverses immediately upon closing, great! If it doesn’t, double-check that the sensors are aligned and the wiring is secure.
If the door operates smoothly, you’ve just completed a successful replacement! Give yourself a well-deserved pat on the back.
Common Troubleshooting Tips
Sometimes, even after a replacement, things might not click into place right away. No need to stress; troubleshooting is a normal part of the process. Here are a few common issues you might encounter along with their solutions:
– Misalignment: If the sensors are not properly aligned, the door won’t close. Adjust them until the lights on the sensors glow steadily.
– Obstructions: Look for any debris that might block the sensors. Even a small piece of dirt can interrupt the beam.
– Wiring Issues: Make sure all connections are tight and correctly wired. Double-check those previous pictures if you need a refresher!
Remember, problem-solving is part of the DIY charm. You might not have mastered every skill, but you’re definitely learning about your garage door opener.
Replacing your Liftmaster safety sensor might seem like a daunting task at first, but it’s really just a series of simple steps. With the right tools and a bit of patience, you can make your garage door safer and more reliable. Not only do you save time and money by handling it yourself, but you also gain a sense of accomplishment.
So next time you face a garage door issue, remember: you have the ability to become your own handyman. And as always, if problems persist, don’t hesitate to seek professional help. Your safety is the most important thing, after all!
