Replacing this button isn’t as daunting as it sounds. Think of it like changing a light bulb or putting together a simple puzzle — kind of satisfying once you get it done. So, what do you need to know? We’ll cover the tools you’ll need, the steps for replacement, and some troubleshooting tips to keep in your back pocket.
Gather Your Tools and Supplies
Before diving into the replacement process, you’ll want to gather a few essential tools. Here’s what you’ll need:
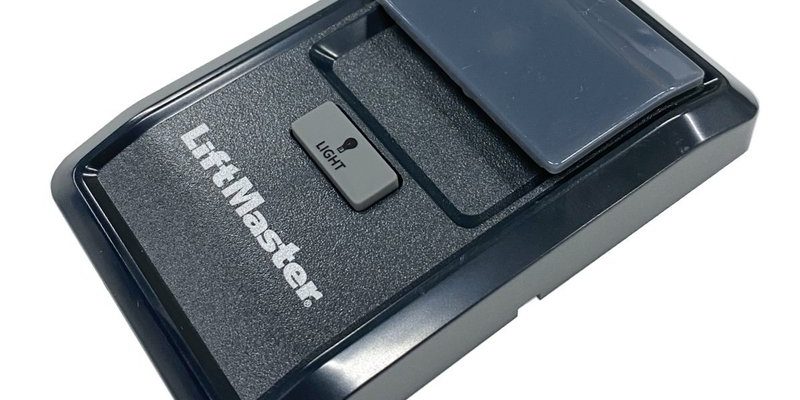
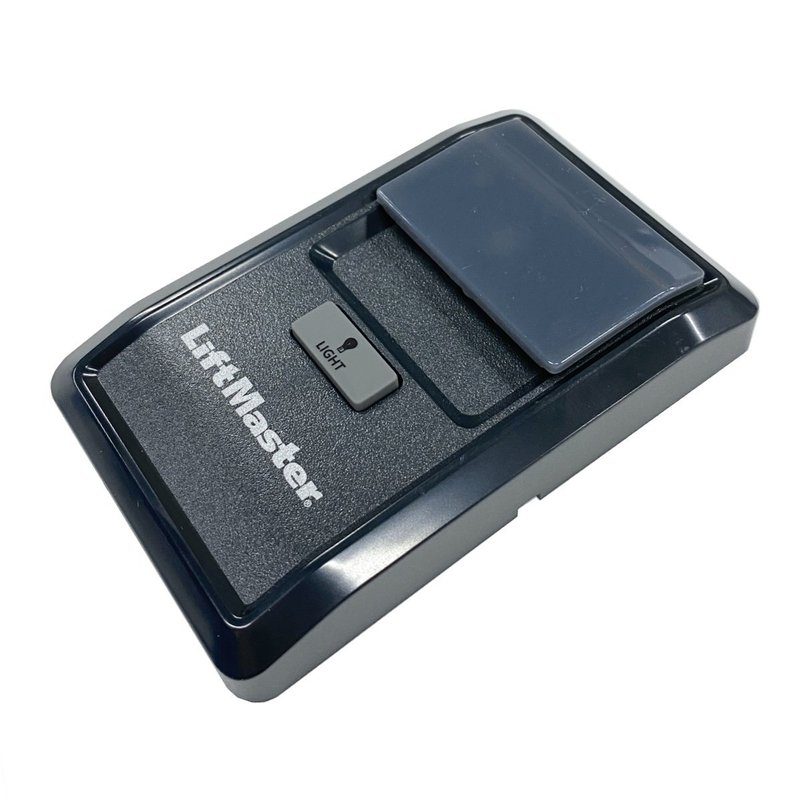
- A new Liftmaster wall button
- Screwdriver (flat-head or Phillips, depending on the screw type)
- Wire strippers (if necessary)
- Electrical tape
- A step ladder (if your button is mounted high)
Having everything on hand will save you from running back and forth and will keep the process smooth. It’s like preparing your ingredients before cooking — you wouldn’t want to find out you’re missing something halfway through, right? If you’re unsure about which wall button to buy, make sure it’s compatible with your Liftmaster model. You can usually find the model number on the unit or consult your manual.
Turn Off the Power
Now that you have your supplies, the next step is safety first. Before you do anything else, turn off the power to your garage door opener. You don’t want any surprise activations while you’re working. Look for the breaker switch that controls the garage, and flip it off. If you’re unsure which one it is, don’t hesitate to test each one until you find it — better safe than sorry!
Turning off the power is like unplugging your toaster before cleaning it. It’s just a smart move. Plus, it gives you peace of mind knowing you won’t accidentally start the garage door while your fingers are near the wiring.
Remove the Old Wall Button
Once you’ve ensured the power is off, it’s time to unmount the old wall button. Using your screwdriver, carefully remove the screws securing the button to the wall. If it’s stuck, don’t force it. Instead, check for any hidden screws or clips that might be holding it in place.
After taking it off, gently pull the button away from the wall. You’ll see two wires connected to the back. Before disconnecting them, take a moment to note where each wire attaches. You can draw a simple diagram or snap a quick cellphone photo for reference later. It’s kind of like taking notes in class — it’ll be useful when you’re putting everything back together.
Disconnect the Wires
Now that the button is free, it’s time to disconnect the wires. Carefully unscrew the wire connectors or pull the wires off, depending on how they’re attached. If the wiring looks frayed or damaged, it may be worth replacing those sections as well. And don’t worry — if you’re gentle and methodical, this part isn’t complicated.
If you find you need to trim or strip back any wires to make fresh connections, use your wire strippers for this. Remember: clean cuts lead to better connections, just like a neat lawn translates into a great first impression.
Connect the New Wall Button
With the old button out of the way, you’re ready to install the new Liftmaster wall button. Start by connecting the wires to the back of the new button. Look for markings that show where each wire goes, which should correspond to the old button. This step is crucial because a reverse connection can cause confusion when trying to operate the garage door — and nobody wants a rebellious garage door!
Once connected, secure the wires tightly in the connectors. If you have electrical tape, it’s a good idea to wrap the connections to add an extra layer of safety and protection. It’s like giving your wires a little hug, securing them for a smoother operation ahead.
Mount the New Button
After securing the connections, it’s time to mount the new button back against the wall. Hold it in place and screw it back, ensuring it’s snug but not overly tight. If the button wiggles, it might not be properly seated. Think of it like putting on a new coat; it shouldn’t feel too loose or too tight.
Once it’s secured, help it look nice by making sure the wires are pushed back into the wall cavity neatly, avoiding any visible tangles. This not only makes it look cleaner but also reduces wear and tear on the wires over time.
Test the New Wall Button
With everything in place, it’s time for the moment of truth! Flip the power back on from the breaker and give your new Liftmaster wall button a test. Press the button to see if your garage door opens and closes as expected. If it works, congratulations! You’ve successfully replaced the wall button.
If it doesn’t work, don’t panic. Here’s the thing — it could just be a simple connection issue. Double-check your wiring again to make sure everything is where it should be. This troubleshooting step is crucial; honestly, it’s not uncommon to need to adjust the connections a bit before everything syncs up perfectly.
Final Thoughts
Replacing the Liftmaster wall button is a straightforward project that can save you time and money. With just a few tools and some basic knowledge, you can have your garage door back in working shape. Remember to proceed carefully, and don’t hesitate to consult your product manual if you run into any hiccups.
Once everything’s installed and working properly, take a moment to enjoy your handiwork. Just like crossing a big task off your to-do list, there’s a certain satisfaction that comes from fixing things around the house. Plus, you’ll know exactly what to do the next time your garage door gives you trouble!