Whether your Liftmaster keypad has stopped working or you’ve just moved into a new home and want to change the code for security, the process can be tackled with a little patience and the right guidance. In this article, I’ll walk you through how to replace your Liftmaster keypad step by step. So, grab a cup of coffee, and let’s dive in!
Understanding Your Liftmaster Keypad
Before diving into the replacement process, it’s crucial to understand what you’re dealing with. Liftmaster keypads typically come in two variations: wired and wireless. The wired ones are connected directly to the garage door opener, while the wireless option communicates via codes transmitted by radio frequencies. This is much like how your television remote talks to the TV.
When you press a button on your keypad, it sends a unique signal to your garage door opener, which then tells the motor to open or close the door. If your keypad is not functioning properly—maybe it’s not responding to inputs or the display seems off—those are signs it’s time for a replacement.
By choosing to replace your Liftmaster keypad yourself, you save money on service calls, and you’ll likely feel a sense of accomplishment once you complete the task. Let’s get into how to do this!
Gathering the Right Tools
Your first step in replacing the Liftmaster keypad is to gather the necessary tools. The good news? It doesn’t require an elaborate toolbox. Here’s what you’ll need:
- Screwdriver: Most likely a Phillips-head screwdriver to remove the mounting screws.
- New Liftmaster Keypad: Make sure it’s compatible with your model. Check the packaging or product details.
- Level: Helpful for ensuring your keypad is mounted straight.
- Tape Measure: To position it correctly near your garage door.
Gathering these items before you start will make the process smoother and save you from making multiple trips around the house. Have everything ready? Great! Let’s move on to the removal process.
Removing the Old Keypad
Now that you’re set up, it’s time to get to work. Start by locating the old Liftmaster keypad, which is usually mounted on the wall next to your garage door. Here’s how you can take it off:
1. Using your screwdriver, remove the screws holding the keypad in place. Keep these screws handy, as you may need them for the new keypad.
2. Gently pull the keypad away from the wall. You might feel some resistance — that’s just the adhesive or wiring (in wired models) holding it in place.
3. If it’s wired, carefully disconnect the wires. Make a note of where each wire connects, so you can replicate it on the new keypad.
Once you’ve successfully removed the old keypad, you’re halfway through the process. Don’t worry if it feels a bit messy; just stay focused, and you’ll do just fine!
Installing the New Keypad
With the old keypad out of the way, it’s time to install the new one. This part is exciting because you’re one step closer to having a fully functional pad! Here’s how to do it:
1. Position the new keypad against the wall. Use a level to ensure it’s straight; a crooked keypad can be annoying both visually and functionally.
2. Mark the screw holes with a pencil. This will help guide where you need to drill.
3. If you have a wired keypad, connect the wires to the corresponding terminals identified during the removal process. Make sure each wire is secure.
4. Push the keypad onto the wall and attach it with screws. If it’s a wireless model, you might not need to worry about wires at all!
After securing the keypad, take a moment to admire your handiwork. You’re almost there!
Programming the New Keypad
Once the new keypad is mounted, you’ll need to program it to work with your Liftmaster garage door opener. Here’s how you can do that:
1. First, find the “Learn” button on your garage door opener. This is usually located on the back or side of the unit. It often looks like a small square or rectangle button.
2. Press and hold the “Learn” button until the indicator light turns on, then release it. This usually takes about 3 seconds.
3. Within 30 seconds, enter your new access code on the new keypad and press the “Enter” button. You should see the indicator light flash or change color, indicating that it has successfully registered the new code.
It’s like teaching your garage door opener a new trick! If you run into issues, don’t hesitate to press the “Learn” button again and repeat the process. Each model can have slightly different programming steps, so refer to your specific Liftmaster model’s instructions too.
Testing Your New Keypad
Now comes the moment of truth: testing the new keypad. This is crucial to ensure everything is functioning properly. Here’s how to test it:
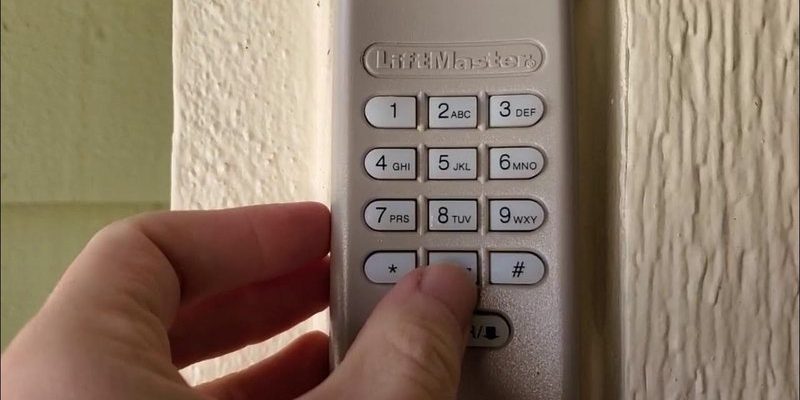
1. Stand outside your garage and type in the code you programmed.
2. Press the “Enter” button and watch for the garage door to respond.
3. If it opens or closes smoothly, congratulations! You’ve successfully replaced and programmed your Liftmaster keypad.
If it doesn’t work right away, don’t stress. Double-check the code you entered, ensure the keypad is properly installed, and confirm that the batteries (if applicable) are in good shape. Keypads can be fickle, especially wireless ones!
Common Troubleshooting Tips
Sometimes, even after completing all the steps, you might find your new Liftmaster keypad isn’t functioning as it should. Here are a few troubleshooting tips to help you out:
- Check the Batteries: If you’re working with a wireless keypad, ensure the batteries are fresh and properly installed.
- Re-synchronize the Keypad: If the keypad doesn’t respond, you might need to repeat the programming process.
- Inspect Connections: For wired models, ensure all wires are properly connected and not damaged.
- Consult the Manual: Sometimes the answer is in the user manual. Different Liftmaster models might have specific troubleshooting guidelines.
Remember, it’s perfectly normal to run into issues along the way. Each problem has a solution, and with a calm mindset, you’ll figure it out!
Final Thoughts
Replacing a Liftmaster keypad can be a straightforward and satisfying project for anyone, no matter your skill level. By following these steps closely, you can enhance your garage security and streamline your daily entry with ease.
Don’t forget to maintain your keypad by checking for wear and tear occasionally. If the keypad shows signs of malfunction, it may need another replacement down the line. But for now, enjoy the convenience you’ve brought back to your garage life! Getting your hands a little dirty and tackling DIY projects like this is rewarding, and you might even impress a few friends along the way!