Now, getting everything set up might seem a bit daunting, especially if you’re new to smart home technology. But installing the Sears Smart Hub is way simpler than it sounds. It’s almost like putting together a puzzle; once you find the right pieces and fit them together, everything just clicks. Let’s dive into how to install your Sears Smart Hub and make your life just a little bit easier.
What You’ll Need Before You Start
Before you jump into installing your Sears Smart Hub, let’s gather the essentials. Having everything at hand will save you time and confusion. Here’s a quick list to get you started:
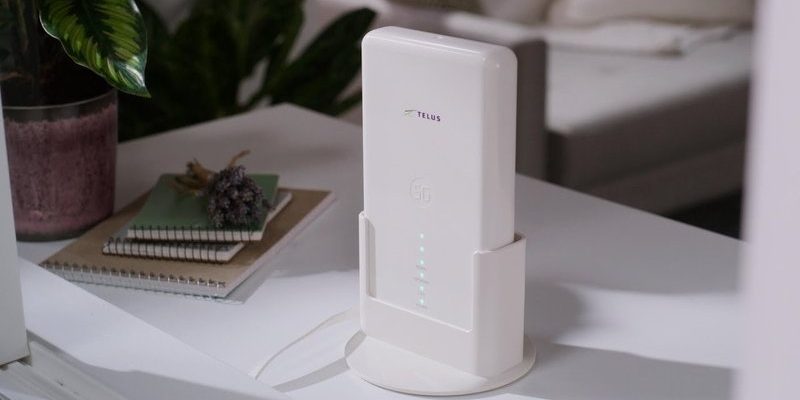
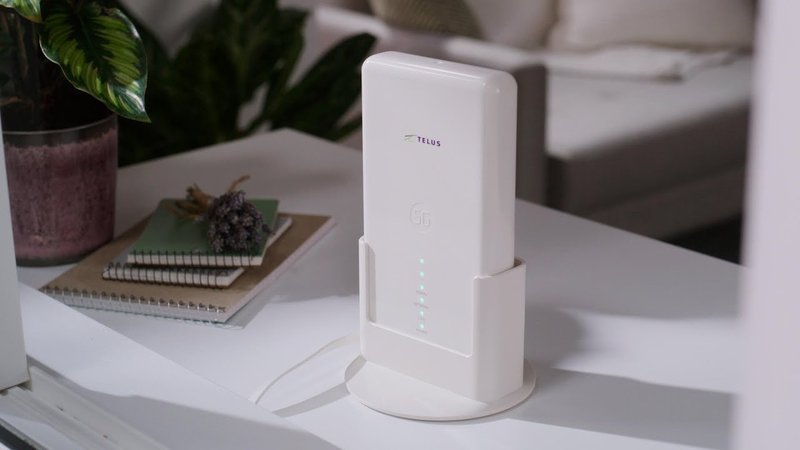
- Sears Smart Hub: This is the main device you’ll be working with. Make sure you have it on hand.
- Wi-Fi Connection: Ensure you have a reliable Wi-Fi network. That’s the magic that lets you control your garage door remotely.
- Smartphone or Tablet: You’ll need this to download the necessary app.
- Screwdriver: Depending on your garage door opener model, you might need to secure the hub in place.
- Instructions Manual: The manual that came with your Smart Hub will be your guide throughout this process.
Having all these items ready will make the setup process smoother. And trust me, it’s always easier to troubleshoot when you’re set up from the get-go.
Locating Your Garage Door Opener
Now that you’ve got everything you need, let’s find that garage door opener. This is often located on the ceiling of your garage, usually around the center. If you’re unsure, think of it like looking for a friend in a crowded café; look for the box that’s making your garage door move! Most likely, it’ll be a rectangular box with a few wires coming out.
Once you’ve found it, take a moment to familiarize yourself with its features. Look for the buttons that control your garage door. These might include options to open, close, or even program settings. If you see a “learn” button, that’s important. This button helps the Smart Hub communicate with the opener, allowing you to sync everything together.
Connecting the Smart Hub to Your Garage Door Opener
With the garage door opener located, the next step is connecting your Sears Smart Hub. Finding the right spot to place the hub is key. Ideally, you want it to be close to your garage door opener but not too far from your Wi-Fi router. Think of it like maximizing a Wi-Fi signal; the closer it is to both devices, the better your connection will be.
Once you’ve chosen the spot, we’ll need to mount the Smart Hub. Use the screwdriver to secure it to the wall or ceiling, ensuring it’s well-fastened. This way, it won’t move around and will maintain a stable connection. Now that you’ve got it installed, it’s time to get it synced up!
Syncing Your Smart Hub with Your Smartphone
So, you’ve got the hub in place—great! Now we need to connect it to your smartphone. Here’s how to do it step by step:
1. Download the App: Look for the Sears Smart Hub app in your smartphone’s app store—whether it’s iOS or Android, it should be there.
2. Create an Account or Log In: Open the app and follow the prompts to create a new account or log in if you already have one.
3. Add Your Device: Once you’re in, you’ll see an option to add a new device. Select it, and the app will guide you through the process.
4. Connect to Your Wi-Fi: The app will ask you to connect to your Wi-Fi network. Enter your Wi-Fi password so that the Smart Hub can talk to your router.
5. Pair the Hub with Your Opener: When prompted, press the “learn” button on your garage door opener. This allows the hub to sync effectively. Follow any additional instructions on the app; sometimes, this might involve pressing a button on the hub itself.
Give it a minute or two; the app will let you know once everything is paired successfully. If it doesn’t connect right away, don’t panic—just repeat the last step.
Testing the Smart Hub
Once you’ve gone through the syncing process, it’s time to put everything to the test. You want to ensure that the Sears Smart Hub is functioning correctly before you get too comfortable.
1. Use the App: Open the app on your phone and check for the status of your garage door. Is it showing as open or closed? Tap the button to see if it responds.
2. Watch the Door: One of the best parts is watching your garage door move with just a tap on your screen. If it doesn’t respond right away, double check your Wi-Fi connection and ensure that the hub and opener are still synced.
3. Try Remote Access: For extra assurance, step outside your garage and see if you can control the door from a distance. This tests not only the app but also the signal strength between the hub and the opener.
If all goes smoothly, congratulations! You’ve successfully installed your Sears Smart Hub.
Troubleshooting Common Issues
Even with the best of plans, you might run into some hiccups during your installation. Don’t worry; troubleshooting is part of the process. Here are some common issues and their fixes:
– Connection Issues: If your Smart Hub doesn’t connect to Wi-Fi, check the signal strength near the hub. You might need to relocate it closer to your router. Also, make sure you entered the correct Wi-Fi password.
– Unresponsive Garage Door: If tapping the app doesn’t respond, try re-syncing the hub with your garage door opener using the “learn” button again. Sometimes a quick reset is all it takes.
– App Issues: If the app crashes or doesn’t open, try deleting and reinstalling it from the app store. Updates sometimes roll out that fix previous issues.
Here’s the thing: technology can be finicky, but most issues can be resolved with a little patience and a methodical approach.
Maintaining Your Smart Hub for Longevity
Once everything is set up and running smoothly, you want to ensure your Sears Smart Hub remains in good shape. Maintenance isn’t just about keeping it running—it also involves ensuring your connection stays strong over time.
– Check for App Updates: Regularly check the app store for updates. This ensures you have the latest features and security protocols.
– Password Management: As your network evolves, you might update your Wi-Fi password. Just remember to update it in the Smart Hub app, too.
– Regular Testing: Every once in a while, test your Smart Hub and garage door opener connection. It doesn’t have to be every week, but a regular check helps catch any issues early.
Keeping your Smart Hub in good working order allows you to enjoy the benefits of remote control every day without worries.
In the end, installing the Sears Smart Hub is a straightforward process, especially when you take it step by step. Now, whenever you’re coming home from a long day, you can simply press a button on your phone and have the door open before you even park your car. Technology truly does make life easier—a little bit of effort upfront can lead to a lot of convenience down the line!