Imagine you’re sitting at your favorite coffee shop, doodling in your notebook, and suddenly remember you left your garage door open. With the Raynor Smart Hub, you can easily shut it without rushing home. Installing it is not just about convenience; it’s all about improving security and enhancing your overall home automation experience. So, let’s get your Smart Hub up and running!
What Is the Raynor Smart Hub?
The Raynor Smart Hub is a smart device designed to make your garage door opener more interactive and efficient. Think of it like a *universal remote* but for your entire garage system. With the hub, you can control your garage door from anywhere using your smartphone, tablet, or smart speaker. No more worrying about whether you closed the door before leaving home!
The Smart Hub integrates seamlessly with your existing Raynor garage door opener. It works by connecting your opener to your Wi-Fi network, allowing for easy remote access. You can open or close your garage door, monitor its status, and even receive notifications about its activity. It’s a simple way to bring your vintage garage door opener into the smart home age!
What You’ll Need for Installation
Before you dive into the installation process, it helps to gather everything you’ll need. Having everything ready ensures your installation goes smoothly. Here’s what to collect:
- The Raynor Smart Hub package, which includes the hub itself and the necessary cables.
- Your smartphone or tablet, with the Raynor app downloaded.
- A Wi-Fi connection—make sure you have the password ready.
- A screwdriver for mounting the hub, if needed.
- Access to your garage door opener’s settings.
Getting everything organized will save you time and help you avoid those “uh-oh” moments when you realize you’re missing a tool or detail.
Preparing for Installation Steps
Now that you have everything ready, let’s get started with preparing for the installation. This is a crucial step to ensure things go off without a hitch. First, find a suitable spot to place your Smart Hub—it should be close to your garage door opener and within the range of your Wi-Fi.
Next, you need to ensure your garage door opener is compatible with the Smart Hub. Most modern models are compatible, but it’s always good to double-check. Once that’s settled, ensure your smartphone is charged and has a good internet connection. You’ll be using it to connect to the hub during the installation process.
Lastly, familiarize yourself with the Raynor app, which is your command center for controlling the Smart Hub. It features user-friendly navigation, making it simple even if you’re not tech-savvy.
Installing the Raynor Smart Hub
With everything set up, we can finally jump into the installation process. Trust me, it’s easier than you might think. Here’s a step-by-step guide:
1. Connect the Hub to Power: Plug the Smart Hub into a power outlet. Ensure the power cable is secure.
2. Download the Raynor App: If you haven’t done it yet, download the app from the App Store or Google Play. Open it and create an account if needed.
3. Start Pairing: In the app, find the option to pair new devices. Follow the prompts to connect your Smart Hub to your home Wi-Fi network. You’ll need your Wi-Fi password, so have it handy.
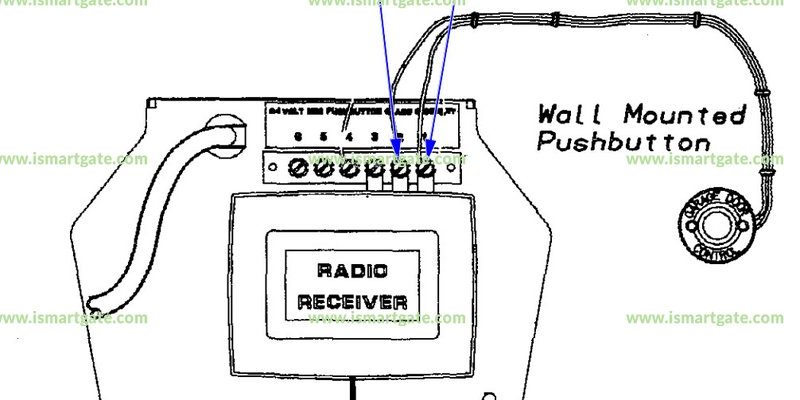
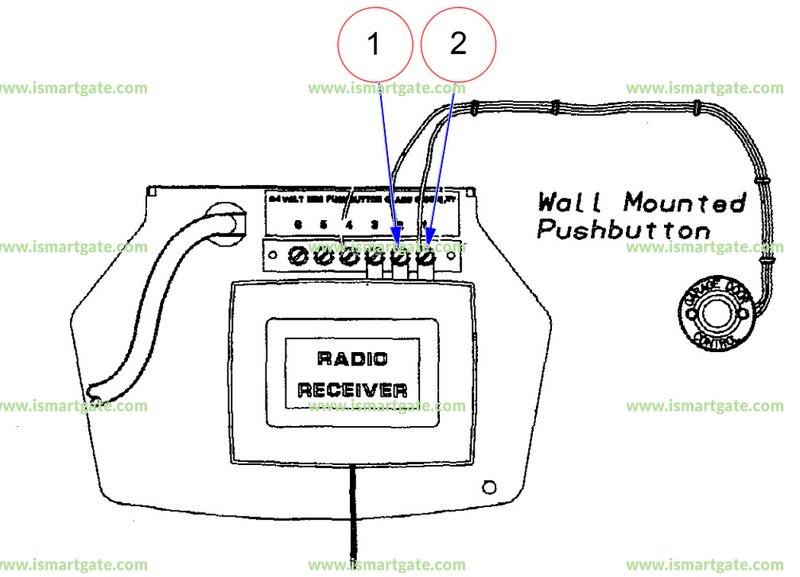
4. Sync with Garage Door Opener: Once connected to Wi-Fi, the app will guide you on how to sync the Smart Hub with your existing garage door opener. This often involves entering a code from your opener or pressing specific buttons on it.
It’s like hitting the right notes to play a melody—you just follow the steps, and soon enough, everything clicks together.
Testing Your Setup
After you’ve completed the installation, it’s crucial to test everything to make sure your Smart Hub is functioning correctly. Here’s what you need to do:
1. Use the App: Open the Raynor app on your smartphone and see if you can control the garage door. Try opening and closing it to ensure the commands work smoothly.
2. Check Notifications: Make sure you receive notifications on your phone when the garage door opens or closes. This feature provides peace of mind whenever you’re away from home.
3. Remote Access: Test controlling the garage door from a distance. This step confirms that your Smart Hub is truly connected to your Wi-Fi and working as intended.
This testing phase is like the final inspection of a new car—ensuring everything from the engine to the tires is in top-notch condition.
Troubleshooting Common Issues
Sometimes, technology doesn’t cooperate as we’d like it to. If you run into issues, there are a few common fixes to keep in mind. Here are some troubleshooting tips:
– Connection Problems: If the Smart Hub won’t connect to Wi-Fi, double-check your password or reset the hub by unplugging it for a few seconds and plugging it back in.
– Sync Issues: If your garage door opener isn’t syncing, make sure you’re following the app’s instructions precisely. Sometimes, restarting both the hub and the opener can help.
– App Malfunctions: If the app isn’t responding, ensure it’s updated to the latest version. Sometimes, closing and reopening the app solves the problem.
Keeping a handy troubleshooting guide saves you the frustration of tech hiccups. It’s like having a Swiss Army knife—ready for anything that comes your way.
Enhancing Your Smart Home Experience
Once your Raynor Smart Hub is successfully installed and working, you can enhance your smart home experience even further. Think of what else you might want to connect.
1. Integrate with Voice Assistants: If you have voice assistants like Alexa or Google Assistant, consider connecting them to your Smart Hub. This way, you can control your garage door with simple voice commands—simply say, “Open the garage door,” and voila!
2. Explore Smart Home Compatibility: Look into integrating lights or cameras with your Smart Hub system. Some setups allow for more comprehensive control, making it easy to monitor your garage area.
3. Set Routines: In the Raynor app, explore if you can set routines. For example, you can program your garage door to close automatically at sunset. This feature adds an extra layer of convenience and security.
Incorporating additional smart features can transform your home into a connected oasis—one that works for you seamlessly.
Installing the Raynor Smart Hub might seem like a daunting task at first, but it’s really just about following a few simple steps. Once everything’s set up, you’ll enjoy the convenience of controlling your garage door from anywhere. Plus, you’ll have enhanced peace of mind—knowing you can monitor and manage your garage door easily, whether you’re at home or out and about.
Remember, technology is all about making life easier. So embrace the convenience that comes with installing the Smart Hub, and enjoy a smarter, more connected home!