Let’s break it down into easy-to-follow steps. By the end of this guide, you’ll not only know how to install your Raynor control panel but also feel confident in troubleshooting any issues that might pop up. Grab your tools, roll up your sleeves, and let’s dive into how to set up this essential piece of equipment.
Gather Your Tools and Materials
Before you dive into the installation, it’s essential to gather all your tools and materials. You don’t want to get halfway through the installation, only to realize you’re missing a crucial part. Here’s what you’ll likely need:
- A Raynor control panel kit
- A power drill or screwdriver
- Wire strippers
- Masking tape
- Partner (optional, but it helps!)
The Raynor control panel is typically equipped with a few wires that will connect it to the power source and your garage door opener system. This is where wire strippers come into play, as you’ll need them to expose the ends of the wires for a solid connection. While it’s possible to do this solo, having a buddy can make holding things in place much easier.
Power Down Your Garage Door Opener
This step might seem obvious, but it’s crucial. Think of it like turning off the power before repairing a lamp—you don’t want any surprises! Locate the power switch for your garage door opener and turn it off.
If you’re unsure which switch controls your garage door opener, unplugging it is an excellent fail-safe method. Make sure all remote controls and wall controls are turned off as well. This ensures that no unintended movement occurs while you work.
Remove the Old Control Panel
Now that everything is powered down, it’s time to remove your old control panel if you have one. Usually, you’ll find it mounted on the wall near your garage door.
To remove it:
1. Use your screwdriver to take out the screws holding the panel in place.
2. Gently pull the panel away from the wall. If it doesn’t come off easily, double-check for any hidden screws.
3. Carefully disconnect the wires attached to the old panel. If you’re unsure where these wires go, it’s a good idea to take a quick photo for reference.
You’ll want to make sure that any exposed wires are properly insulated while you work to avoid any accidental short circuits.
Connect the Wires for the Raynor Control Panel
Now comes the moment of truth: connecting the new control panel. Take a close look at the wiring diagram that comes with your Raynor control panel. Each color represents a specific function. Here’s a simple breakdown:
– Red wire: Power supply
– White wire: Push button
– Yellow wire: Safety sensor
Using your wire strippers, expose about half an inch of wire on each end. Then, match the colors from the Raynor panel to your garage door opener’s wiring.
This is a key point—make sure to wrap the wires securely and use wire nuts to cover any exposed ends. This reduces the risk of electrical shorts. If you have a partner, now’s the time to ask them to hold the panel in place while you work.
Mount the Raynor Control Panel
Once the wires are properly connected, it’s time to mount the new Raynor control panel. Choose a location that’s convenient for you, typically about five feet off the ground.
1. Use masking tape to mark where the top of the control panel will go. This leaves you free to adjust the height if needed before committing.
2. Use your drill or screwdriver to secure the panel in place. Ensure that it’s aligned and sturdy before moving on.
Check that all screws are tightly fastened; you don’t want a wobbly control panel distracting you every time you use it.
Power Up and Test Your New Control Panel
It’s time for the moment we’ve all been waiting for: powering everything back up! Reconnect your garage door opener to the power supply or flip the switch back on. Once you see the panel light up, congratulations—you’ve successfully installed your Raynor control panel!
But hold on—let’s not get too ahead of ourselves. Make sure to:
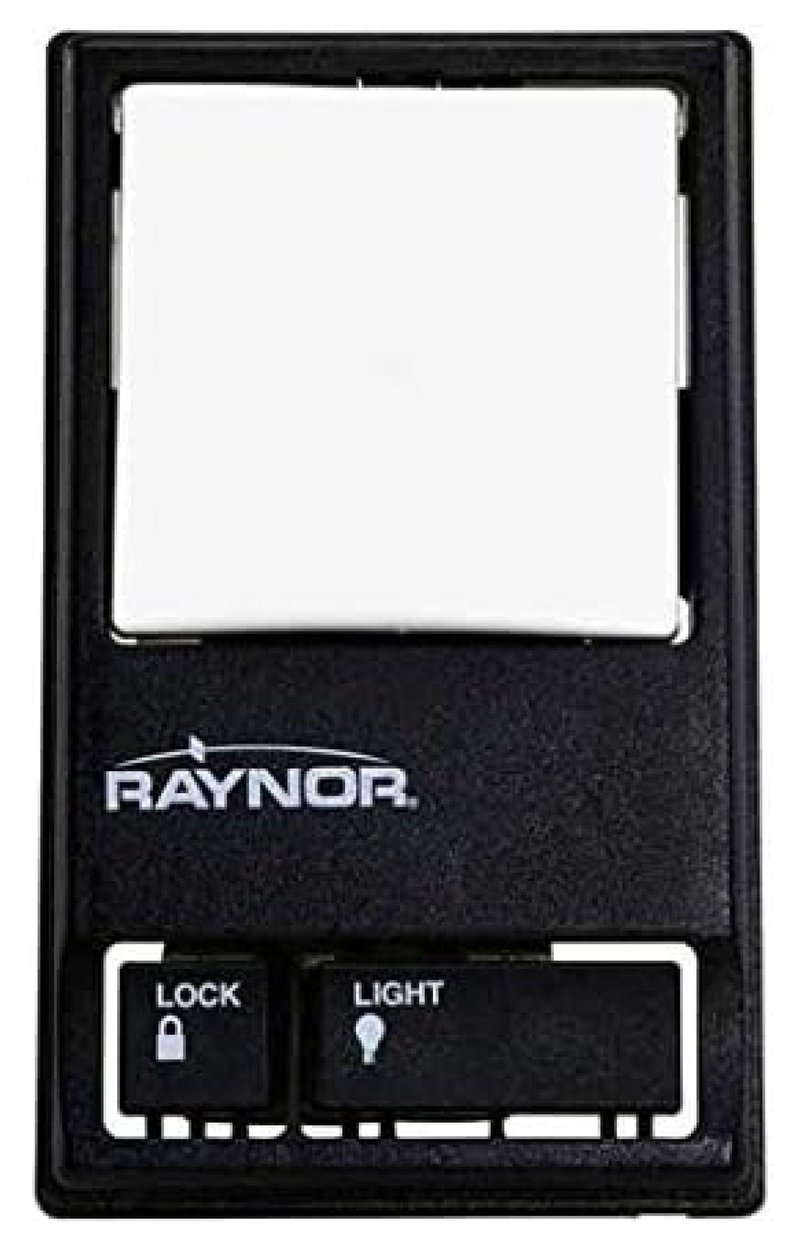
– Test the buttons: Press each button to confirm it works.
– Check the safety features: If your panel has an automatic reverse mechanism, make sure it functions properly.
– Sync your remotes: Follow the instructions in your manual to pair any remotes you have.
If something doesn’t work as expected, check all your connections again. It’s not uncommon for a wire to become loose during the process.
Troubleshooting Common Issues
Even with the best preparation, you might run into some hiccups along the way. Here are a few common issues and how to address them:
– Panel Not Powering Up: Double-check your connections, and ensure that the power source is active.
– Remote Won’t Sync: Make sure the remote is compatible with your Raynor control panel. If it is, try resetting the remote and reattempting the sync.
– Challenges with Programming: Sometimes, all it takes is to refer to your manual again. There’s usually a reset button if things go sideways.
Here’s the thing: if you encounter issues beyond basic troubleshooting, don’t hesitate to reach out to a professional for help. Sometimes, the extra set of eyes can save you time and frustration.
Installing your Raynor control panel doesn’t have to be an overwhelming task. By breaking it down into manageable steps, you can efficiently streamline the installation while gaining confidence in handling future garage door issues. Ensure you’ve gathered all the necessary tools, follow each step carefully, and don’t rush the process.
Remember, a well-installed control panel not only enhances convenience but also contributes to the overall safety of your home. So take your time, trust the process, and enjoy the satisfaction that comes from completing this DIY project. Your garage door will thank you!