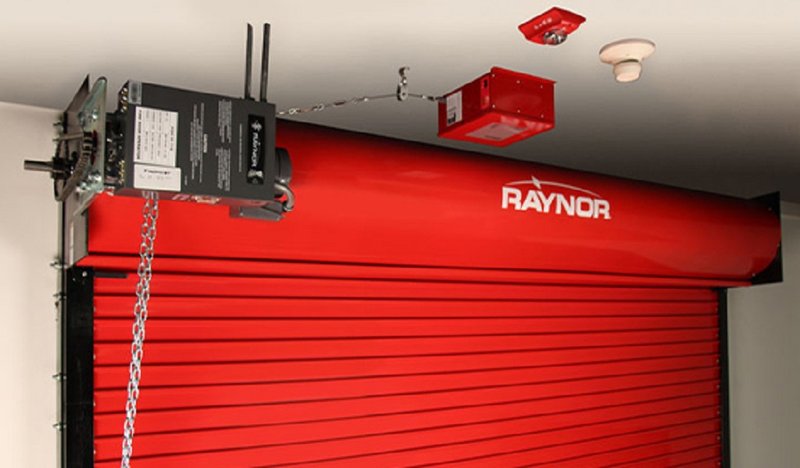
Safety sensors are essential for garage doors because they help prevent accidents by detecting objects in the door’s path. So, if you have kids, pets, or, honestly, anyone who might be near the garage door, having these installed is crucial. Think of safety sensors as the garage door’s “eyes.” When they don’t work, it’s like trying to drive a car blindfolded. You wouldn’t do that, right? Let’s dive into how you can install your Raynor safety sensor step by step.
Gather Your Tools and Materials
Before you roll up your sleeves, you need to gather everything you’ll need for the installation. It’s smart to have everything ready so you won’t be running back and forth, looking for tools.
Here’s a quick list of what you’ll likely need:
- Raynor safety sensors
- Drill with bits
- Screwdriver (both flathead and Phillips, if possible)
- Level
- Tape measure
- Wire strippers (if your sensors come with wiring)
- Electrical tape
Once you have your tools gathered, go ahead and take a moment to familiarize yourself with the Raynor safety sensors. Understand where each component connects and the appropriate orientation. Trust me, you’ll be glad you did when it’s time to install!
Turn Off the Power
Alright, before you touch any wires, let’s make sure we’re operating safely. You wouldn’t want to accidentally shock yourself — that’s definitely not part of the fun. The first thing to do is turn off the power to your garage door opener.
You can usually find the power switch on the circuit breaker in your home. Just flip the switch for a moment and ensure the opener isn’t operational. You might be wondering why this is necessary. Well, safety first! Working with electricity can be risky, so make sure everything is shut down before you even think about connecting your safety sensors.
And hey, while you’re at it, it’s a good idea to confirm that the garage door opener is completely unplugged. Better safe than sorry!
Remove Old Sensors (If Needed)
If you’re replacing old sensors, you’ll need to take a few extra steps. First, find where the existing safety sensors are mounted. They’re usually located on each side of the garage door, near the ground. Their main job is to send and receive signals to prevent the door from closing if something is in the way.
To remove old sensors:
1. Carefully disconnect the wires attached to the existing safety sensors.
2. Gently unscrew them from their mounting brackets.
3. Make sure you keep the screws—those will be useful for the new ones!
Inspect the area where the old sensors were mounted. Make sure everything looks good because it’s best to start fresh.
Install the New Raynor Safety Sensors
Now for the exciting part: installing the new sensors! Start by choosing the placement, typically around six inches above the ground on either side of the garage door. This height is essential to avoid any disruption from small objects.
1. Position the Sensors: Use a level to ensure that both sensors will be installed straight. Nobody likes a crooked garage door sensor!
2. Mark Your Spots: Lightly mark where each sensor will go.
3. Secure Each Sensor: Using your drill and the screws you saved, attach the new Raynor safety sensors to the wall. Ensure they’re tight and secure but avoid overtightening.
Once you’ve got the sensors in place, it’s time to connect the wiring. If your sensors come with wires, strip the ends a bit to ensure a solid connection. Connect the wires to the respective terminals on each sensor.
Connect the Wires to the Garage Door Opener
Now that your sensors are mounted, it’s time to connect them to your garage door opener. This might feel a bit like connecting pieces of a jigsaw puzzle, and it’s vital for everything to fit correctly.
1. Identify the terminals on the garage door opener specifically for the safety sensors. They’re usually labeled clearly.
2. Using the same technique as before, strip the ends of the wires if they need it, and connect them to the appropriate terminals on the garage door opener.
3. Tidy Up: Wrap any exposed wire connections with electrical tape to keep everything neat and safe.
Before you finish up, double-check your connections. Make sure everything is snug and secure, as loose wiring can cause all sorts of issues.
Testing the Safety Sensors
Congratulations! You’ve installed your new Raynor safety sensors! Now, it’s time to test them to ensure they’re functioning correctly.
1. Restore Power: Flip the circuit breaker back on and plug in your garage door opener.
2. Test the Sensors: Close the garage door partially and wave an object (like a broomstick) in front of the sensors. The door should reverse and reopen.
3. Check Each Side: Perform this test on both sides to ensure both sensors are working properly.
If everything functions as it should, you’re golden! If not, double-check your connections and the positioning of the sensors. Sometimes, misalignment or loose wires can throw everything off.
Final Touches and Maintenance
With your Raynor safety sensors working beautifully, it’s important to remember the maintenance part. Just like any other feature in your home, keeping these sensors clean and functional ensures your garage door remains safe.
Regularly check:
– Alignment: Ensure the sensors remain level and straight. Misalignment can prevent them from working.
– Cleanliness: Dust and dirt can block sensors. Wipe them down with a damp cloth occasionally.
– At-a-Glance Check: A quick glance ensures nothing is obstructing the sensors. This could be small toys, garden tools, or even debris.
Taking these simple steps helps prolong the life of your safety sensors and keeps everyone safe around the garage door.
Wrapping It Up
Installing Raynor safety sensors doesn’t have to feel overwhelming. With a few tools, a little patience, and the steps outlined here, you can have your sensors installed in no time. Remember, safety is key when it comes to garage doors, and ensuring your sensors work correctly is the best way to keep your loved ones safe.
Honestly, the satisfaction you’ll feel knowing you’ve tackled this DIY project will make it all worth it. Plus, you can confidently tell anyone who asks that you did it yourself! Just always remember to test those sensors regularly — safety first!
