This article will guide you step-by-step through the installation process, ensuring you have everything you need right at your fingertips. From connecting wires to mounting the button on the wall, we’ll cover it all. So, grab your tools, and let’s dive into the handy world of garage door openers!
What You Need for the Installation
Before you start ripping things apart, it’s crucial to gather all necessary tools and materials. Here’s a quick list of what you’ll need:
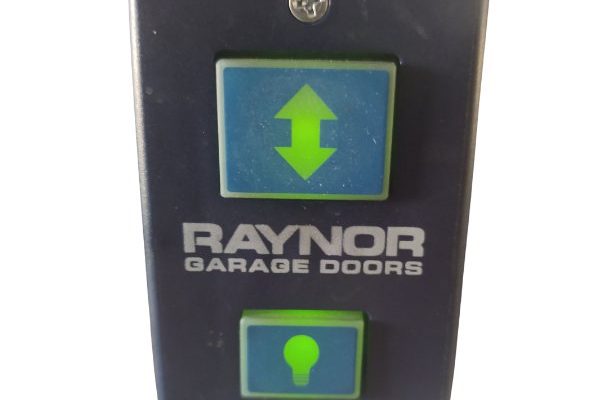
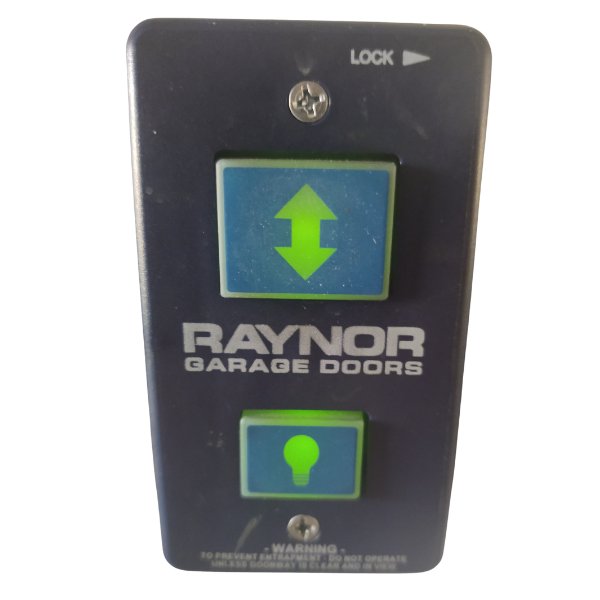
- Raynor wall button kit (includes the button and wiring)
- Screwdriver (preferably a flathead and Phillips)
- Drill and drill bits
- Wire stripper or cutter
- Electrical tape (just in case)
- Level (to make sure your button is straight)
Having everything ready before you start will make the process run smoother. You don’t want to be halfway through and realize you’re missing a tool, right? It’s like getting into a new season of your favorite show—make sure you’re settled in before hitting play!
Choosing the Right Location
Now that you have your tools, let’s talk location. The site of your wall button is more than just a preferred spot; it affects how easily you can operate your garage door. Ideally, the button should be placed:
- At least 5 feet above the ground to keep it out of reach of small children.
- Near the garage door, so it’s easy to access as you pull into your driveway.
- In a well-lit area for visibility during nighttime operation.
As you consider options, take a moment to visualize where you usually enter and exit your garage. Would having the button in an accessible location save you trips back and forth? Think about your daily routine and pick the most convenient spot.
Wiring the Raynor Wall Button
Here’s where the magic (and a little bit of complexity) happens. The wall button needs to connect to your garage door opener’s motor unit effectively. When you’re ready to start wiring, follow these steps:
1. Turn off the power to your garage door opener at the circuit breaker. Safety first, always!
2. Remove the cover of the garage door opener. Most models have screws that you’ll need to unscrew.
3. Locate the terminal block inside the opener. There should be clear terminals for the wall button wires.
Typically, the wall button will have two wires. It doesn’t matter which wire goes into which terminal, so don’t stress about it! Strip a little insulation from the end of each wire if necessary, then insert them securely into the terminals.
Here’s the thing: if you’re uncertain which terminal is which, check the manual that came with the opener or the instructions in the wall button kit. That way, you can easily follow the guide—they’re made for this!
Mounting the Wall Button
Once your wires are all set up, it’s time for the fun part: mounting the wall button itself!
1. Hold the button against the wall where you decided to install it.
2. Use your level to ensure it’s straight—nobody likes a crooked button!
3. Mark the screw holes lightly with a pencil, so you know exactly where to drill.
Next, take your drill and make holes for the screws. If you’re mounting it on drywall, you might need wall anchors for support. Once the holes are ready, attach the wall button to the wall using screws provided in your kit. Make sure it feels sturdy and won’t wobble when pushed.
Powering It Up and Testing
With the wall button mounted and the wiring complete, you’re almost there! Now it’s time to turn the power back on and see if everything works properly.
1. Go back to the circuit breaker and turn the power on.
2. Stand at the wall button and take a deep breath—this is the moment!
3. Press the button. If you’ve done everything correctly, your garage door should lift or lower smoothly.
If it doesn’t work on the first try, don’t panic. Double-check your wiring connections and ensure the button is compatible with your model. Sometimes a little troubleshooting is required, so don’t be shy about checking the manual or seeking help if needed.
Troubleshooting Common Issues
Even the best-laid plans can hit a snag. If your wall button isn’t performing as expected, here’s a quick run-down of potential issues:
1. No response when pressed: Check the wires—are they securely connected?
2. Garage door only opens partially: This could indicate the switch needs resetting or more wiring issues.
3. Button feels loose: If you notice it wobbles, you might need to reinforce the mounting screws.
You might be wondering, what if I have a universal remote or a different model? The installation concepts are similar across different brands, but ensure that the specific wiring and compatibility of parts align.
Enjoying Your New Setup!
Congratulations! You’ve successfully installed your Raynor wall button. Now you can enjoy the simple pleasure of opening your garage door without fumbling for a remote or getting out of the car. It’s like a miniature victory every time you press that button!
To wrap it up, remember that maintaining your garage door opener and wall button is key to longevity. Regular check-ups will help you catch potential issues before they become big problems. Enjoy the convenience that comes with your new setup—it’s like having a little piece of modern magic at your fingertips!