Raynor offers a variety of models with remote controls that make opening your garage door as simple as pressing a button. So, whether you’ve decided to replace an old unit or install a brand-new opener, this guide will walk you through the entire process. Think of it as your personalized roadmap to garage door opulence!
Gather Your Tools and Materials
Before you dive into the installation, let’s gather the essentials. It’s crucial to have everything on hand; no one wants to make a trip to the hardware store mid-installation! Here’s a quick rundown of what you’ll need:
- Raynor Garage Door Opener Kit: This includes the motor unit, rail, and remote controls.
- Tools: You’ll need a ladder, a drill, a screwdriver, a level, and possibly a measuring tape.
- Safety Gear: Safety glasses and gloves to protect yourself while working.
Having your tools ready not only saves time but also helps keep the process safe. Safety first! Before starting, make sure you read through the instruction manual that comes with your Raynor opener; it often contains crucial details specific to your model.
Remove the Old Opener (If Applicable)
If you are replacing an existing garage door opener, you’ll need to take it down first. This involves a few simple steps. Start by unplugging the old opener to cut off power. Trust me, you don’t want any surprises when taking it down!
1. Detach the Opener: Use your drill or screwdriver to remove the mounting brackets holding the opener in place.
2. Disconnect Wiring: Carefully unscrew any wiring connected to the opener. You may want to take a picture before doing this to make reconnection easier later.
3. Take Down the Unit: With everything disconnected, gently lower the opener and set it aside.
This part can feel a bit daunting, but just remember to take your time. If you run into rusted screws or stuck components, soak them in penetrating oil for easier removal.
Assemble the New Opener
Now that you’re ready to install your Raynor opener, let’s put your new unit together. Grab the instruction manual from your kit; it will guide you through the specific assembly steps for your model. Typically, the assembly includes joining the rail to the motor unit.
1. Connect the Rail to the Motor: Use the provided bolts to attach them securely. Make sure it’s aligned straight; this affects how smoothly your door operates.
2. Attach the End Cap: Most units have an end cap that prevents the rail from sliding apart. Don’t skip this step!
3. Put Together the Bracket and Arm: This part connects the door to your opener. Properly securing it is vital. You’ll want the opener and the door to “talk” smoothly!
Double-check your work here. If something feels loose, go back and tighten it before moving on.
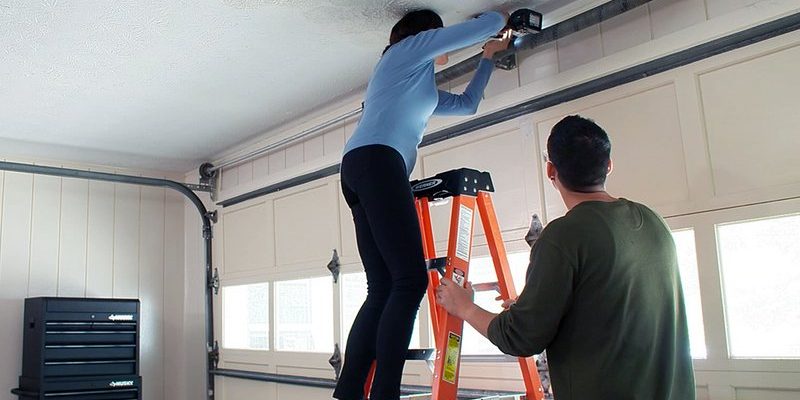
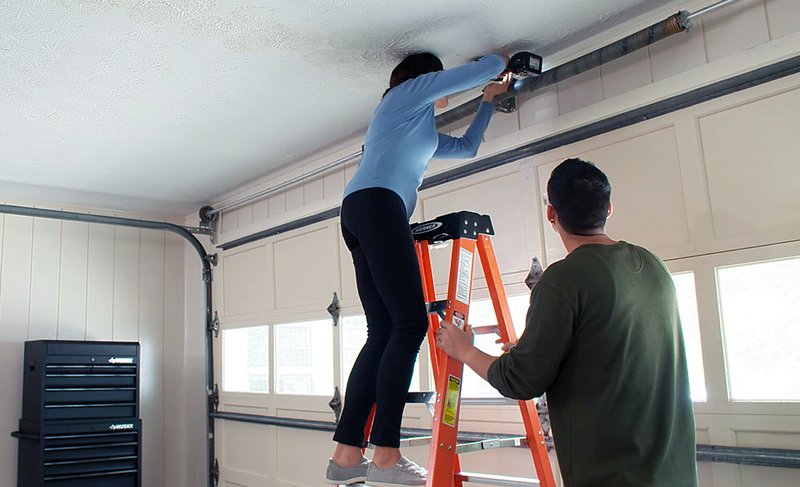
Install the Opener on the Ceiling
With everything assembled, it’s time to get that opener onto the ceiling. This is where your ladder comes in handy!
1. Position the Opener: Lift the assembled unit and position it on the ceiling where the old opener was. Use a level to ensure it’s aligned straight.
2. Secure the Mounting Hardware: Follow the instructions to attach the mounting brackets to the ceiling joists. Make sure to use appropriate screws as directed in your manual.
3. Safety Check: After securing, give the unit a gentle shake to confirm stability. If it moves, tighten those bolts!
Having a buddy helps with this step. Not only does it make the lifting easier, but it can be reassuring to have someone around in case you need help with the power connections!
Connect the Power and Safety Features
Now, let’s plug things in! But before you do, it’s essential to route the power cord properly and add safety features.
1. Plug in the Opener: Use an outlet that’s close and accessible. The manual should advise on a designated outlet, often not exceeding 120 volts.
2. Install Safety Sensors: Raynor models usually come with safety sensors that prevent the door from closing on people or obstacles. Mount these about 6 inches above the ground on either side of the door frame.
3. Test Alignment: Ensure the sensors are aligned correctly; a misalignment can prevent the door from functioning.
Taking the time to set up these safety features not only protects your property but also ensures the safety of your family and pets.
Program the Remote and Keypad
This is where the fun begins! Programming your remote and keypad makes it feel like you’ve got your very own garage door magic wand.
1. Get Your Remote Ready: Most Raynor openers feature a large “learn” button on the motor unit. Press and hold it until a light blinks, signaling it’s in programming mode.
2. Sync the Remote: While the light is blinking, press the button on your remote. You should see the light flash again, indicating successful pairing.
3. Test the Keypad (If Included): Follow similar steps for the keypad, ensuring it pairs correctly and responds to your input.
Honestly, this part is a breeze, and you’ll feel a rush of accomplishment when you hear that motor hum to life!
Final Adjustments and Testing
Before you kick back and enjoy the convenience of your new Raynor opener, it’s crucial to make some adjustments and perform a few tests.
1. Set the Limits: Learn how to set the up and down limits for your door. This will ensure your garage door opens and closes to the correct height without sticking.
2. Test the Safety Features: Try to block the sensors and see if they stop the garage door from closing. If not, go back and adjust them. Your safety is paramount!
3. Run a Test Cycle: Open and close the door a few times to ensure smooth operation. Listen for any strange noises; if something doesn’t sound right, double-check your installation.
Testing allows you to iron out any potential issues. Plus, there’s nothing quite like the victory dance that comes after successfully installing a garage door opener!
Closing Thoughts
Installing a Raynor garage door opener might seem overwhelming, but breaking the process down into manageable steps makes it much simpler. By gathering your materials, systematically assembling everything, and following the installation guide, you’ll have your new opener up and running in no time.
So, whether you’re replacing an old unit or installing a new one from scratch, take it one step at a time. Remember, it’s all about making your life easier—and who doesn’t want that? Happy installing!