This guide is here to walk you through the installation process step-by-step, so don’t worry if you’re unsure where to begin. With the right tools and a bit of patience, you’ll have your new control panel set up in no time. Personally, I always find it easier to handle the technical stuff when I have clear instructions laid out, so that’s exactly what we’re going to do.
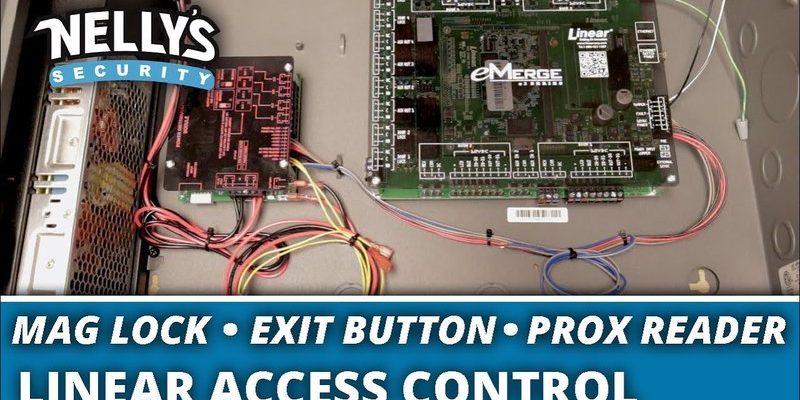
Understanding Your Linear Control Panel
Before diving into the installation, it’s important to understand what the Linear Control Panel is and how it works. This panel acts as the communication hub between your garage door opener and your remote control. Think of it as the conductor of an orchestra, directing various elements to work in harmony.
Typically, the control panel has buttons for opening and closing the garage door, as well as options for lights and security features. Familiarizing yourself with the functions of each button will save you time later. You’ll also notice a small LED display; this is where error codes or indicators can appear. Knowing what they mean can help in troubleshooting later on.
So, why is the installation so crucial? A properly installed control panel ensures your garage door opens and closes correctly, reducing the chance of malfunction. Plus, making it part of your home security system can provide peace of mind. You might be wondering, “What if I mess it up?” Don’t fret. Mistakes happen, but this guide will help you avoid most of them.
Gather Your Tools
Alright, before you start, let’s ensure you have all the necessary tools. Think of it this way: trying to bake a cake without the right ingredients is a recipe for disaster!
Here’s a quick list of what you’ll need for this installation:
- Screwdriver: A standard Phillips head will do just fine.
- Drill: If you need to make new holes, having a drill makes it easier.
- Level: This helps ensure your panel is perfectly aligned.
- Tape Measure: For accurate placements, a tape measure is essential.
- Wire Strippers: In case you need to connect wires manually.
Make sure you have all of this handy and check that it’s in good condition. It saves time, stops interruptions, and lets you focus on the fun part—getting everything set up.
Locating the Right Spot for Your Control Panel
Finding the right spot for your control panel is like choosing a good location for your coffee machine; you want it to be convenient yet practical.
Look for a spot that’s near the entrance of your garage, ideally within easy reach while in your car. Also, ensure it’s at least five feet off the ground to keep it safe from kids and pets. Once you’ve picked a location, mark it with a pencil or tape.
Take a moment to visualize it from both inside the garage and from your driveway. If it feels awkward, adjust your choice accordingly. After all, you’ll be interacting with this control panel regularly!
Wiring the Linear Control Panel
Now it’s time for the fun part, the actual wiring. Follow along closely, as getting this right is critical. First, turn off the power to your garage door opener to ensure safety. No one wants a surprise while working with wires!
Here’s how to get it done:
1. Remove the existing panel or cover if you have one. You’ll likely see some wires.
2. Connect the wires from the control panel to the corresponding terminals on your garage door opener. Typically, you’ll have two wires (one for each terminal), but refer to your user manual because specifics can vary.
3. Secure the connection by twisting the wires together with wire connectors. Make sure they’re snug but not overly tight to prevent damage.
4. Tuck the wires carefully back into the wall or control panel casing.
This is the brain of your operation, so double-check everything. A little diligence now can prevent a world of troubleshooting later.
Installing the Control Panel
With the wiring taken care of, it’s time to install the control panel itself! This step is a bit like framing a picture; you want it secure and looking good.
1. Align the control panel in the marked spot you chose earlier. Use a level to make sure it’s straight.
2. Drill the screws provided with the panel into the wall. Make sure to use appropriate anchors if you’re drilling into drywall.
3. Press the panel into place and secure it with screws. Ensure it’s firmly attached, but be careful not to strip the screws.
Step back to give it a check. If it’s not level, now’s the time to fix it before moving on!
Syncing the Remote with the Control Panel
Once your Linear Control Panel is securely installed, it’s time to sync your remote. This part might feel like magic, but it’s really just simple radio frequency (RF) pairing.
1. Locate the ‘Learn’ button on your garage door opener. This is usually found on the back or the side.
2. Press and hold the ‘Learn’ button until a light blinks – this means it’s ready to pair.
3. Grab your remote and press the button you want to use. You should see the LED on the opener blink again, indicating your remote is paired.
Once synced, test it! Press the button to open or close the garage door. If it doesn’t respond, try repeating the process. Sometimes, a simple *reset* can solve issues.
Troubleshooting Common Issues
Now, let’s talk about troubleshooting. It’s normal to run into small hiccups. If your garage door doesn’t work right, try these common solutions.
– Check the power: Ensure that the power supply to the panel and opener is on. If you can’t find the power supply, look for tripped breakers.
– Verify wiring: Sometimes wires get loose. Open the panel up and make sure your connections are tight.
– Reset the system: If things still seem off, locate your reset button on the control panel and press it.
If issues persist, consult the user manual for additional troubleshooting advice, or don’t hesitate to seek professional assistance.
Final Touches and Safety Checks
You’ve done a fantastic job getting this far! Now it’s time for a final round of checks.
1. Secure any loose cables: Make sure wires are tucked away neatly to avoid snagging.
2. Test all functions of the panel and remote to ensure everything is working as it should. Go through all the buttons, including light controls.
3. Double-check that the door operates smoothly. Listen for any unusual sounds that could indicate a problem.
Think of these final touches as cleaning up your workspace after crafting that perfect cup of coffee; it just helps everything feel complete!
Closing up, remember that installing the Linear Control Panel is a process that can be simplified with patience and clear steps. You’ve transformed your garage setup, and all the effort is undoubtedly worth it. Enjoy the convenience and security that your new control panel brings. Happy installing!