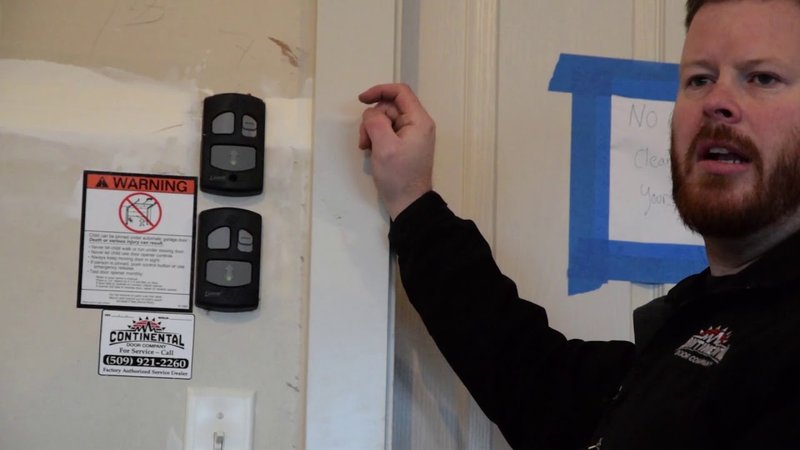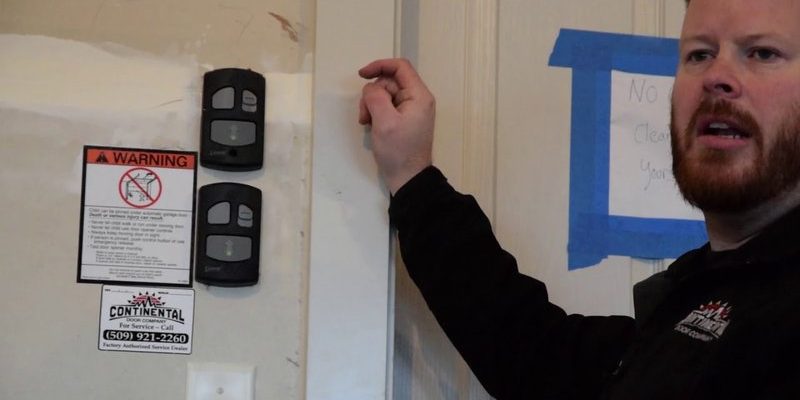
Think of the Linear wall button as a direct connection to your garage door. Rather than relying solely on a remote, this wall button gives you easy access right where you need it. Whether you’re headed out with groceries or coming home after a long day, having that button at your fingertips just makes life easier. So, if you’re ready to dive into the installation process, let’s break it down step by step.
Tools You’ll Need for Installation
Before we start the installation, let’s make sure you have all the tools handy. Honestly, it can be frustrating to get halfway through a project only to realize you’re missing something. Here’s what you’ll need:
- Linear wall button: This is, of course, the star of the show. Choose one that fits your existing setup.
- Drill and drill bits: A good drill makes the process easier. If you don’t have one, a screwdriver will work, but it might take longer.
- Screws: These usually come with the wall button, but double-check just in case.
- Wire strippers: Essential if you need to strip the insulation from the wire ends.
- Level: This is optional but can help make sure your button is straight. Trust me, it feels more satisfying to have a perfectly aligned button.
Once you have these, you’re ready to get started!
Deciding Where to Mount the Wall Button
Location is key when installing your Linear wall button. You want it to be convenient but also safe and practical. Here are some tips to help you choose the best spot.
First, consider the height. Ideally, you want to mount the button about 48 inches off the ground. This height is accessible for most people, and it’s out of reach for small children. Think of it like placing a light switch; you want it within easy access but not a head-scratcher to find.
Second, think about proximity to the garage door. You don’t want to sprint across the garage just to hit the button. The best location is right next to your door, whether it’s the entry from inside your home or your garage access door. Additionally, avoid placing it near obstacles or items that might block your path.
Lastly, consider the visibility. Installing the button where you can see it will save you from searching around during busy times.
Wiring the Linear Wall Button
Now we’re getting to the fun part! Wiring the Linear wall button usually involves connecting it to the garage door opener. Here’s how to do it step-by-step.
1. Power Off: Before doing anything, turn off power to the garage door opener. This is crucial for safety.
2. Open the Opener: Open the cover on your garage door opener. Look for the terminals labeled for wall control. These are usually clearly marked.
3. Prepare the Wires: If your button doesn’t come with wires attached, use your wire strippers to remove approximately a half-inch of insulation from both ends of each wire. This helps the wires make a good connection.
4. Connect the Wires: Connect the two wires from your Linear wall button to the terminals inside the garage door opener. Be sure to match the colors if they’re indicated. It’s usually a black and a white wire, but check the manual to be safe.
Don’t forget to ensure that your connections are secure. You don’t want any loose wires creating an intermittent connection, causing frustration down the line.
Mounting the Wall Button
Once the wiring is done, it’s time to mount the wall button! This part is pretty straightforward, but there are a few things to keep in mind to get it just right.
Start by placing the wall button in your chosen spot against the wall. Use a level to ensure it’s straight—trust me, you’ll appreciate the feeling of symmetry.
Next, mark where the holes will go. After marking, drill your pilot holes. If you’re mounting on drywall, you may need wall anchors to provide extra support. Once the pilot holes are ready, use screws to attach the wall button securely to the wall.
After it’s fastened, give it a gentle tug to make sure it’s stable. No one wants a wall button coming loose at the most inconvenient time!
Testing the Installation
Now that everything is in place, it’s time to test your installation. Turn the power back on to the garage door opener and press the newly installed wall button. Here’s what you should look out for:
– If it Works: Congratulations! You’ve installed your Linear wall button successfully. Enjoy the ease of use it brings.
– If it Doesn’t Work: Don’t worry! There are common troubleshooting steps to take. First, double-check your wiring connections at both the wall button and the garage door opener. Any loose screws or misconnected wires can prevent it from working.
If everything looks good but the button still doesn’t respond, it might be worth resetting the garage door opener itself and trying again. Sometimes, a quick reset can do wonders.
Safety Considerations and Tips
Safety’s paramount when installing electrical devices. Here’s what you need to keep in mind while working on your Linear wall button installation:
– Power Down: Always disconnect the power supply to your garage door opener before doing any wiring. It’s a simple step but makes a world of difference in keeping you safe.
– Use Proper Equipment: Make sure you’re using tools that are in good condition. For instance, using a damaged drill or old wire strippers can lead to mistakes.
– Read the Manual: It might seem like a no-brainer, but always refer to the manufacturer’s manual for specific guidelines related to your particular model. Every system may be slightly different.
Following these guidelines will help you have a smooth installation experience without any major headaches.
Installing a Linear wall button can greatly enhance your garage experience. With just a few tools, a little time, and the steps we covered, you can take control of your garage door with ease. Remember to take your time, double-check your wiring, and don’t hesitate to troubleshoot if things don’t go as planned.
Once you’ve installed it and it’s up and running, that little wall button will likely become one of the most convenient features in your home. With the button right there, managing your garage access is now just a click away! Enjoy the newfound ease and functionality this installation brings!
