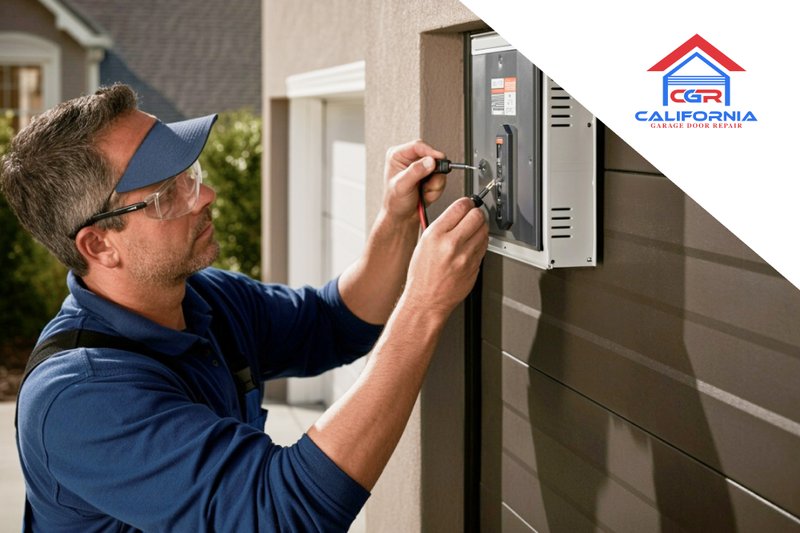
Think of the battery backup as a safety net, like an umbrella in a rainstorm. It’s there to save the day when unexpected weather hits—or in this case, when the electricity goes out. Whether you’ve got a Genie, LiftMaster, or Chamberlain opener, adding battery backup can extend the functionality of your garage door and give you peace of mind. In this guide, we’ll dive deep into installing that battery backup so you can keep your overhead door working, even when the lights go out.
Understanding Battery Backup Systems
Before we jump into the installation process, let’s clarify what a battery backup system is and why it’s crucial for your overhead door. A battery backup is a separate power source that kicks in when your primary power supply fails, allowing your garage door opener to operate. This means that during a blackout, you can still open and close your garage door as needed.
The beauty of these systems is their simplicity. Just like keeping extra milk in the fridge for those late-night cereal cravings, having a battery backup for your door ensures you’re never left hanging. Many modern garage door openers come with backup options, but it’s essential to check if your model supports one.
You might be thinking, “How does it even work?” Great question! The battery backup connects directly to your garage door opener. When the power goes out, the opener automatically switches to the backup battery without you needing to lift a finger.
Gathering Your Tools and Materials
Alright, let’s talk about what you need before you start installation. Having everything ready beforehand can make the process smooth as butter. Here’s a quick list of what you’ll need:
- Battery backup system compatible with your garage door opener
- Screwdriver (Philips and flathead)
- Drill with drill bits
- Wire nuts and electrical tape
- Level for alignment
Before you start, make sure to read the manual of your battery backup unit and your garage door opener. It’s like studying the directions before assembling that complicated piece of furniture—you’ll save time and headaches later.
Also, consider safety first: wear safety goggles, and ensure your workspace is clear. It’s easy to trip over tools or wires, so being organized can help avoid fumbles.
Shutting Down Your Garage Door Opener
Before diving into the installation, it’s crucial to turn off the power to your garage door opener. It’s like turning off the engine before doing maintenance on your car. Here’s how to do it:
1. Locate the power source: Find where your garage door opener plugs into the outlet.
2. Unplug the opener: Pull the plug out of the socket.
3. Test the opener: Press the remote button to ensure the door does not move.
Taking these steps ensures safety during installation. You don’t want any surprise movements while wiring your new battery backup!
Installing the Battery Backup Unit
Now it’s time for the real fun—installing the battery backup! Here’s a simple, step-by-step breakdown:
1. Position the backup: Choose a spot close to your garage door opener but out of the way. It should be easy to access for maintenance and monitoring.
2. Mount the unit: Using your drill and screws, attach the backup system to the wall or ceiling securely. Now’s where that level will come in handy!
3. Connect wires: Following the manufacturer’s instructions, connect the wires from the battery backup to the corresponding terminals on the garage door opener. They’ll typically be color-coded, making this part intuitive.
4. Secure the connections: Use wire nuts to cap off the exposed wires, then wrap with electrical tape for extra safety.
5. Double-check everything: Before restoring power, ensure that all connections are tight and that there are no exposed wires.
Testing the Backup System
Now comes the exciting part: testing your new battery backup! After ensuring everything is connected, plug your garage door opener back in. Here’s how to test the system:
1. Turn the power back on: Plug the opener back into the socket and ensure it powers up normally.
2. Simulate a power outage: Many battery backups have a switch or button that allows you to simulate losing power. Activate that switch.
3. Test the opener: Use your remote to attempt to open the garage door. If it functions properly, congratulations—you’ve successfully installed the system!
4. Monitor the battery level: Most units have an indicator light. Keep an eye on this to ensure your battery remains charged.
Troubleshooting Common Issues
If for some reason the battery backup doesn’t function during testing, don’t panic! Here are some common issues and their fixes:
– Power Indicators Not Lighting Up: Make sure all connections are secure and the outlet is working.
– Remote Not Pairing: Check if the battery in your remote needs replacing or if it’s paired correctly with your opener.
– Door Won’t Move: Ensure nothing is obstructing the tracks, and double-check that the opener is correctly connected to the battery backup.
Honestly, it’s often the simplest issues that trip us up. Take a moment to retrace your steps if things aren’t working quite right.
Maintaining Your Battery Backup System
After installation, maintenance is key to keeping your battery backup healthy. Think of it like watering your plants; it’s just something you do regularly to keep them alive.
1. Check battery levels periodically: Look at the indicator light to see if it’s charged.
2. Replace the battery when needed: Depending on the type, you might need to replace the battery every few years. Check the manual for specifics.
3. Inspect wires for wear: Make sure no wires are frayed and everything looks secure.
Regular checks help avoid surprises when you need your garage door to work the most—like during a storm or power failure.
Final Thoughts on Installing Overhead Door Battery Backup
Equipping your overhead door with a battery backup is a straightforward process that can yield peace of mind. Not only have you made your garage door accessible in emergencies, but you’ve also boosted its overall performance.
Next time the electricity flickers, you’ll be relieved to know that your battery backup is ready to kick in. So grab those tools, set some time aside, and get started on this handy project. Here’s to always being able to access your garage—stormy weather and power outages be damned!
