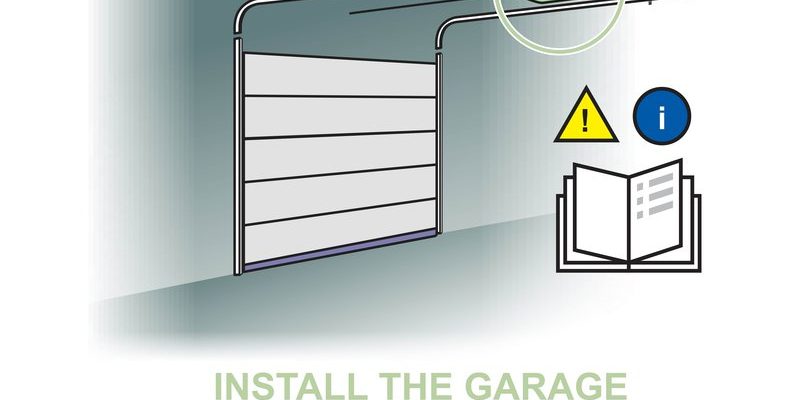
You might be dealing with an overhead door from a brand like Chamberlain or LiftMaster. So if your garage door isn’t responding to your remote or the motor sounds like it’s throwing a tantrum, it may be time to roll up your sleeves and dive into some circuit board installation. Don’t worry—I’ll guide you through each step, ensuring you have the skills to tackle this task with confidence.
Understanding the Components of the Circuit Board
Before you jump into installation, it’s essential to know what you’re working with. The overhead door circuit board is often nestled inside the motor unit, a unassuming plastic box that resembles a control panel for a spaceship. Here’s what you’ll typically find on the board:
- Power Supply: This is essential for giving power to the entire system.
- Relay: Acts like a switch, enabling the motor to run when needed.
- Travel Limits: Helps in setting the door’s open and closed positions—think of it as the door’s GPS.
- WiFi Module: If your model supports it, this helps in connecting the door to your smart devices.
Understanding these components will not only make your installation smoother but also help you troubleshoot future issues. Knowing the role each part plays is like understanding the lyrics to your favorite song—you’ll enjoy it more!
Gathering the Right Tools
Before you start, make sure you have everything you’ll need within arm’s reach. A well-prepared workspace sets the stage for a successful installation. Here’s a checklist to get you started:
- Screwdriver Set: Phillips and flathead, preferably magnetic.
- Wire Cutters: You’ll need these if you have to make any adjustments to the wiring.
- Voltage Tester: To ensure electrical safety.
- Replacement Circuit Board: Make sure it’s compatible with your specific garage door model.
Having your tools ready is like having the right ingredients for a recipe. A little preparation now means less frustration later!
Safety First: Disconnect Power
Safety should always come first—especially when working with electrical components. Before you start tinkering with the circuit board, turn off power to the garage door opener by unplugging it or switching off the circuit breaker. You don’t want any surprises while you’re down there!
Pro Tip: Use a voltage tester to confirm that there’s no power running to the unit. It might feel tedious, but it’s crucial for avoiding electrical shocks and ensuring your safety. Imagine handling a hot stove without checking if it’s off—definitely not a good idea!
Removing the Old Circuit Board
Now we dive into the installation itself. Start by carefully removing the cover of your garage door opener. Usually, this is held in place by a few screws. Once you’ve exposed the circuit board, start disconnecting it from the wiring harness.
Steps to Remove the Board:
- Document or take a picture of how the wires are connected to the old board.
- Carefully disconnect the wires, ensuring not to damage any terminals.
- Remove the screws or clips holding the circuit board in place.
Think of this like unwrapping a gift—you want to be gentle to avoid breaking anything inside. Once everything is disconnected, you should be able to lift out the old circuit board.
Installing the New Circuit Board
With the old board out, it’s time for the new one to take the spotlight! Grab your new circuit board and follow these steps:
Steps to Install the New Board:
- Position the board into the mounting location, making sure it fits snugly.
- Using the screws or clips, secure it as tightly as possible without overdoing it.
- Reconnect the wires according to the documentation or photo you took earlier.
This is the moment to ensure everything is in working order. Think of it as putting together a puzzle; every piece has its own special place. Double-check your connections and make sure nothing is loose.
Powering Up and Testing
Once you’re confident everything is reconnected, it’s time to bring your garage door back to life. Reconnect the power source you’d disconnected earlier. Grab your remote and press the button. If all goes well, your garage door should respond!
If it doesn’t, don’t panic—here’s what you can do:
- Check all connections again to ensure they’re secure.
- Verify that the power supply is working after disconnection.
- Consult the user manual for any troubleshooting steps specific to your model.
It’s like rebooting a computer when things go haywire—sometimes, a quick reset can work wonders!
Congratulations! You’ve just installed a circuit board for your garage door opener. Hopefully, this task didn’t feel like climbing Mount Everest. Now that you’ve got it working, you’ll appreciate not just the functionality but also the satisfaction that comes from tackling a DIY project.
Remember, like any new skill, practice makes perfect. Should you run into issues later—like problems with your remote or syncing—your newfound knowledge will serve you well. You’ve got this handled, and your garage door is back to sync with your life!