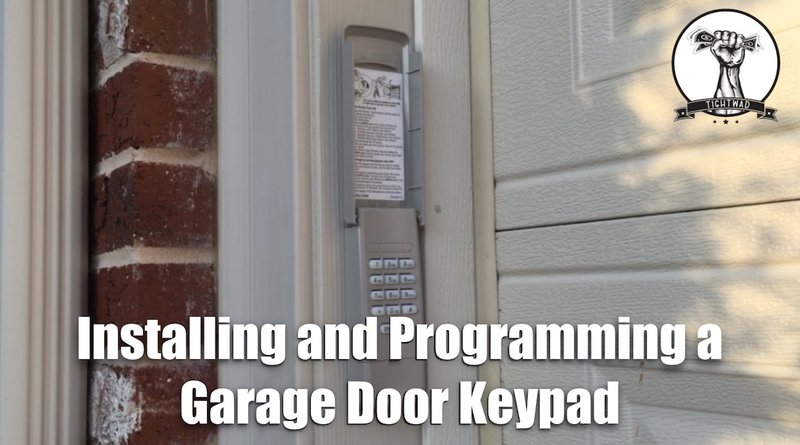
When discussing overhead door keypads, we’re often referring to well-known brands like Genie, LiftMaster, or Chamberlain. These brands ensure compatibility with a broad range of garage door openers while making the installation process relatively straightforward. You might be wondering, “Where do I even start?” Well, don’t sweat it! This guide will walk you through each step of the installation process, ensuring you feel confident and capable by the time you’re done.
Gather Your Tools and Materials
Before you dive into the installation, it’s essential to gather all the necessary tools and materials. Think of this as gathering your ingredients before cooking a new recipe. Here’s a quick checklist of what you’ll need:
- Overhead door keypad (make sure it’s compatible with your garage opener).
- Drill with a set of drill bits.
- Screwdriver (flathead and Phillips).
- Level (to ensure proper alignment).
- Tape measure.
- Pencil for marking.
- Battery (typically included with the keypad).
- Step ladder (if needed).
Having these tools handy will save you from running back and forth during the process. The key here is preparation; the smoother the setup, the quicker you’ll get to enjoying the benefits of your new keypad.
Choosing the Right Location
Now that you have your tools, it’s time to think about installing the keypad itself. Choosing the right location is crucial because it impacts both accessibility and security. Ideally, the keypad should be:
– Installed near the garage door, but out of reach for small children.
– At a height that’s comfortable for you to reach easily.
– Well-lit, so you can use it even in low light conditions.
Here’s the thing: if the keypad is too close to the garage itself, it may not deter unauthorized entry. Conversely, if it’s too far away, you might find it inconvenient. A good rule of thumb is to install it about 5 feet off the ground, providing easy access while preventing little ones from tampering. Once you’ve settled on a spot, use your tape measure and pencil to mark where you’ll be drilling.
Wiring the Keypad
Once you have the perfect spot, it’s time to get into the wiring. Most overhead door keypads are designed for easy installation and typically come with color-coded wires, which makes this phase more straightforward. Here’s a general breakdown of how to wire the keypad:
1. Disconnect the Power: Safety first! Unplug your garage door opener from the power source before you begin.
2. Strip the Wires: If the wires aren’t pre-stripped, you’ll need to strip about half an inch of insulation from the ends.
3. Connect the Wires: Following the instructions that came with your keypad, connect the wires to their corresponding terminals on the garage door opener. Typically, there are two wires that you’ll need to connect.
4. Secure the Connections: Make sure each connection is tight to avoid any intermittent issues.
Wiring may seem tricky, but don’t worry—you’ll likely find that it’s easier than you expected. Just take your time and follow the manufacturer’s guidelines closely.
Mounting the Keypad
With the wiring complete, it’s time to mount the keypad. This step is like putting the finishing touch on a beautifully wrapped gift. To mount it properly, follow these steps:
1. Align the Keypad: Use the level to ensure the keypad is straight as you hold it against your marked spot.
2. Drill Holes: Once aligned, mark where the screws will go and drill holes into the mounting surface.
3. Attach the Keypad: Secure the keypad with screws, ensuring it’s firmly attached yet flush against the wall.
The key here is to make sure it’s level and secure. If you skip this, what’s the point? A wobbly keypad can lead to a whole lot of frustration later on.
Programming the Keypad
You’ve mounted the keypad—great job! Now it’s time for the fun part: programming your code. This step is essential as it ensures only you and your trusted individuals can access your garage. Here’s how to program your keypad:
1. Reconnect the Power: Plug your garage door opener back into the outlet.
2. Enter the Programming Mode: Most keypads have a specific sequence that needs to be followed to enter programming mode. Follow the instructions in your keypad’s manual carefully.
3. Set Your Code: Choose a memorable code—usually a 4-digit number. Input this code as per the keypad instructions.
4. Test the Keypad: Once programmed, test it out! Enter your unique code and see if the door opens. If it doesn’t, double-check your connections and repeat the programming steps.
Programming can seem intimidating at first, but remember to consult your manual, and don’t hesitate to try different combinations until it works.
Troubleshooting Common Issues
Even with the best plans, issues can arise. Here’s a look at some common problems you might encounter after installation along with their possible solutions:
– Keypad Not Responding: Ensure the battery is properly installed and connected. If it’s still unresponsive, try resetting it as outlined in the manual.
– Door Doesn’t Open: This may be due to improper wiring. Recheck your wiring setup against the manual’s instructions.
– Code Not Working: Double-check that you’ve programmed it correctly. Remember, a minor mistake can lead to the entire system not responding.
Troubleshooting is like a scavenger hunt—it may take some time, but it can often lead you right back to the solution. If you find yourself stuck, don’t hesitate to reach out to the manufacturer’s customer support.
Final Thoughts: Enjoying Your New Keypad
Congratulations! You’ve successfully installed your overhead door keypad. Take a moment to appreciate your handiwork and enjoy the added convenience and security it brings to your life. Think about all the times you won’t have to dig for keys or worry about whether you left the garage door open.
Remember, maintenance is key. Regularly check the batteries and test the keypad to ensure everything operates smoothly. With a little care, your new keypad can serve you well for years to come. So go ahead, punch in that code, and enjoy hassle-free garage access!
