Let me break it down for you. We’re focusing on the process of installing a typical overhead door remote, also known as a garage door opener remote. This guide aims to walk you through each step, whether you’re using a LiftMaster, Chamberlain, or any other popular brand. By the time you’re done, you’ll not only have a fully functional remote but also the confidence to tackle similar projects in the future.
Gathering Your Tools and Equipment
Before diving into the installation process, it’s critical to gather all the necessary tools and materials. Trust me; running back and forth to find tools can quickly turn the project into a headache. For this task, you’ll typically need:
- A compatible overhead door remote (make sure it matches your opener’s brand)
- A small flathead screwdriver
- Scissors (if you need to cut tape)
- Batteries (many remotes come with them, but it’s good to check)
Having everything at your fingertips makes things smooth. Also, before you start, ensure the garage door opener is plugged in and functional. Double-check that nothing is blocking your garage door’s path.
Preparing the Remote and Door Opener
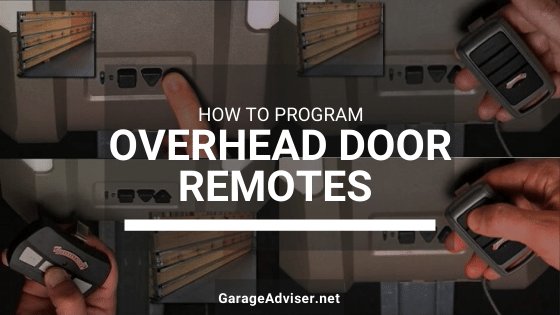
Okay, you’ve got your tools ready—let’s prep the remote and door opener. Open your new remote and insert the batteries. You might be wondering why that matters. Well, without power, your remote is just an expensive paperweight.
Next, take a look at your garage door opener. Most have a “Learn” button located on the back or the side. This is your key player. Pressing this button puts the opener into a mode where it can accept a new remote. If you have an older model, it may require a different approach, so be sure to check the user manual for specific instructions.
Syncing Your Remote to the Opener
Now we’re getting into the fun part—syncing the remote. First, press the “Learn” button on your garage door opener. You’ll usually see a light blink, which indicates it’s ready to sync.
Next, take your new remote and press the button you want to program. You might need to hold it for about 2-5 seconds. Most remotes will have a feature that confirms the sync, like a blinking light or sound. If nothing seems to happen, don’t panic. Just repeat the process, ensuring you’re hitting the right buttons.
Troubleshooting Common Issues
Sometimes, things don’t go as planned. If your remote isn’t working after trying to sync it, here are a few common troubleshooting tips:
- Check the Batteries: Make sure the batteries are installed correctly and aren’t dead.
- Recheck the Learn Mode: Occasionally, the opener may exit learn mode if left idle too long. Try again.
- Interference: Nearby electronics can interfere with the signal, so switch off any electronic devices near the opener.
These steps can often resolve minor hiccups. And if you find yourself routinely troubleshooting, it might be time to consider a universal remote for better compatibility.
Testing and Final Adjustments
Once the remote syncs successfully, it’s time for the crucial testing phase. Stand about 10-15 feet from the garage door and press the remote button. The door should either open or close smoothly. If it doesn’t respond, revisit the previous troubleshooting tips to ensure everything’s set up correctly.
You may also want to adjust the garage door opener’s limits if the door doesn’t open or close fully. Most units have adjustment screws that control how far the door travels. Just make tiny tweaks and retest until you’re satisfied.
Understanding the Various Remote Types
Depending on your needs, there are several types of remote controls to choose from. Here’s a quick rundown:
- Single-Button Remotes: Best for users who have only one garage door.
- Multi-Button Remotes: Great if you have multiple doors or want to control the gate too.
- Smart Remotes: Allow control from your smartphone, providing maximum flexibility.
Choosing the right type depends on how you plan to use it. Smart remotes offer convenience, while single-button types are straightforward and fuss-free.
Staying Safe with Your Door Remote
Once your remote is installed, it’s essential to use it safely. Always ensure children and pets are out of the way before pressing the remote. And if your garage door has safety sensors, check that they’re aligned properly. This feature prevents the door from closing on anything in its path, which is crucial for safety.
Don’t forget about maintenance too! Periodically, check if the remote batteries need replacing, and keep the buttons clean from dirt and grime.
And there you have it! Installing an overhead door remote is straightforward when you break it down step by step. Much like building a model or assembling furniture, taking your time and following the instructions makes all the difference.
Once you’ve got your remote set up, you’ll be zipping in and out of your garage like a pro. And guess what? You just added a little more comfort and convenience to your daily routine. So go on, enjoy that newfound ease. You’ve earned it!