Let’s dive into it, shall we? A Skylink garage door opener is an excellent choice because it combines technology with convenience. Plus, many models come with handy features like remote control options and smartphone integration. By the end of this guide, you’ll not only know how to install it but also feel confident in using it.
Gather Your Tools and Materials
Before you dive into the installation, let’s gather everything you’ll need. You don’t want to end up halfway through the process and realize you’re missing a crucial tool or component. Here’s a quick list:
- Skylink garage door opener kit
- Drill and drill bits
- Screwdriver set
- Measuring tape
- Level
- Ladder
- Wire cutters/strippers
- Safety goggles
Having these tools handy will make the process smoother and ensure you can follow each step without interruption. A little preparation upfront translates to a successful installation, and you’ll thank yourself later when you aren’t scrambling for tools.
Understanding the Components of Your Skylink Opener
Let’s familiarize ourselves with the main parts of your Skylink garage door opener. Knowing each component will help you visualize the installation and minimize confusion. Typically, your kit will include:
- The motor unit
- Rail assembly
- Remote control
- Wall control panel
- Safety sensors
- Power cord
The motor unit is the heart of your opener, driving the rail assembly to lift or lower your garage door. The rail assembly connects the motor to the door itself. Meanwhile, the remote control and wall panel are how you tell your opener when to do its job. Lastly, the safety sensors keep things safe by detecting obstacles, preventing the door from closing on something or someone unintentionally.
Now that you know what everything is, you might be thinking, “What’s next?” Let’s get to the fun part—installing it!
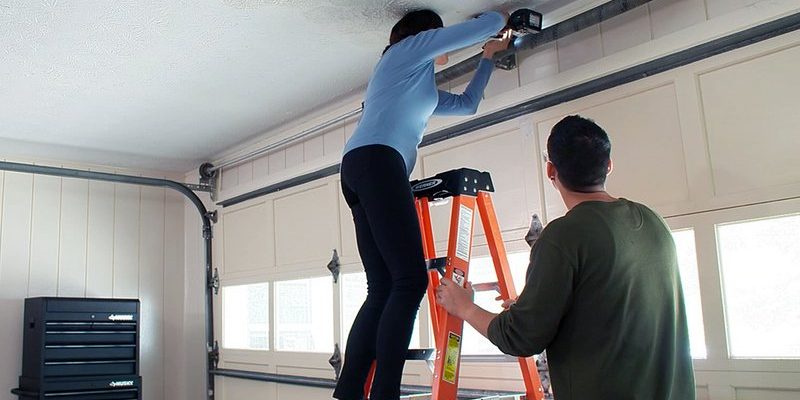
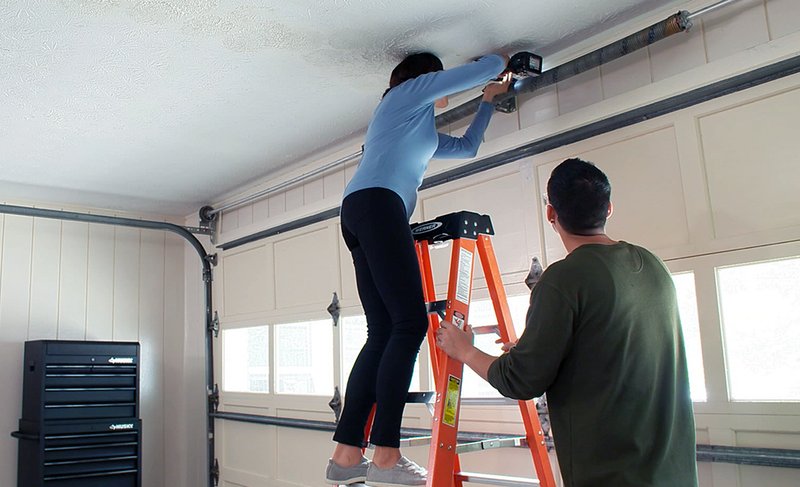
Installing the Rail Assembly
Start by attaching the rail assembly to the motor unit. Get your ladder ready because this part involves some height. Make sure to follow the manufacturer’s instructions carefully, as each model might have slight variations.
Begin by sliding the rail into the motor unit on a flat surface. You’ll need to secure it with provided bolts, so grab your screwdriver. After that, you’ll lift the assembly into place, attaching it to your ceiling with brackets. Don’t forget to use a level to ensure everything is straight; nobody likes a crooked garage door!
Once secured, verify that the rail is aligned properly with your garage door track. This is crucial, as misalignment can cause mechanical issues later on. You might even have to adjust the height of your opener depending on your garage door type.
Connecting the Safety Sensors
With the motor and rail in place, it’s time to install the safety sensors. These little devices are a big deal—they prevent accidents. To install them, mount them about six inches above the ground on both sides of the garage door frame.
Here’s where it gets interesting. Each sensor has a wire that runs back to the motor unit. You’ll want to strip the ends and connect them according to the instructions included in your kit. If all goes well, your sensors should click into place, and a green light will indicate they’re working correctly.
Just a tip: double-check that the sensors are facing each other. If they’re not aligned, you’ll be scratching your head when your door won’t respond. Or worse, it might keep closing even when something’s in the way.
Wiring the Wall Control Panel
Now you’re getting really close! Next up is wiring the wall control panel. This panel lets you operate the garage door from inside your garage. Start by determining its location—typically, it’s best within easy reach of your garage door but away from any moving parts.
Once you’ve got a spot, it’s a simple matter of connecting wires. Most wall controls will have two wires that you’ll need to strip and connect to the motor unit. Honestly, it’s pretty straightforward, but make sure to follow the polarity as indicated in your instructions—it’s important for proper function.
After wiring, mount the panel securely and make sure it’s level too. This is the control hub, so you want everything neat and tidy. It’ll feel great when you push that button for the first time!
Powering Up Your Skylink Garage Door Opener
Before you test the system, it’s time to hook it up to power. Plug in the power cord into an outlet, and double-check that all components—motor, sensors, and wall control—are connected as they should be. This moment is exciting (and a little nerve-wracking), so take a deep breath.
Now, let’s sync your remote control. Typically, this involves pressing a button on the motor unit and on the remote until they register. Once you hear a click or see a light, you’re ready for the test drive! This is also a great time to check that the safety sensors are working correctly; hold something in front of them to ensure the garage door stops.
Troubleshooting Common Issues
Even the most straightforward installations can come with their hiccups. If your garage door isn’t responding, start with the basics. Check the batteries in your remote control—sometimes a simple battery change is all you need. Another common issue is improper alignment of the safety sensors; they need to be perfectly aligned to function correctly.
If the door closes and then immediately reopens, this is often a sign that the sensors are blocked or misaligned. Take a moment to clear the area and confirm that everything’s in its rightful place.
Sometimes, resetting the system can also help. Consult your Skylink manual for instructions on how to perform a reset. It’s often a simple matter of pressing a few buttons, bringing everything back to its original settings.
Enjoy Your New Skylink Garage Door Opener
Congratulations! You’ve just completed the installation of your Skylink garage door opener. It might have felt like a journey, but think of how rewarding it will be to use this new convenience every day. Whether you’re heading to work, coming back home with groceries, or just enjoying a quiet evening, you can do so without ever needing to get out of your car.
As you settle into your newly automated garage, don’t forget to keep your user manual handy. It’s a wealth of information for troubleshooting and maintaining your opener in the long run. With proper care, your Skylink garage door opener will serve you well for years to come.
So grab your favorite beverage and enjoy the ease that comes with your new setup!