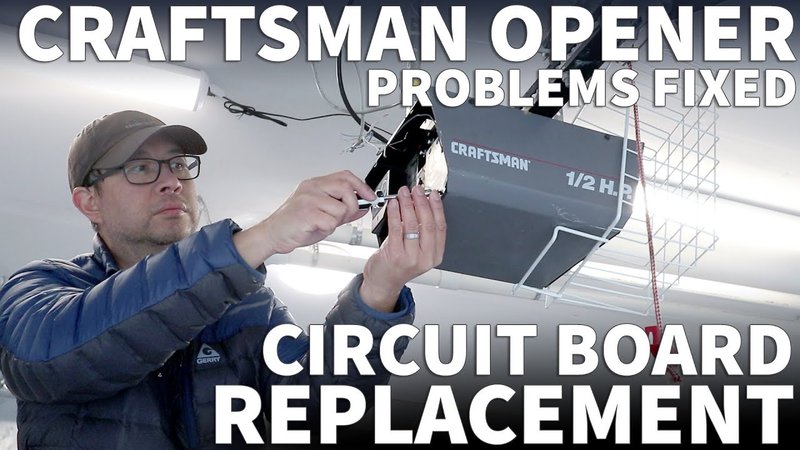
Installing a new circuit board might sound intimidating, but like making a sandwich, once you have everything laid out, it’s just a matter of putting the pieces together. In this article, I will guide you through each step to ensure your Craftsman opener gets back to functioning smoothly. Let’s dive in, and soon your door will be gliding up and down like new!
Gathering Your Tools and Materials
Before you start tearing into your garage door opener, let’s gather everything you’ll need. Having the right tools at your fingertips makes the process smoother. Here’s your checklist:
- New Circuit Board: Ensure it’s compatible with your specific Craftsman model.
- Screwdriver: Typically, a Phillips-head will do the trick.
- Wire Strippers: You’ll need these if you have to cut wires.
- Electrical Tape: This is important for securing connections.
- Multimeter: To check voltage and ensure connections are solid.
- Safety Gloves: It’s always good to have protection when working with electrical components.
Once you have your tools ready, you’ll want to give yourself some space to work. Clear the area around your garage door opener to create a safe environment. You wouldn’t want to trip over any boxes while you’re trying to focus on your installation, right?
Powering Down Your Garage Door Opener
Before you do anything, you need to cut the power to your garage door opener. This is crucial—working on live wires can lead to not just equipment damage but also serious injuries.
To power down, just unplug the unit from the wall. If your garage door opener is hardwired, flip the circuit breaker that controls it. You might want to double-check with a multimeter to ensure no power is running to the unit. Safety first!
Once you’ve ensured there’s no electricity coursing through your opener, take a deep breath—you’re ready to proceed.
Removing the Old Circuit Board
Now that you’ve powered down, it’s time to remove the old circuit board. Here’s how:
1. Open the Cover: Locate the screws holding the front cover of your opener. Remove them with your screwdriver and set the cover aside.
2. Document Connections: Look closely at the circuit board. It can be helpful to take a photo of the wiring before unhooking anything. This way, you’ll have a reference when connecting the new board.
3. Unplug Components: Start by gently disconnecting all the wires from the old board. Be careful—wiggle them gently to avoid damaging any connectors.
4. Remove the Board: Typically, you will find screws holding the circuit board in place. Unscrew them and carefully take the board out. Avoid bending or forcing any connections—gentle is key here.
Once the old circuit board is out, you should have a clear view of the inner workings of your opener.
Installing the New Circuit Board
It’s time to install your new circuit board! Everything you did to remove the old board is essentially the reverse of what you’ll do now.
1. Position the New Board: Carefully place the new circuit board in the same position as the old one. Make sure it aligns well with any screw holes.
2. Fasten the Screws: Securely screw the board into place, ensuring it’s snug but not overly tight—you don’t want to strip the screws.
3. Reconnect the Wires: Now, refer to the photo you took earlier (or make sure to follow the instructions that came with your new board). Connect each wire to its corresponding terminal. If labels are provided, use those as a guide.
4. Double-Check Connections: This step is important. Go over each connection to ensure they are secure. Loose connections can lead to malfunction.
Let’s be honest, it’s easy to overlook a wire or two—take your time here!
Testing Your Installation
You don’t want to leave potential issues unattended. Once everything is connected, it’s time for some testing.
1. Power Up: Plug the opener back into the outlet or flip the circuit breaker. You should hear the opener power on.
2. Test the Remote: Grab your remote and give it a try. Press the open and close buttons to see if the door responds.
3. Check Safety Features: Ensure that safety sensors are functioning. Wave something in front of them to see if the door stops and reverses, as designed.
4. Listen Closely: Pay attention to any unusual sounds that might indicate a problem. A smooth operation usually signals successful installation.
If everything is working well, congratulations! You’ve just earned yourself some serious DIY cred.
Troubleshooting Common Issues
If your new circuit board doesn’t seem to work right away, don’t panic—troubleshooting can often solve the issue.
– No Response from the Remote: Double-check the connections are secure. If loose, simply fix them tight.
– The Door Only Opens Partway: This could be a misaligned safety sensor. Make sure they are properly aligned and free of obstructions.
– Remote Issues: Poor battery could be the culprit. Try replacing the batteries in your remote before looking for issues with the opener itself.
By following these steps, you can usually pinpoint where the problem lies and fix it without too much hassle.
Final Thoughts
Installing a new Craftsman circuit board might seem like a daunting task at first, but with a bit of preparation and patience, it’s very achievable. Remember to take your time and work safely. If all else fails, there’s no shame in reaching out for professional help. Your garage door opener is an essential part of your home, and keeping it in top shape is worth the effort. By following this guide, you’re not just getting a lesson in DIY—you’re becoming empowered to take on future home repairs with confidence!
